Railcart
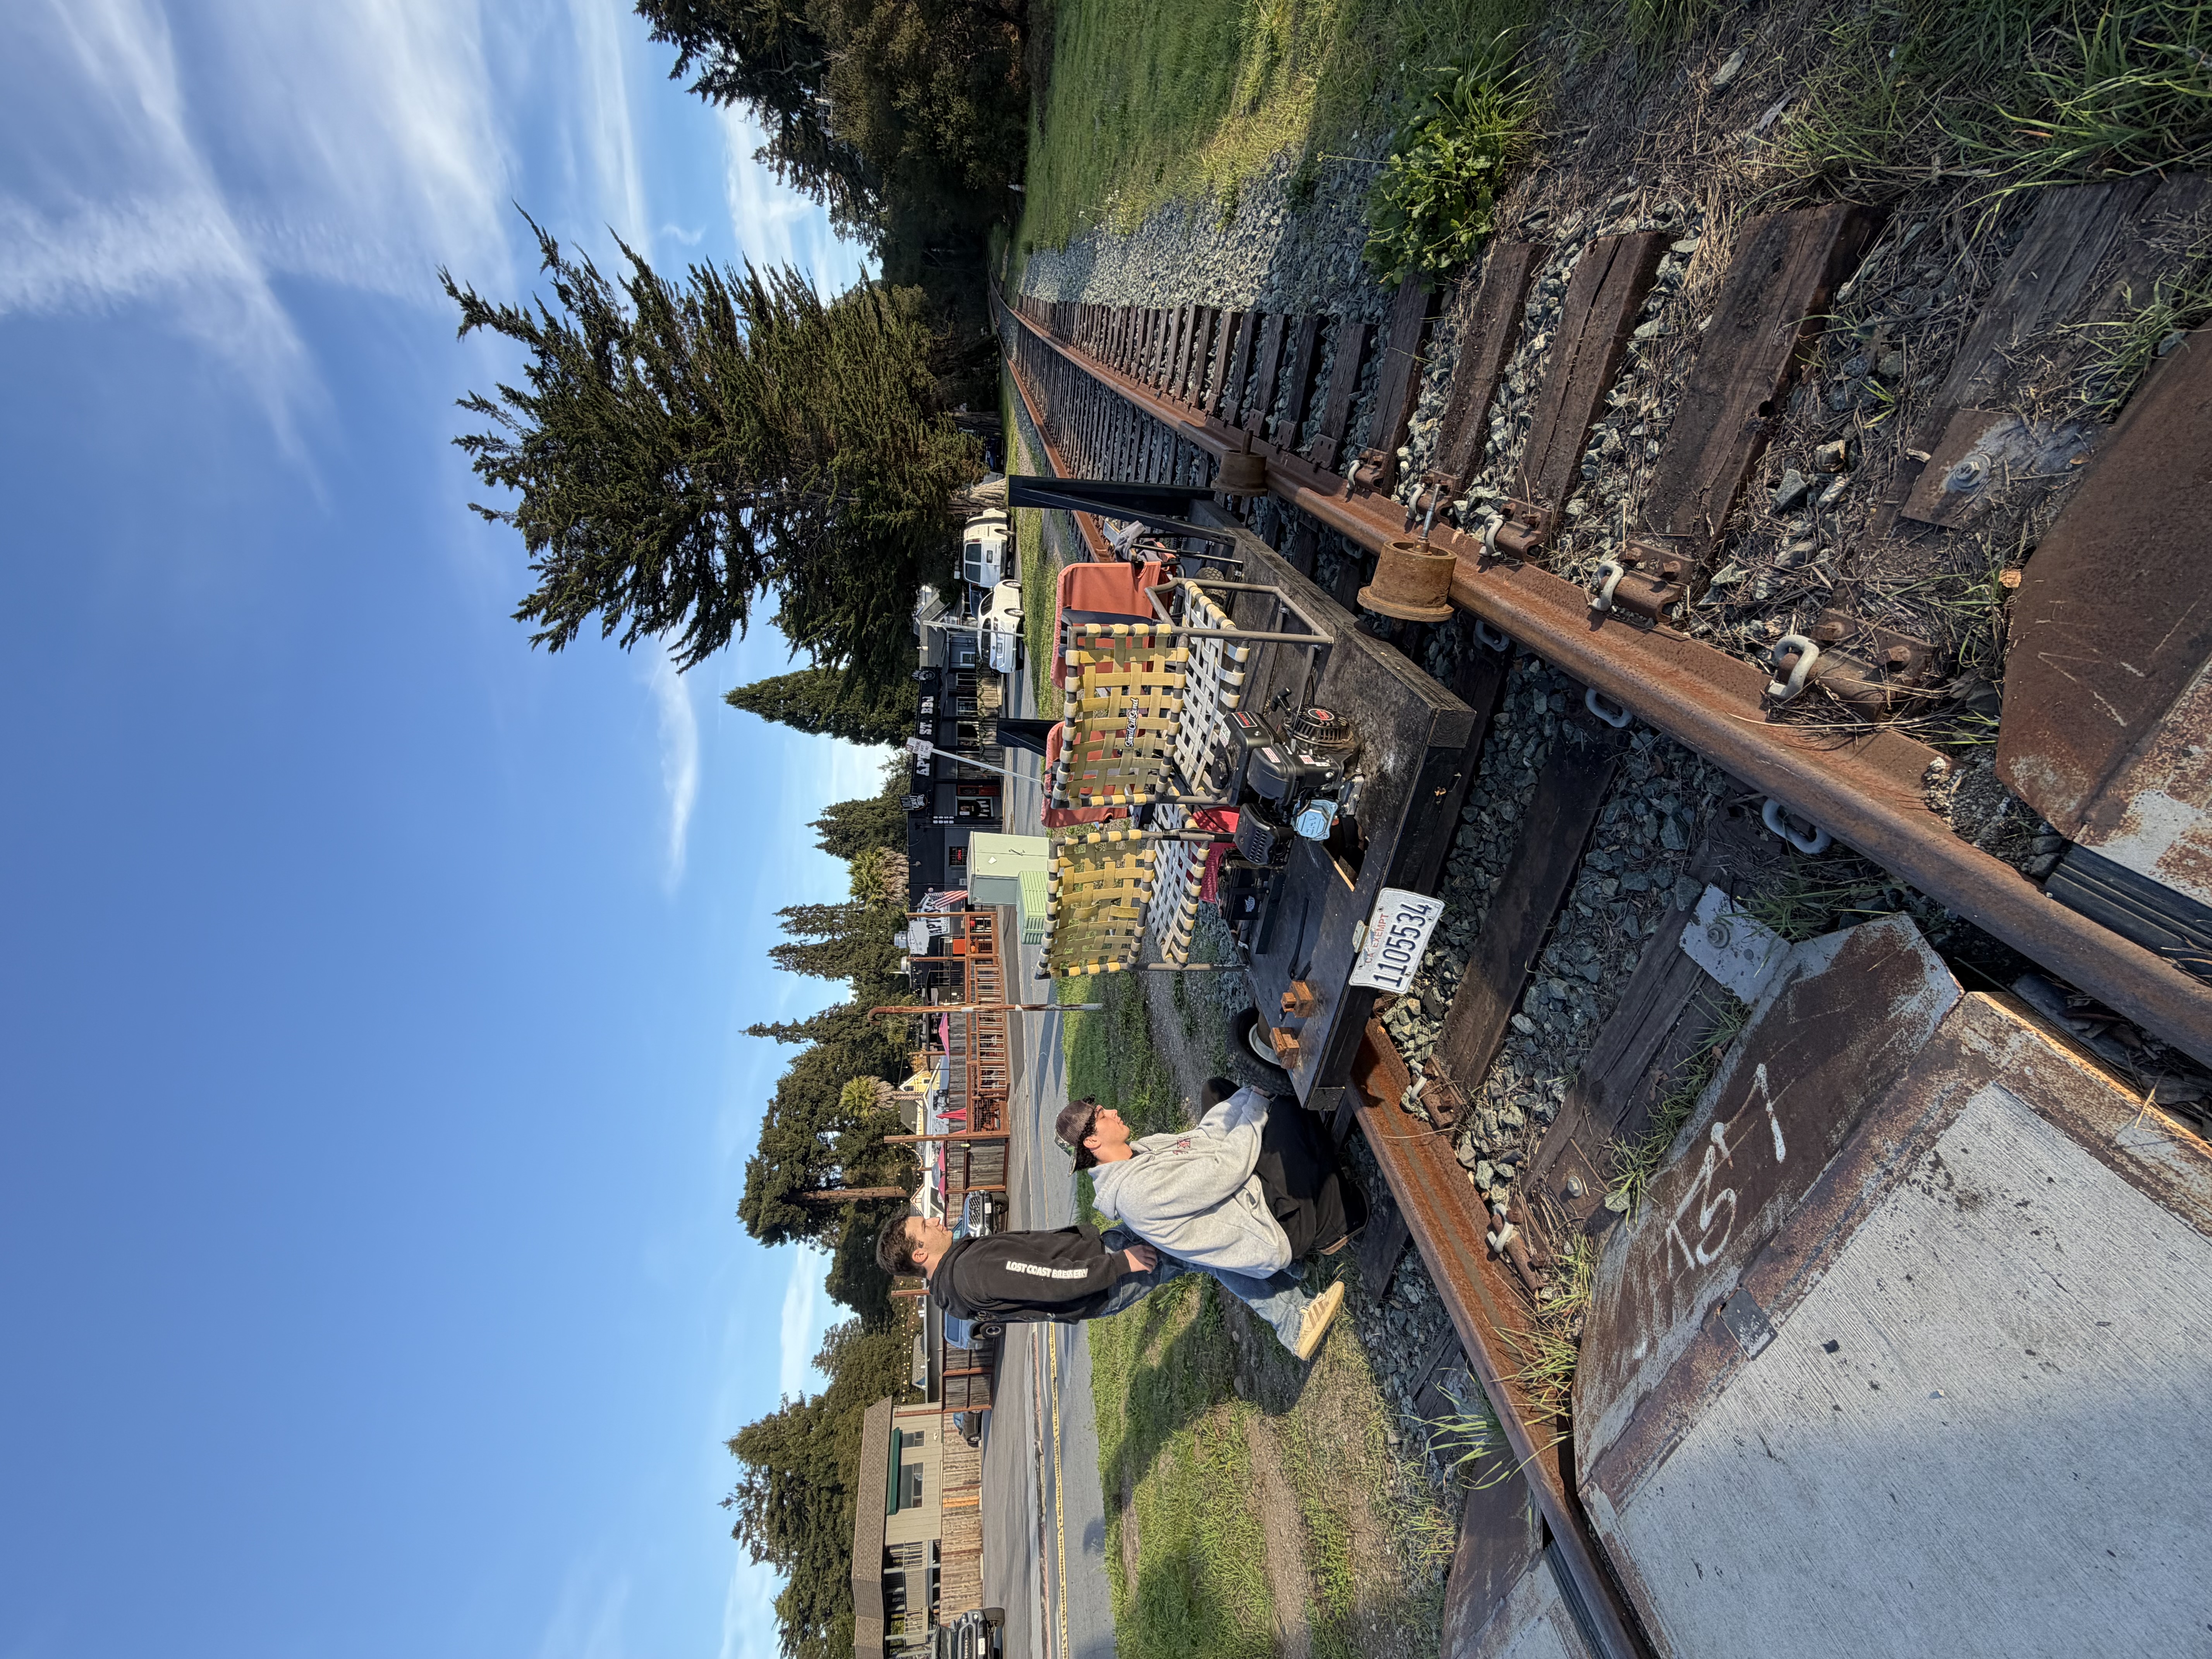
← All ProjectsThis is a detailed build page of this project, covering every aspect from components to the challenges I faced. The railcart has covered around 100 miles of track, with trips down to Watsonville and up to the west side of Santa Cruz from my home in Aptos.
Background and Inspiration
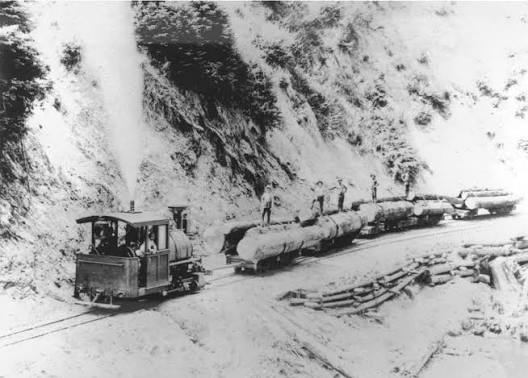
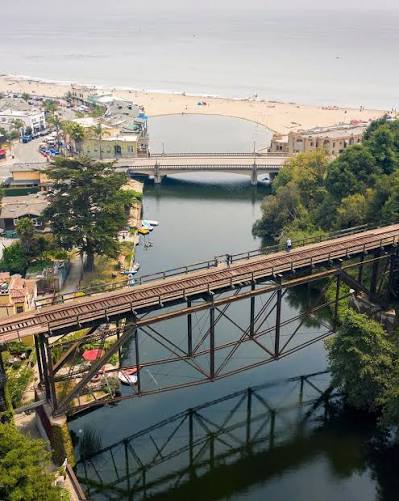
Where I grew up in Aptos, California, an abandoned railroad cuts through all of town. Once used to transport concrete from a plant in Davenport, redwood lumber from Nisene Marks, and people, the scenic coastal railroad has gone unused and unmaintained for years now. Yet its beauty remains. When the railroad isn’t riding along the coast, it cuts through forests and towers on trestles. One day while walking these rails, I decided to make something to take full advantage of what the railroad has to offer.
Frame
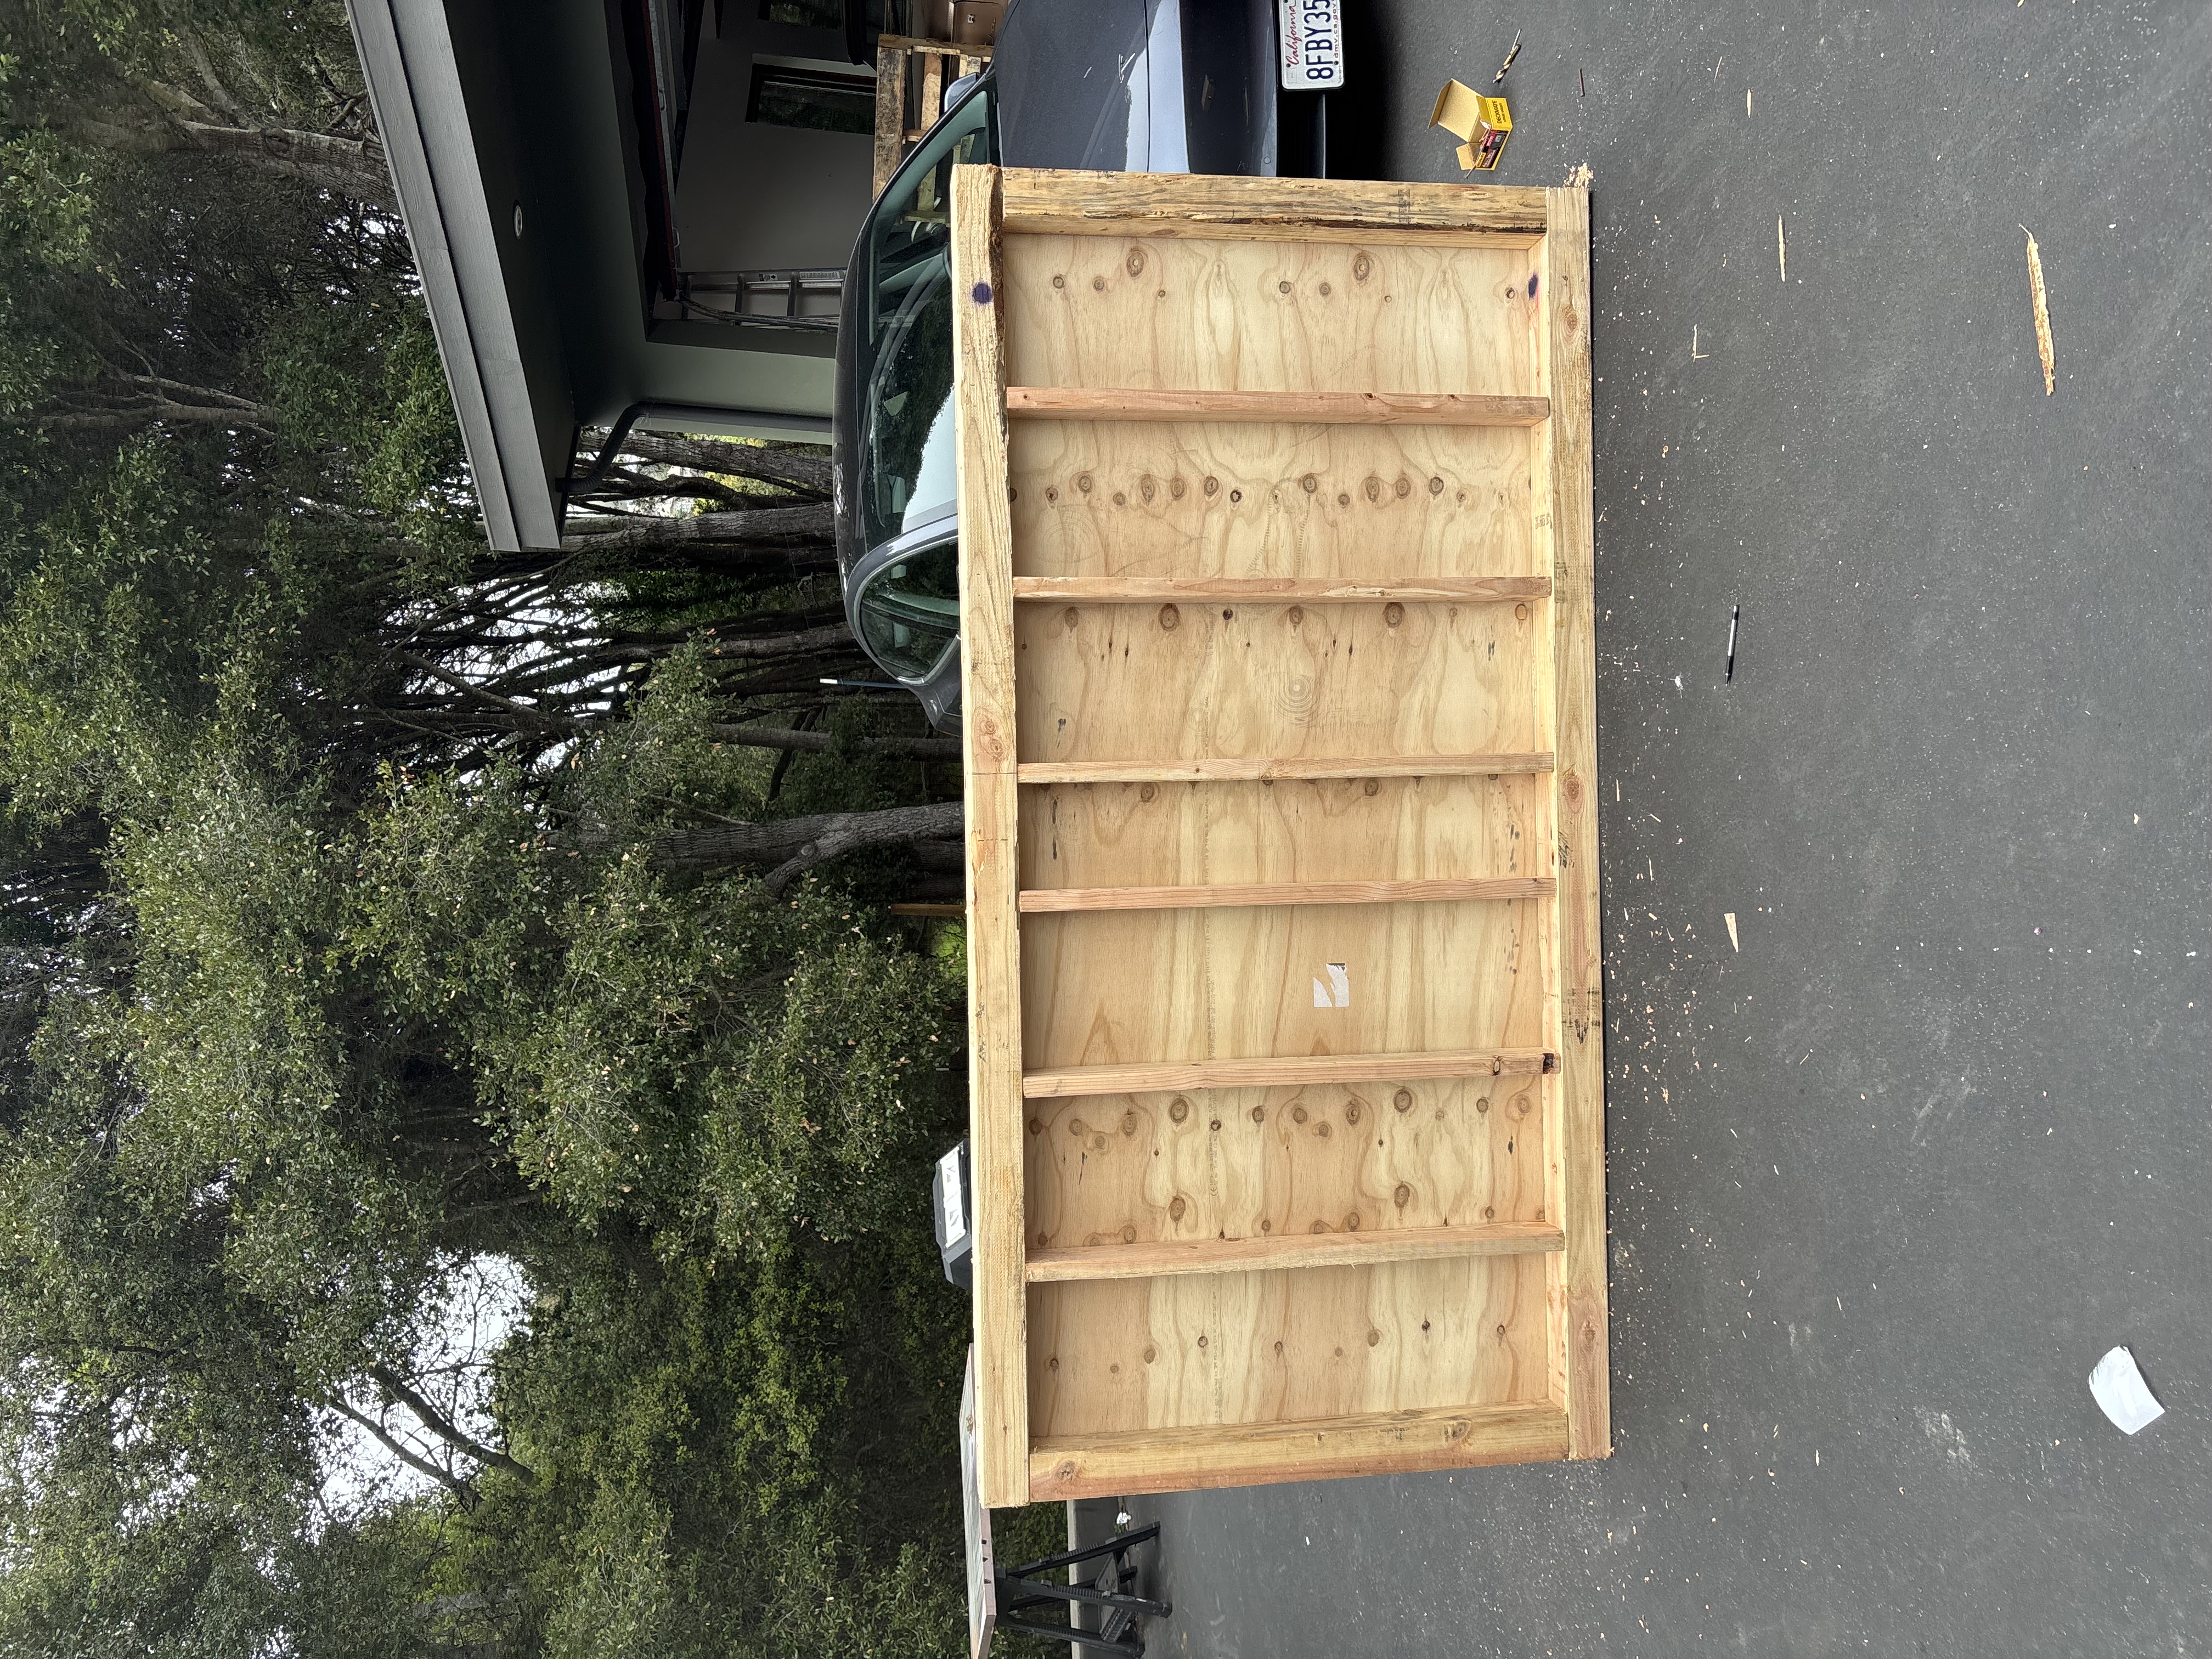
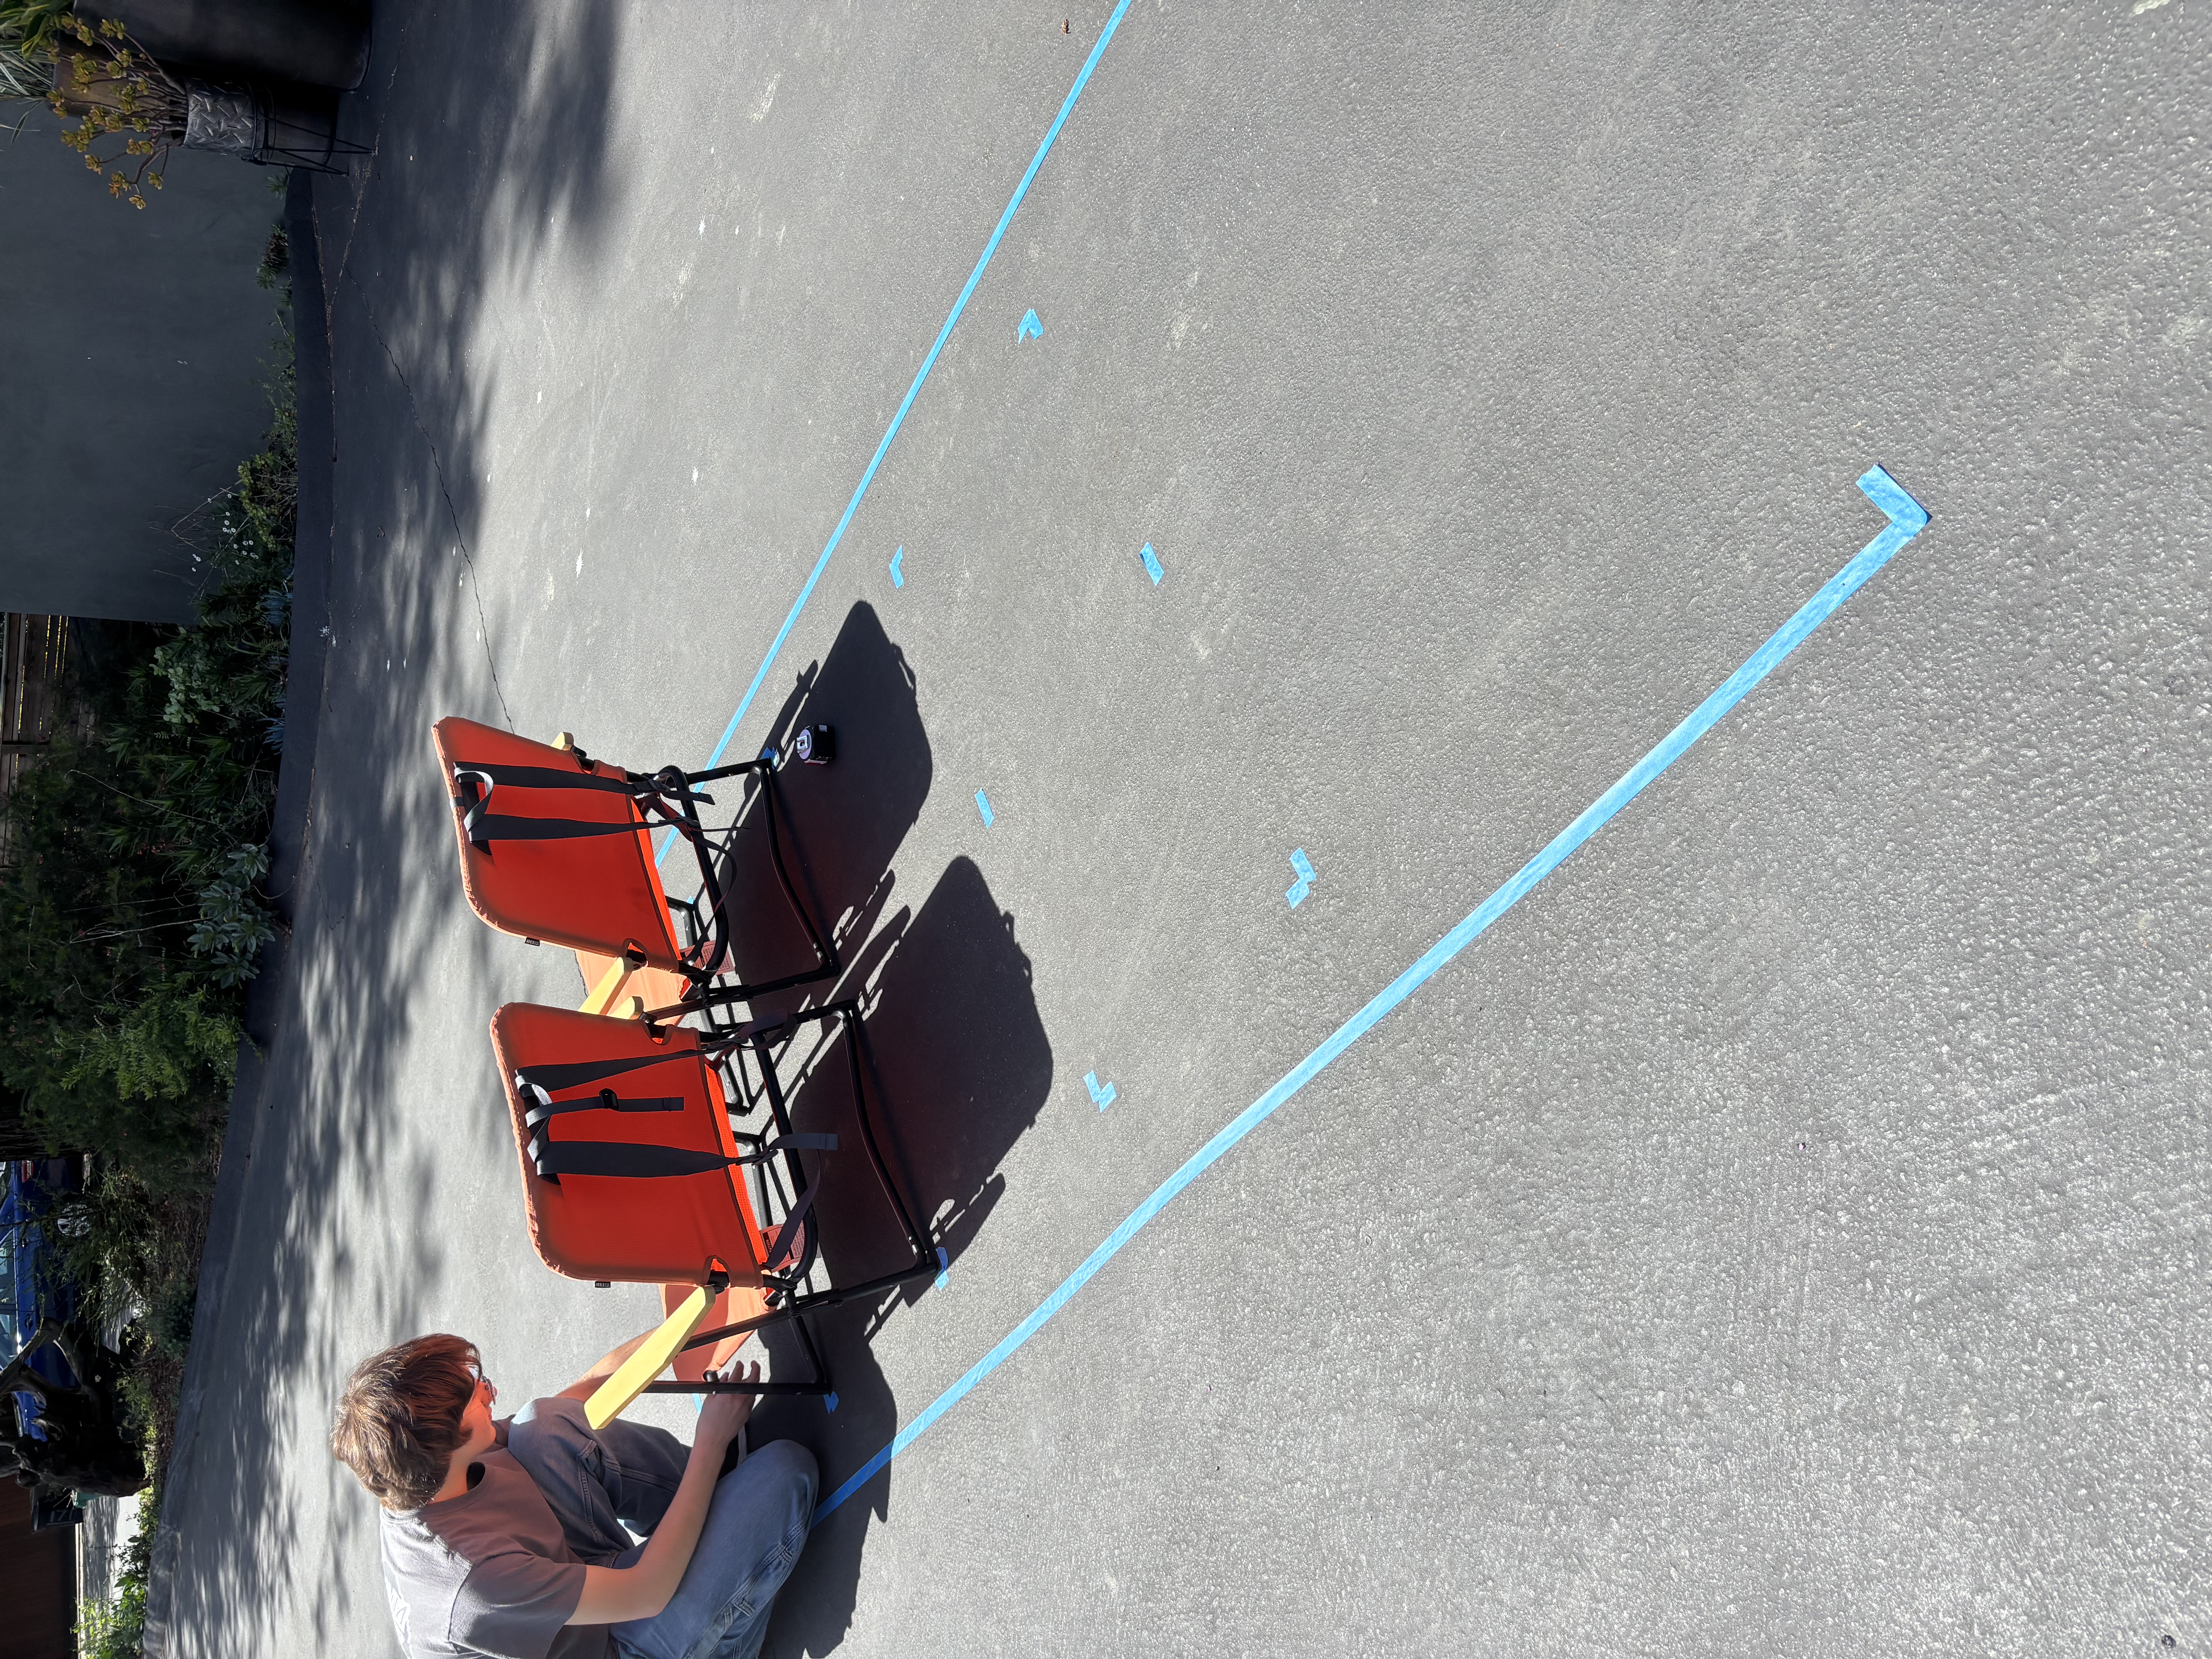
A big requirement for this project was maximizing the seating. I wanted to be able to fit as many friends as possible on the cart. Four people sounded like a reasonable amount, so one Saturday morning I swung by some garage sales and picked up four chairs. After sizing up the layout in my driveway, I landed on an 8’ by 4’ layout for the frame. I chose wood because it was cheap, but it also allowed me to mount every component to the frame easily.
Wheels
The wheels were the biggest challenge I faced when building this project. I went through multiple iterations of wheels until landing on one that worked.
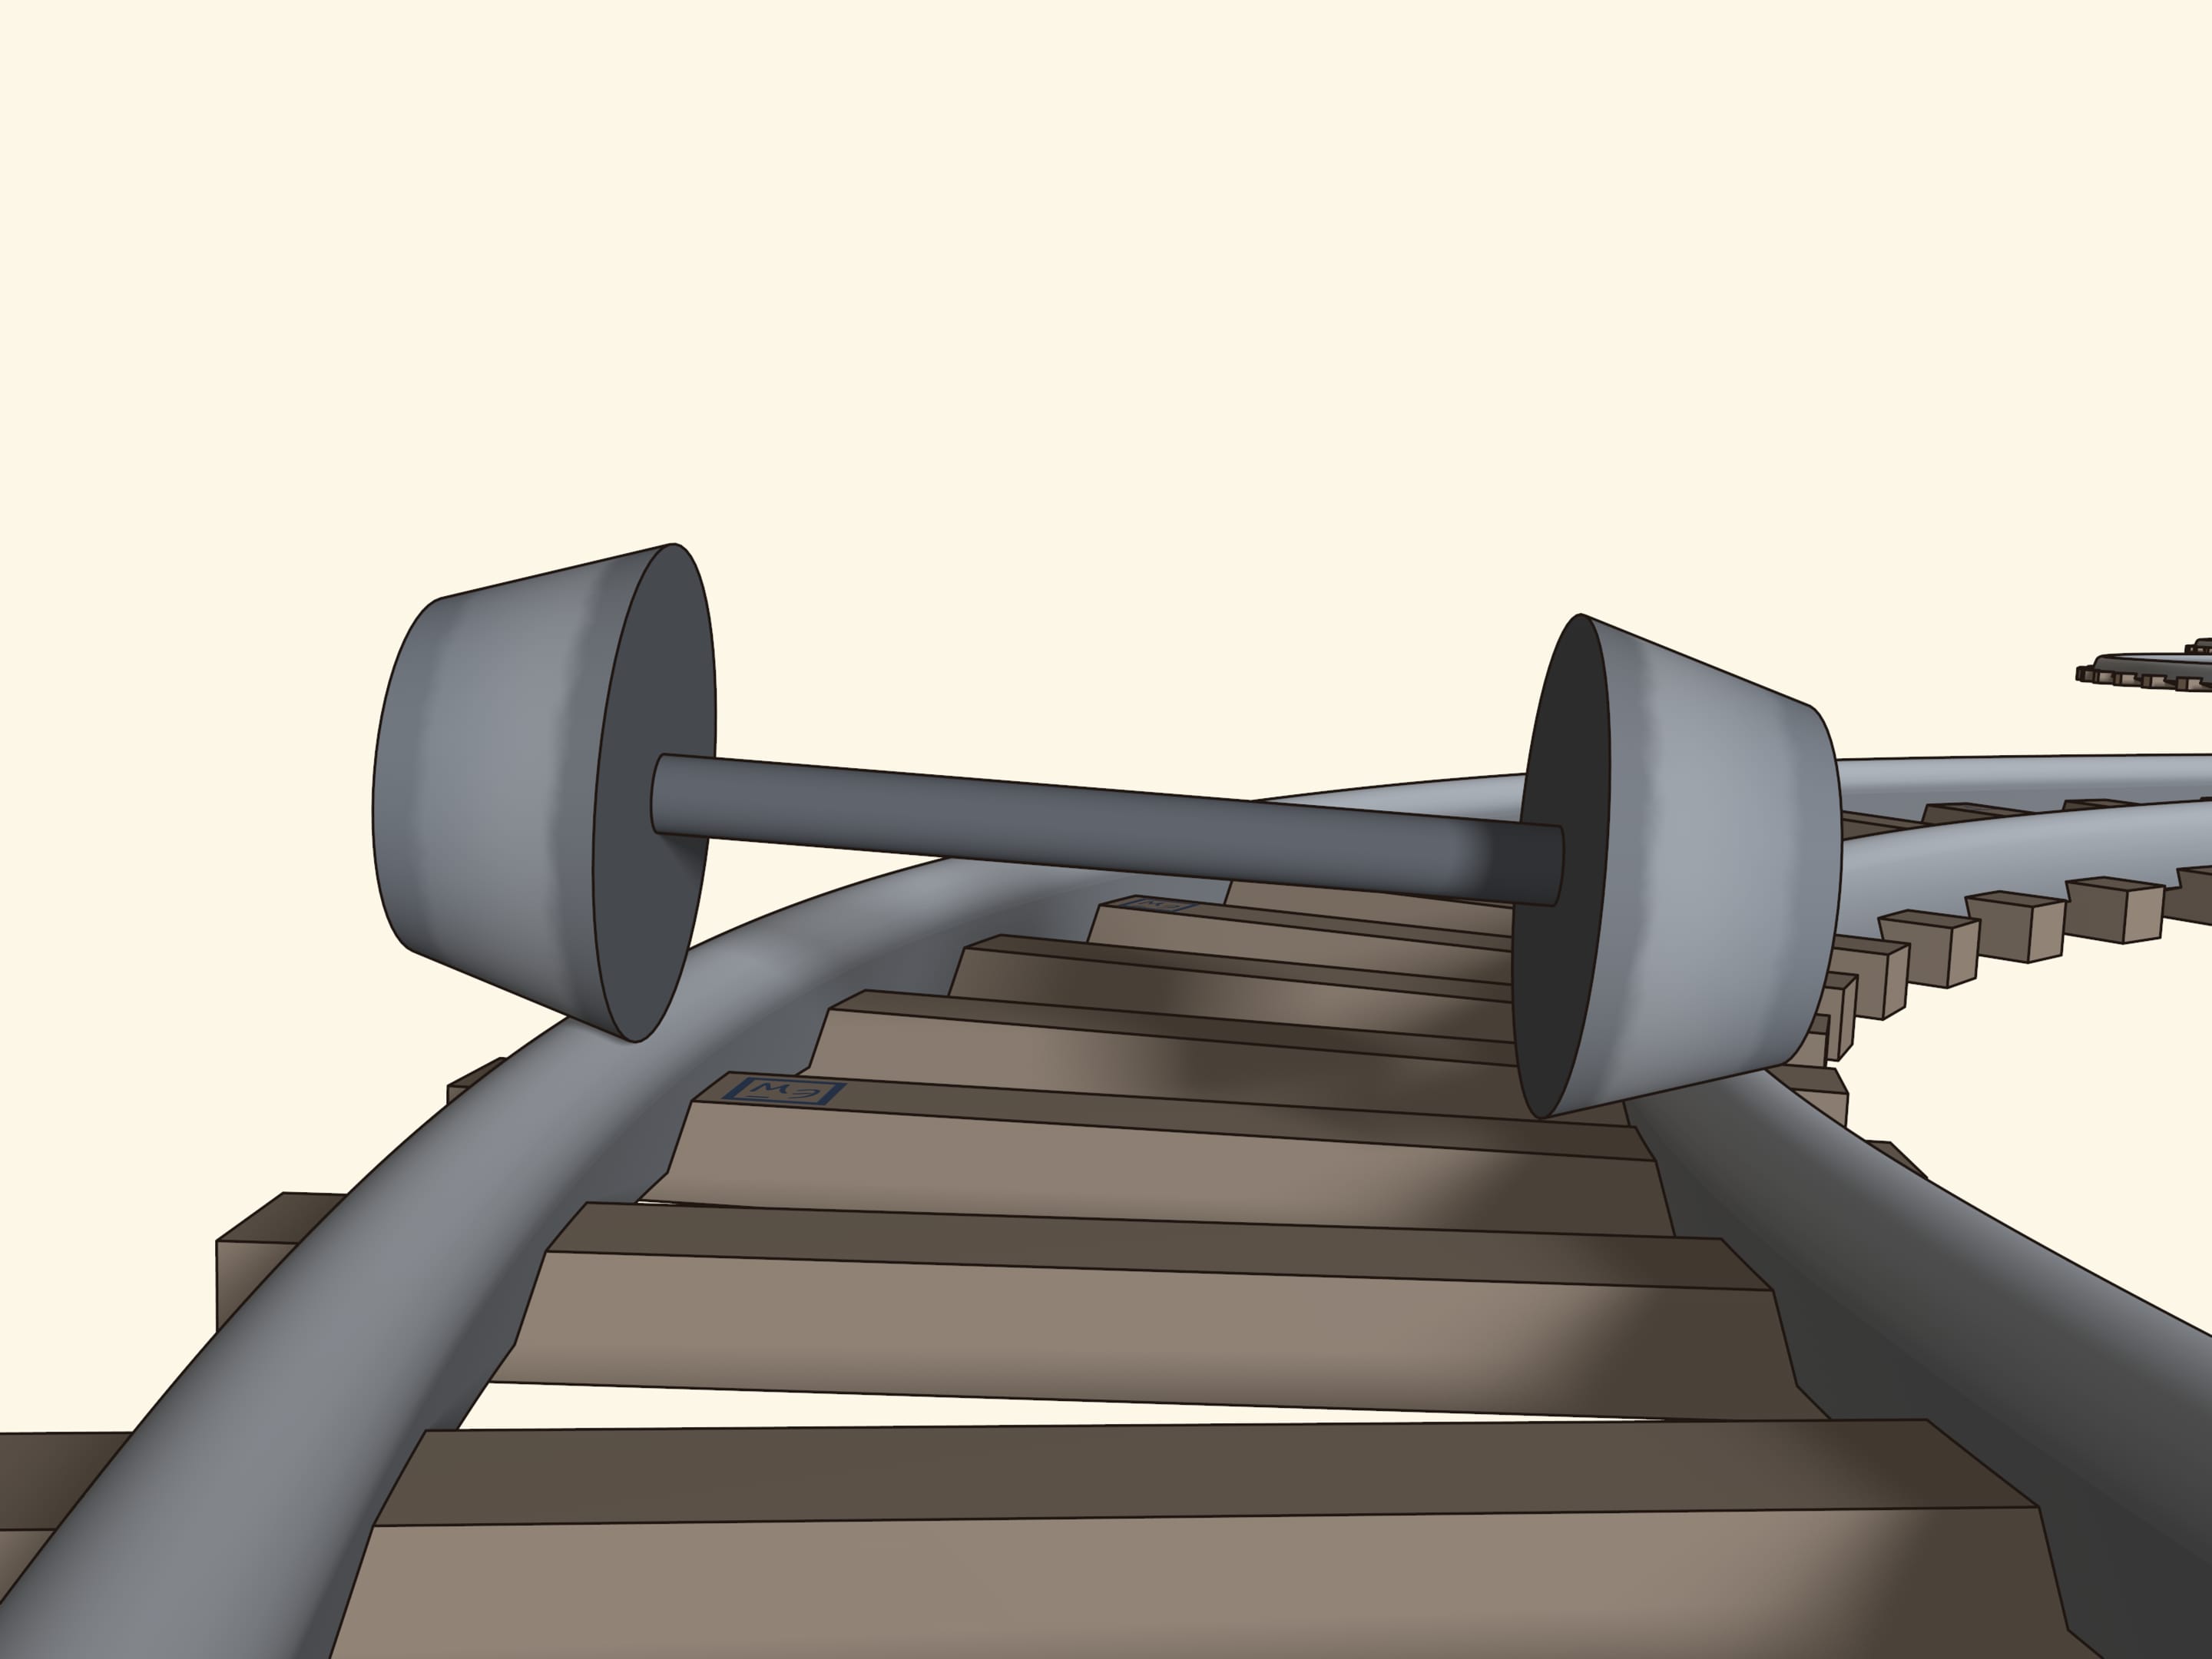
Railroad wheels need to be conical. That is, their profile needs to be sloped. This has multiple functions. Firstly, it allows the vehicle to self center on a straight track. More importantly, it lets the vehicle take turns without a differential. This is an essential feature of anything that will be riding on the rails.
Trains use casted steel wheels, which work for big loads. On a smaller cart, these metal wheels would be loud and create lots of vibration. I also lack the resources to cast steel. In search of another castable material, I landed on polyurethane resin. It is a popular option online for DIY railcart wheels, and fixes my issues with metal wheels. It’s easy to cast at home and is soft enough to reduce vibrations without suspension.
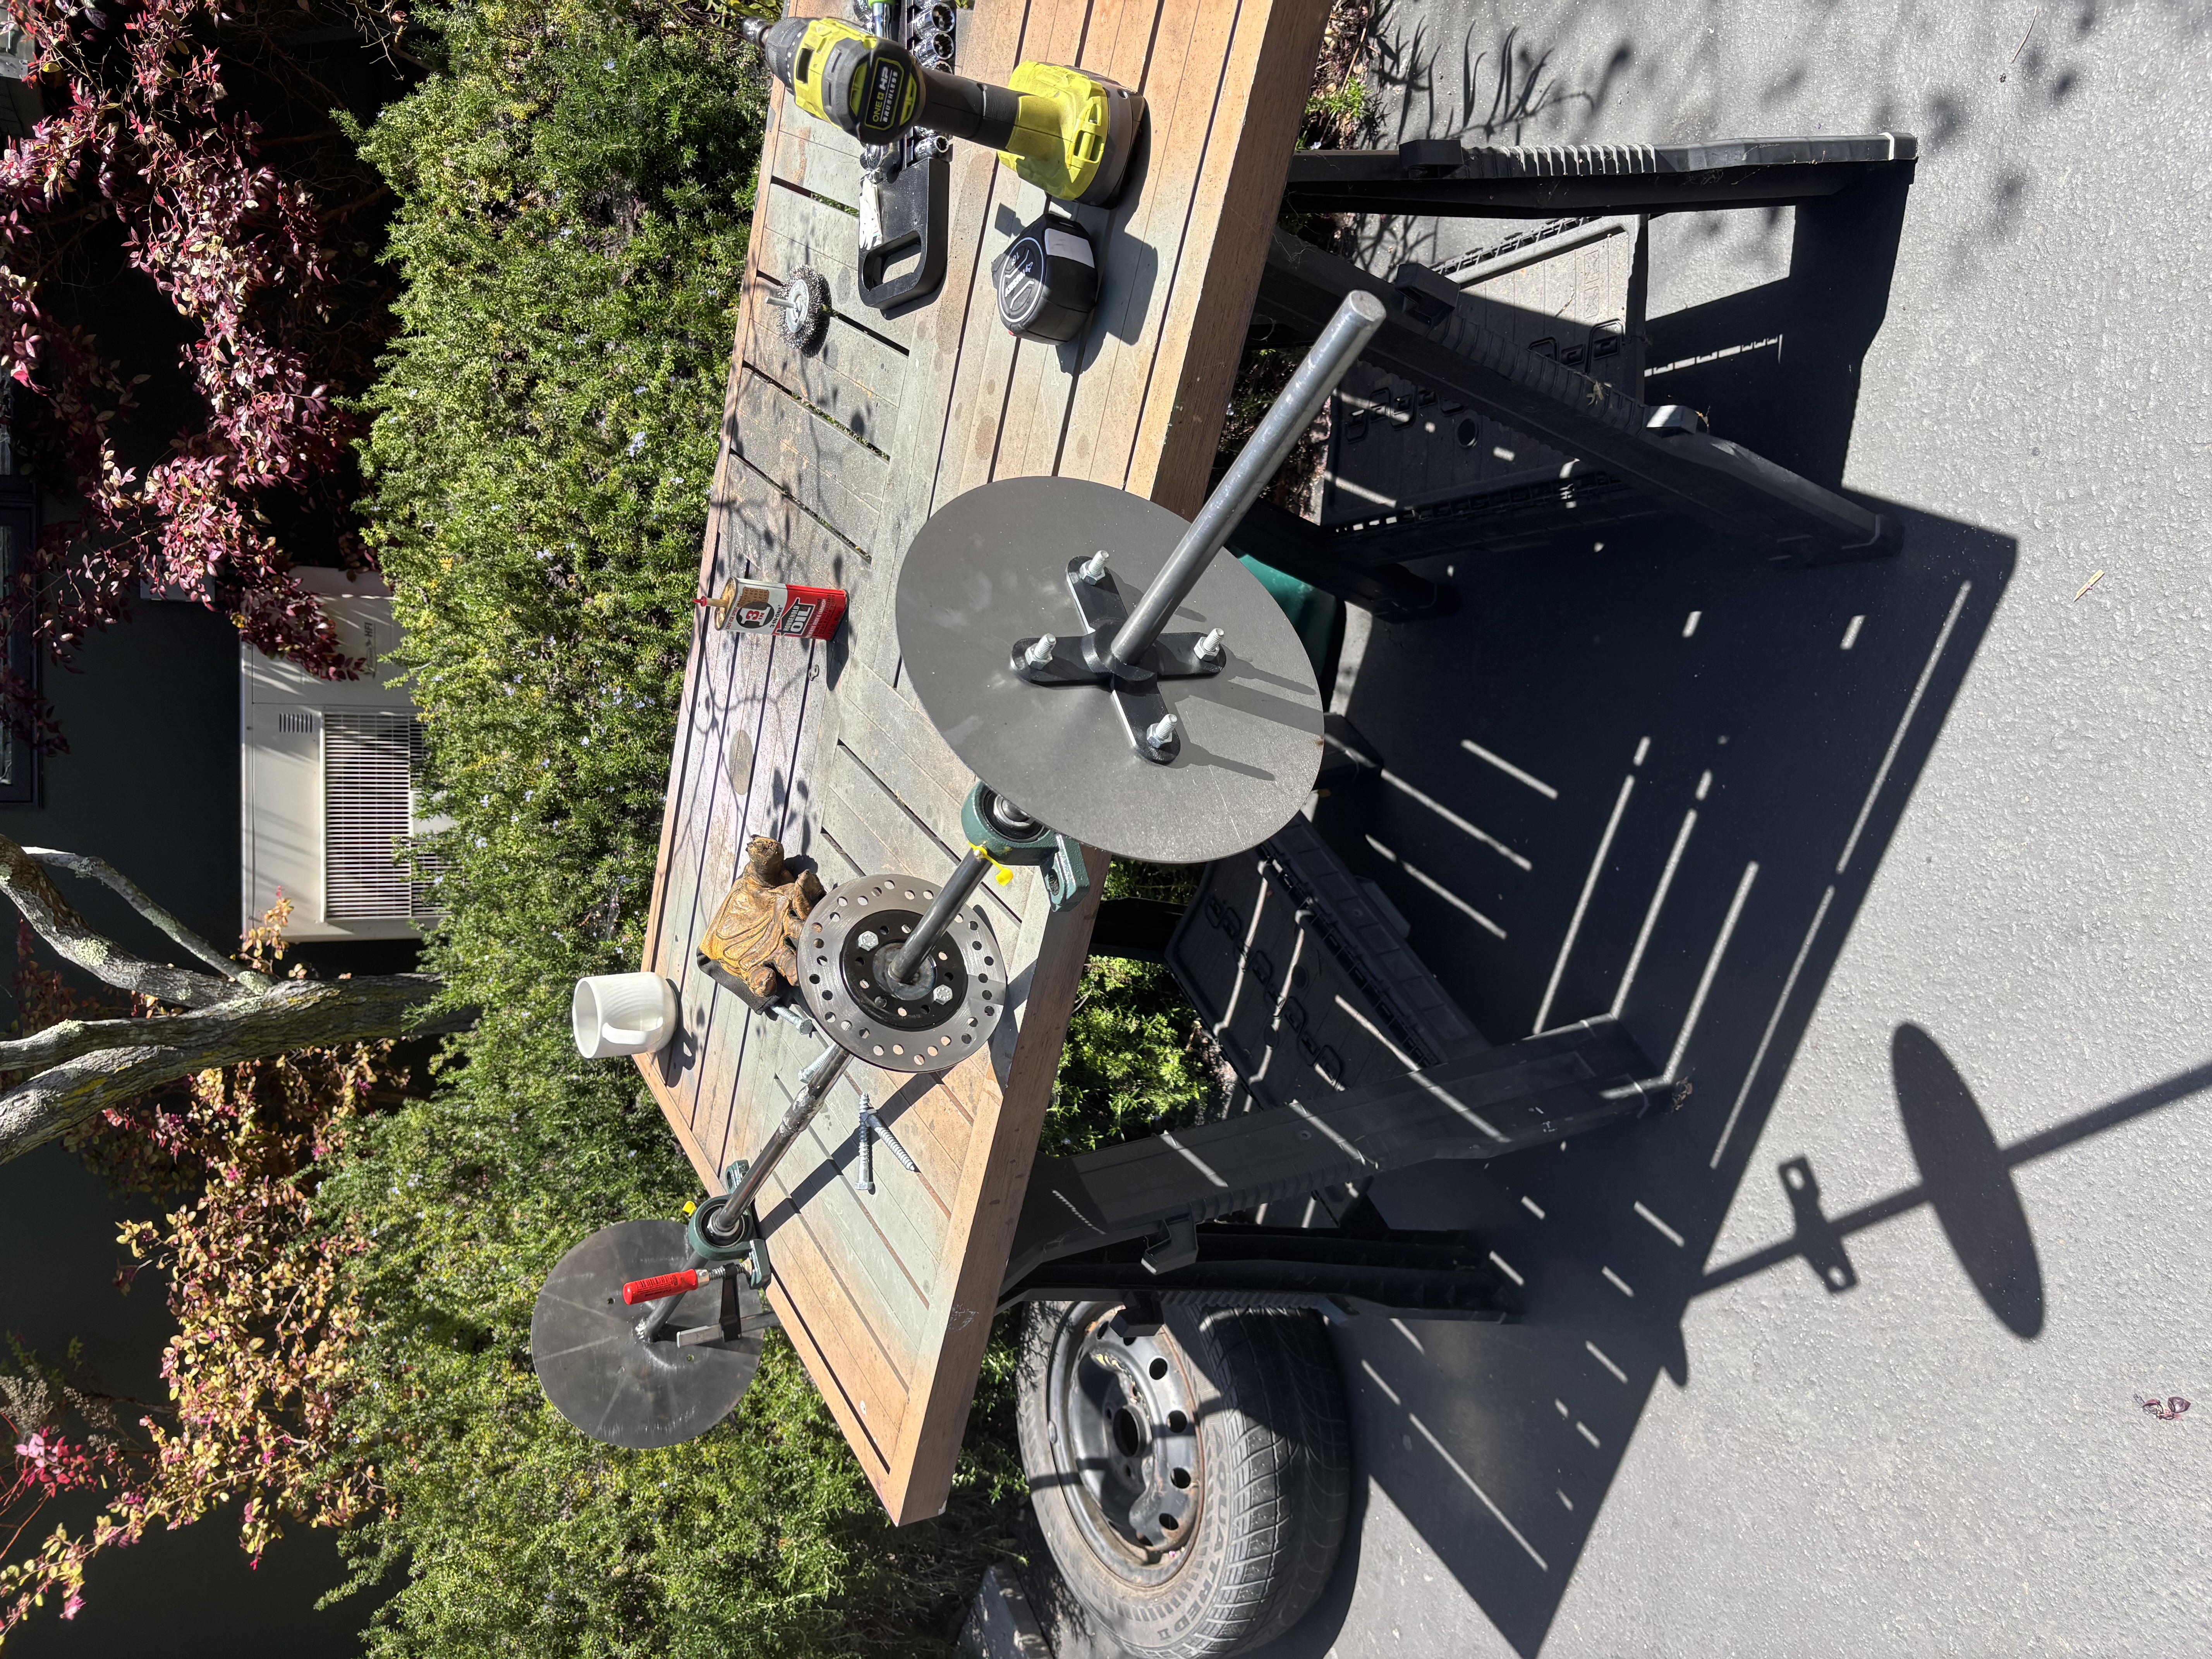
My first design for these wheels aimed to minimize the polyurethane resin I had to use. It was by far the most expensive material I was using. I cast a thin layer of resin around a 10 inch steel pipe, and used metal flanges so the cart didn’t fly off the rails. Unfortunately, this design used too little polyurethane and would not center properly. The metal flanges were loud and uncomfortable. I needed a better design.
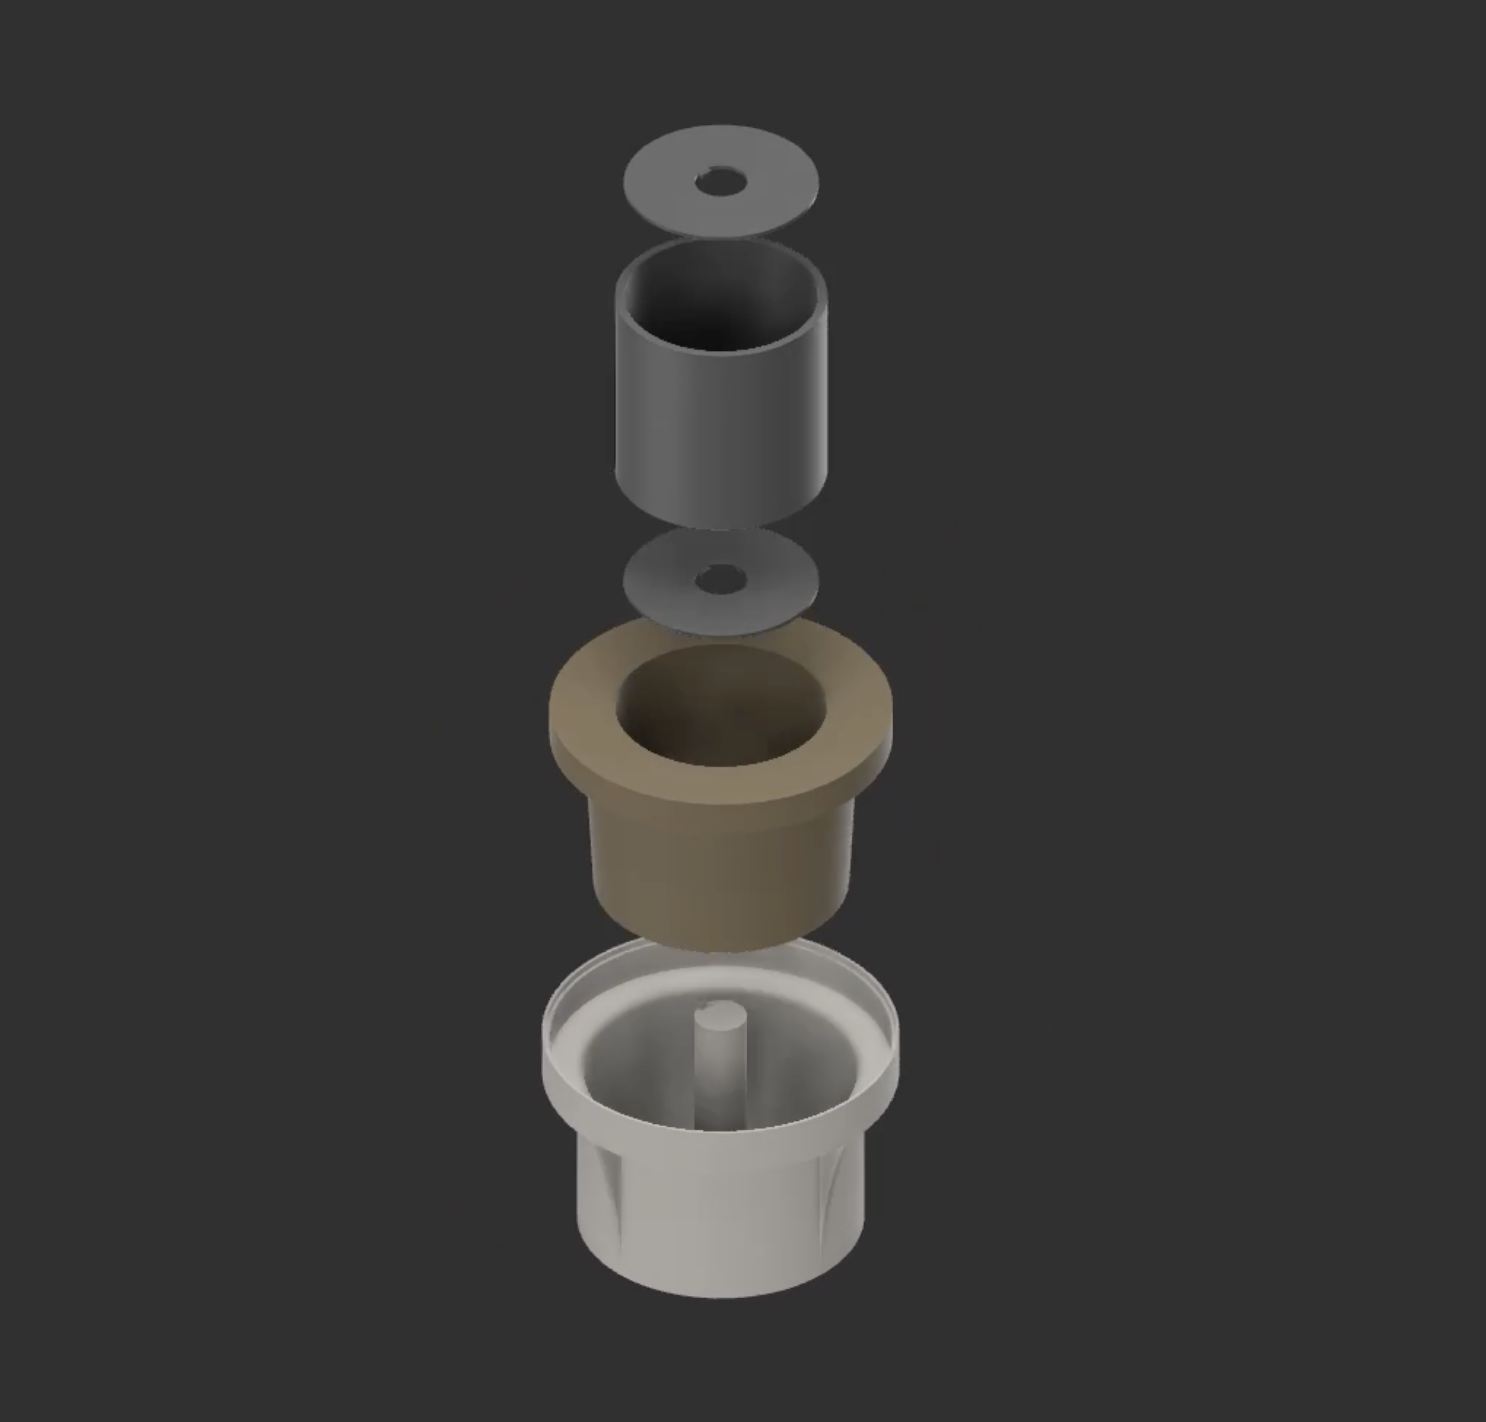
My second iteration used a smaller 8 inch pipe, which had laser cut plates welded on each end. These had a hole for my 1.5 inch axle, and a key so the axle could transfer rotation to the wheels. The mold had a rod in the middle to center the pipe, and I heavily scored the pipe before casting to ensure adhesion of the urethane. The flanges were now integrated into the polyurethane, and the entire wheel was one part. These new wheels were significantly smoother and turned like a dream.
Axles
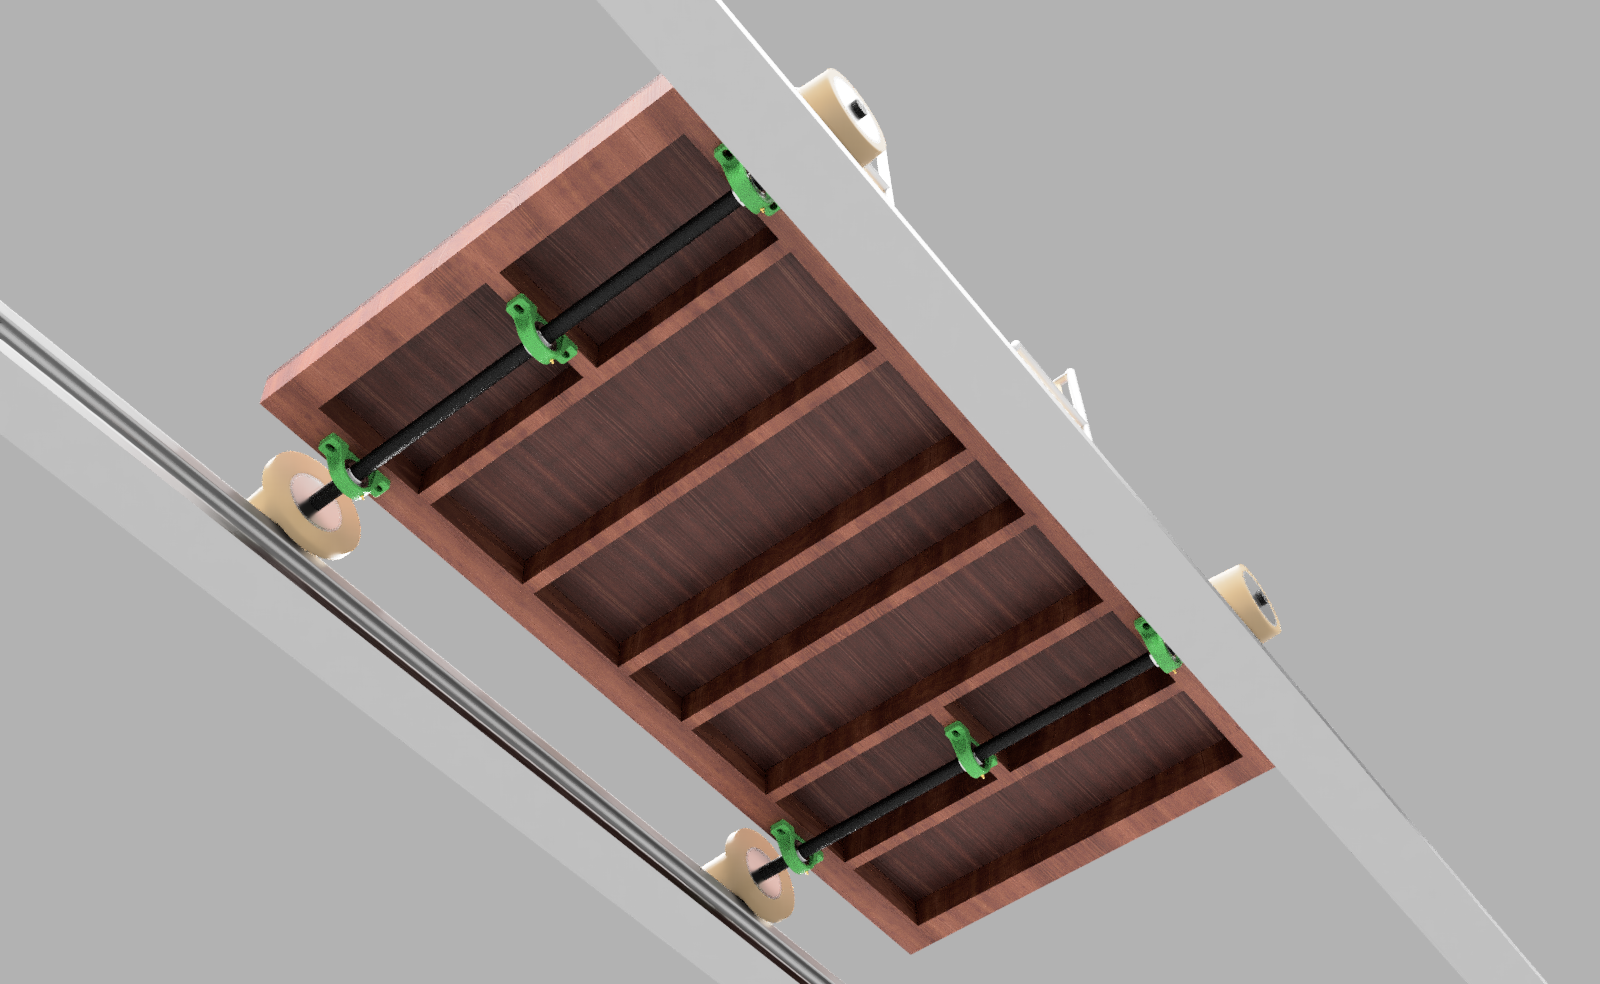
I originally bought ¾ inch steel rod for the axles for lower costs. After mounting these on the cart, the axles bent dramatically. In an effort to save money, I ended up with useless axles. After scrapping the previous design, I purchased 1.5 inch steel rod which was exceptionally sturdy, and mounted it to the frame with three pillow bearings.
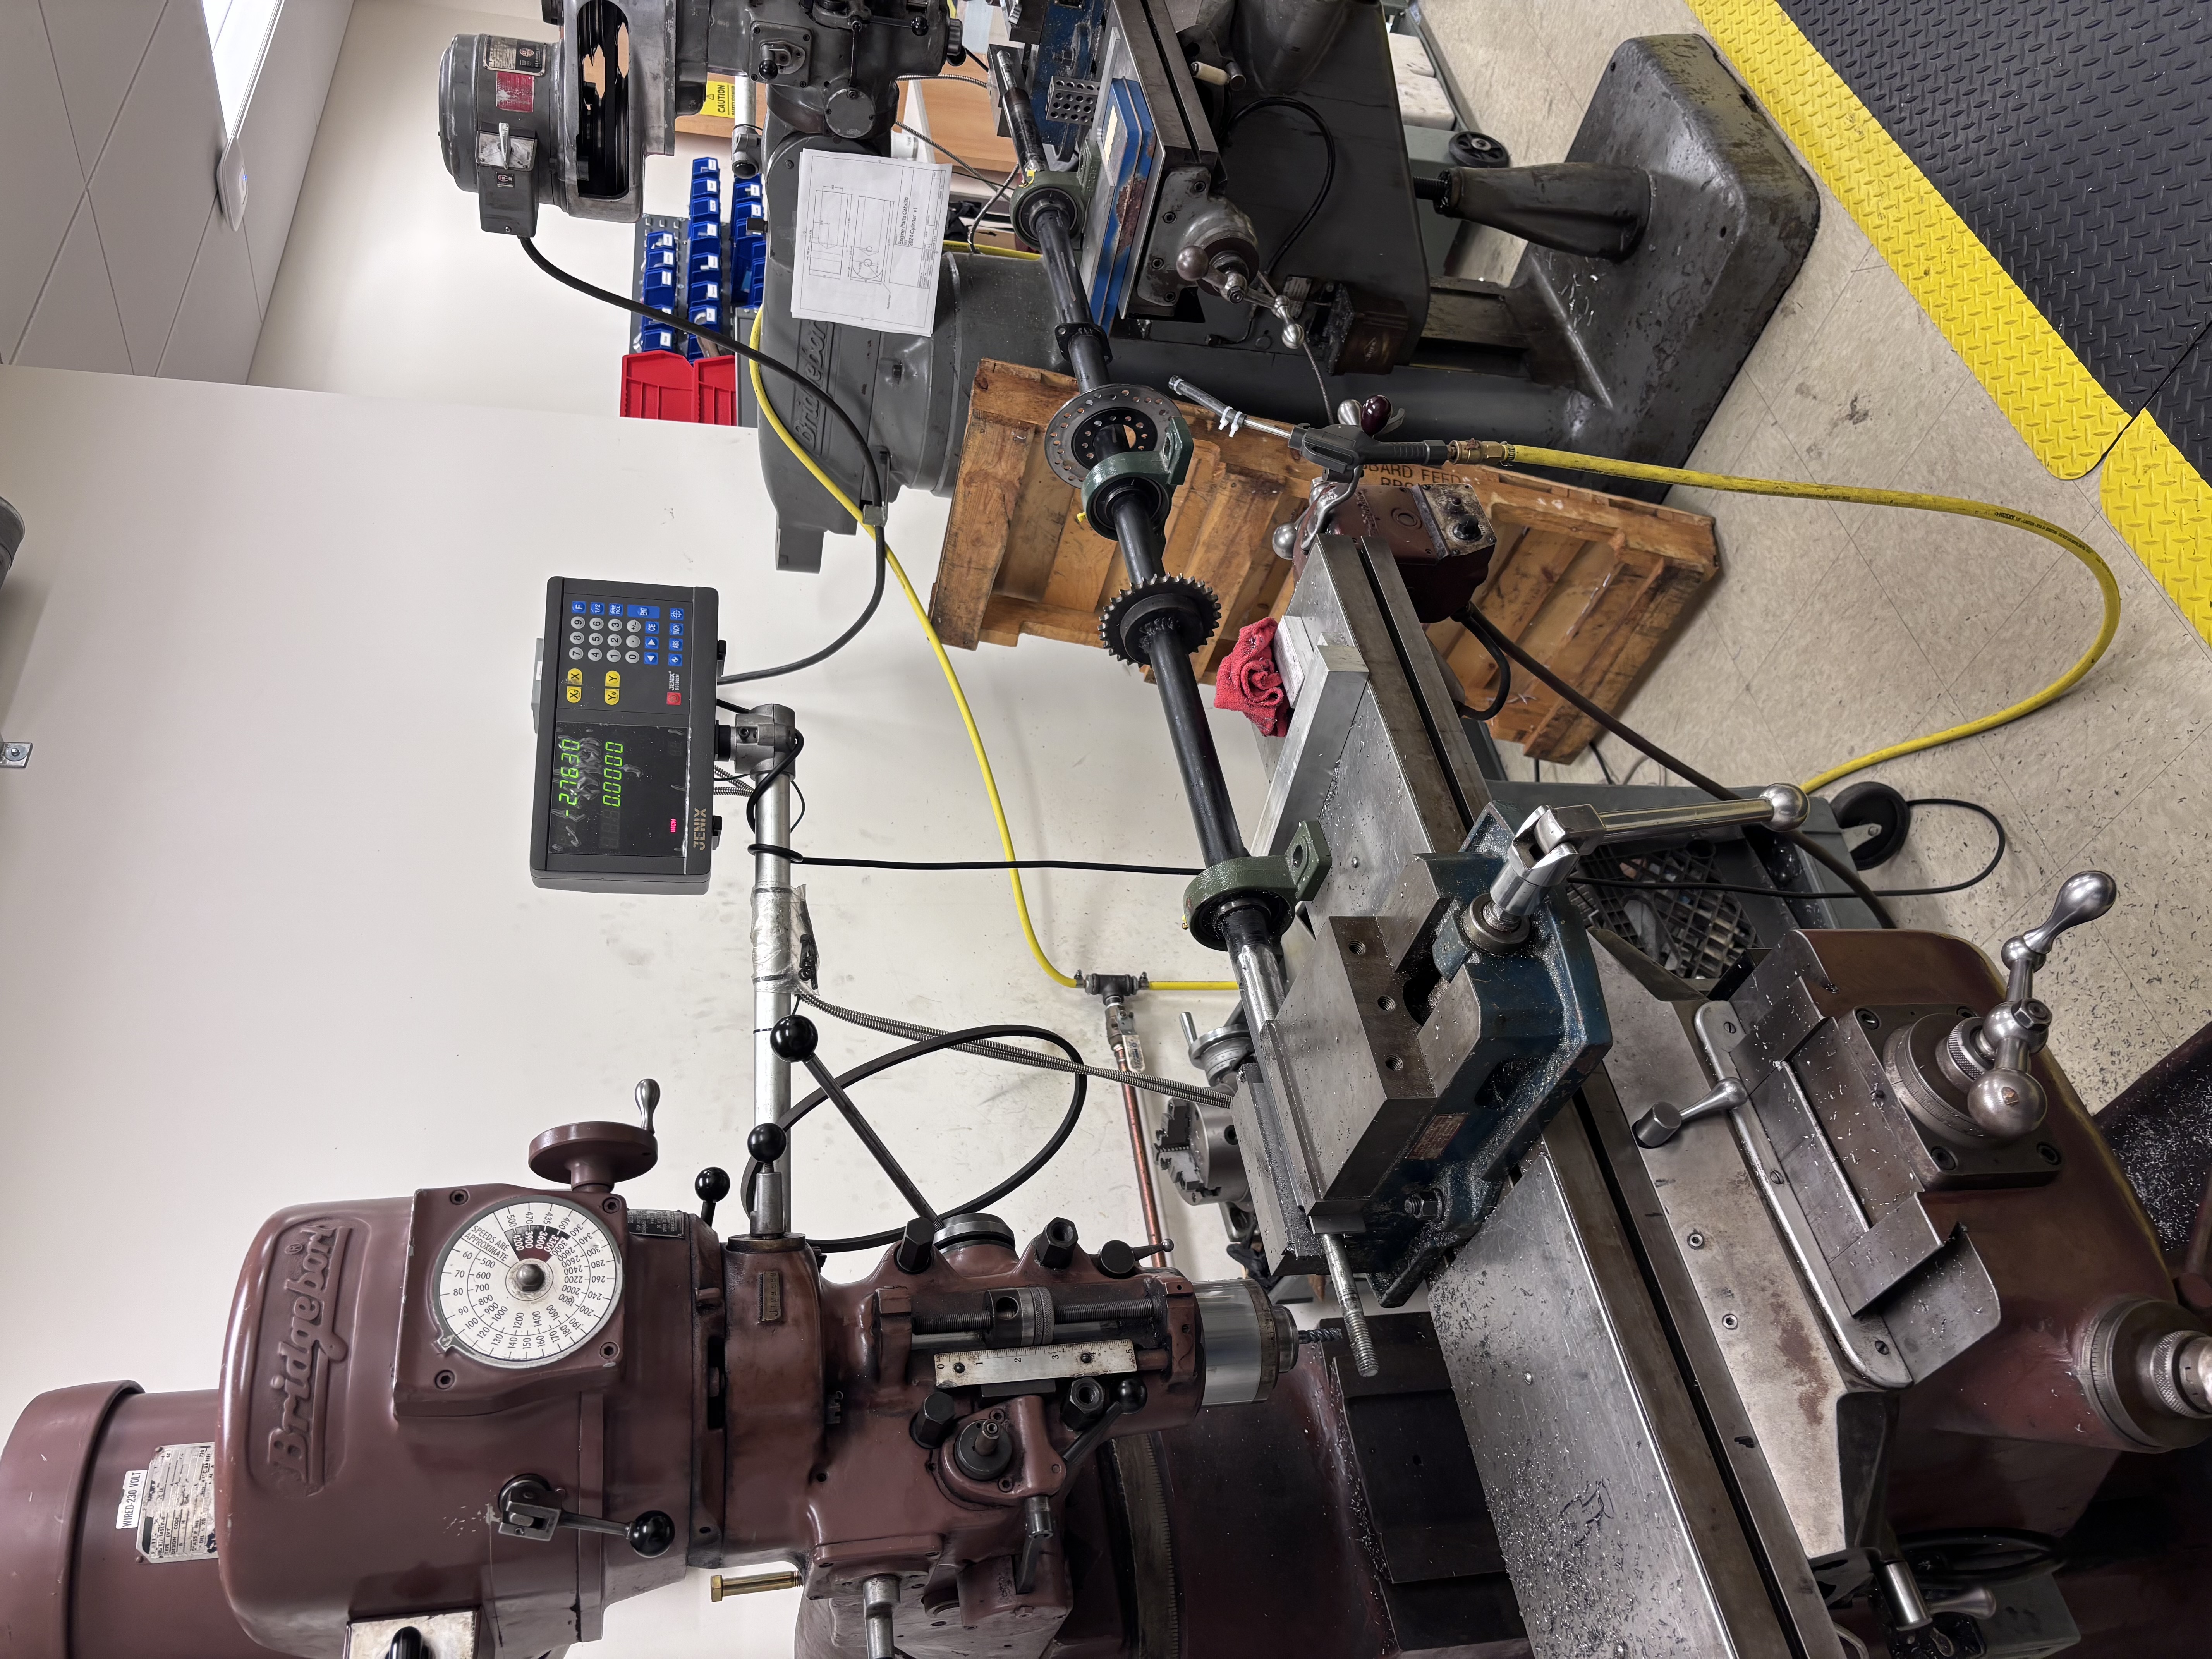
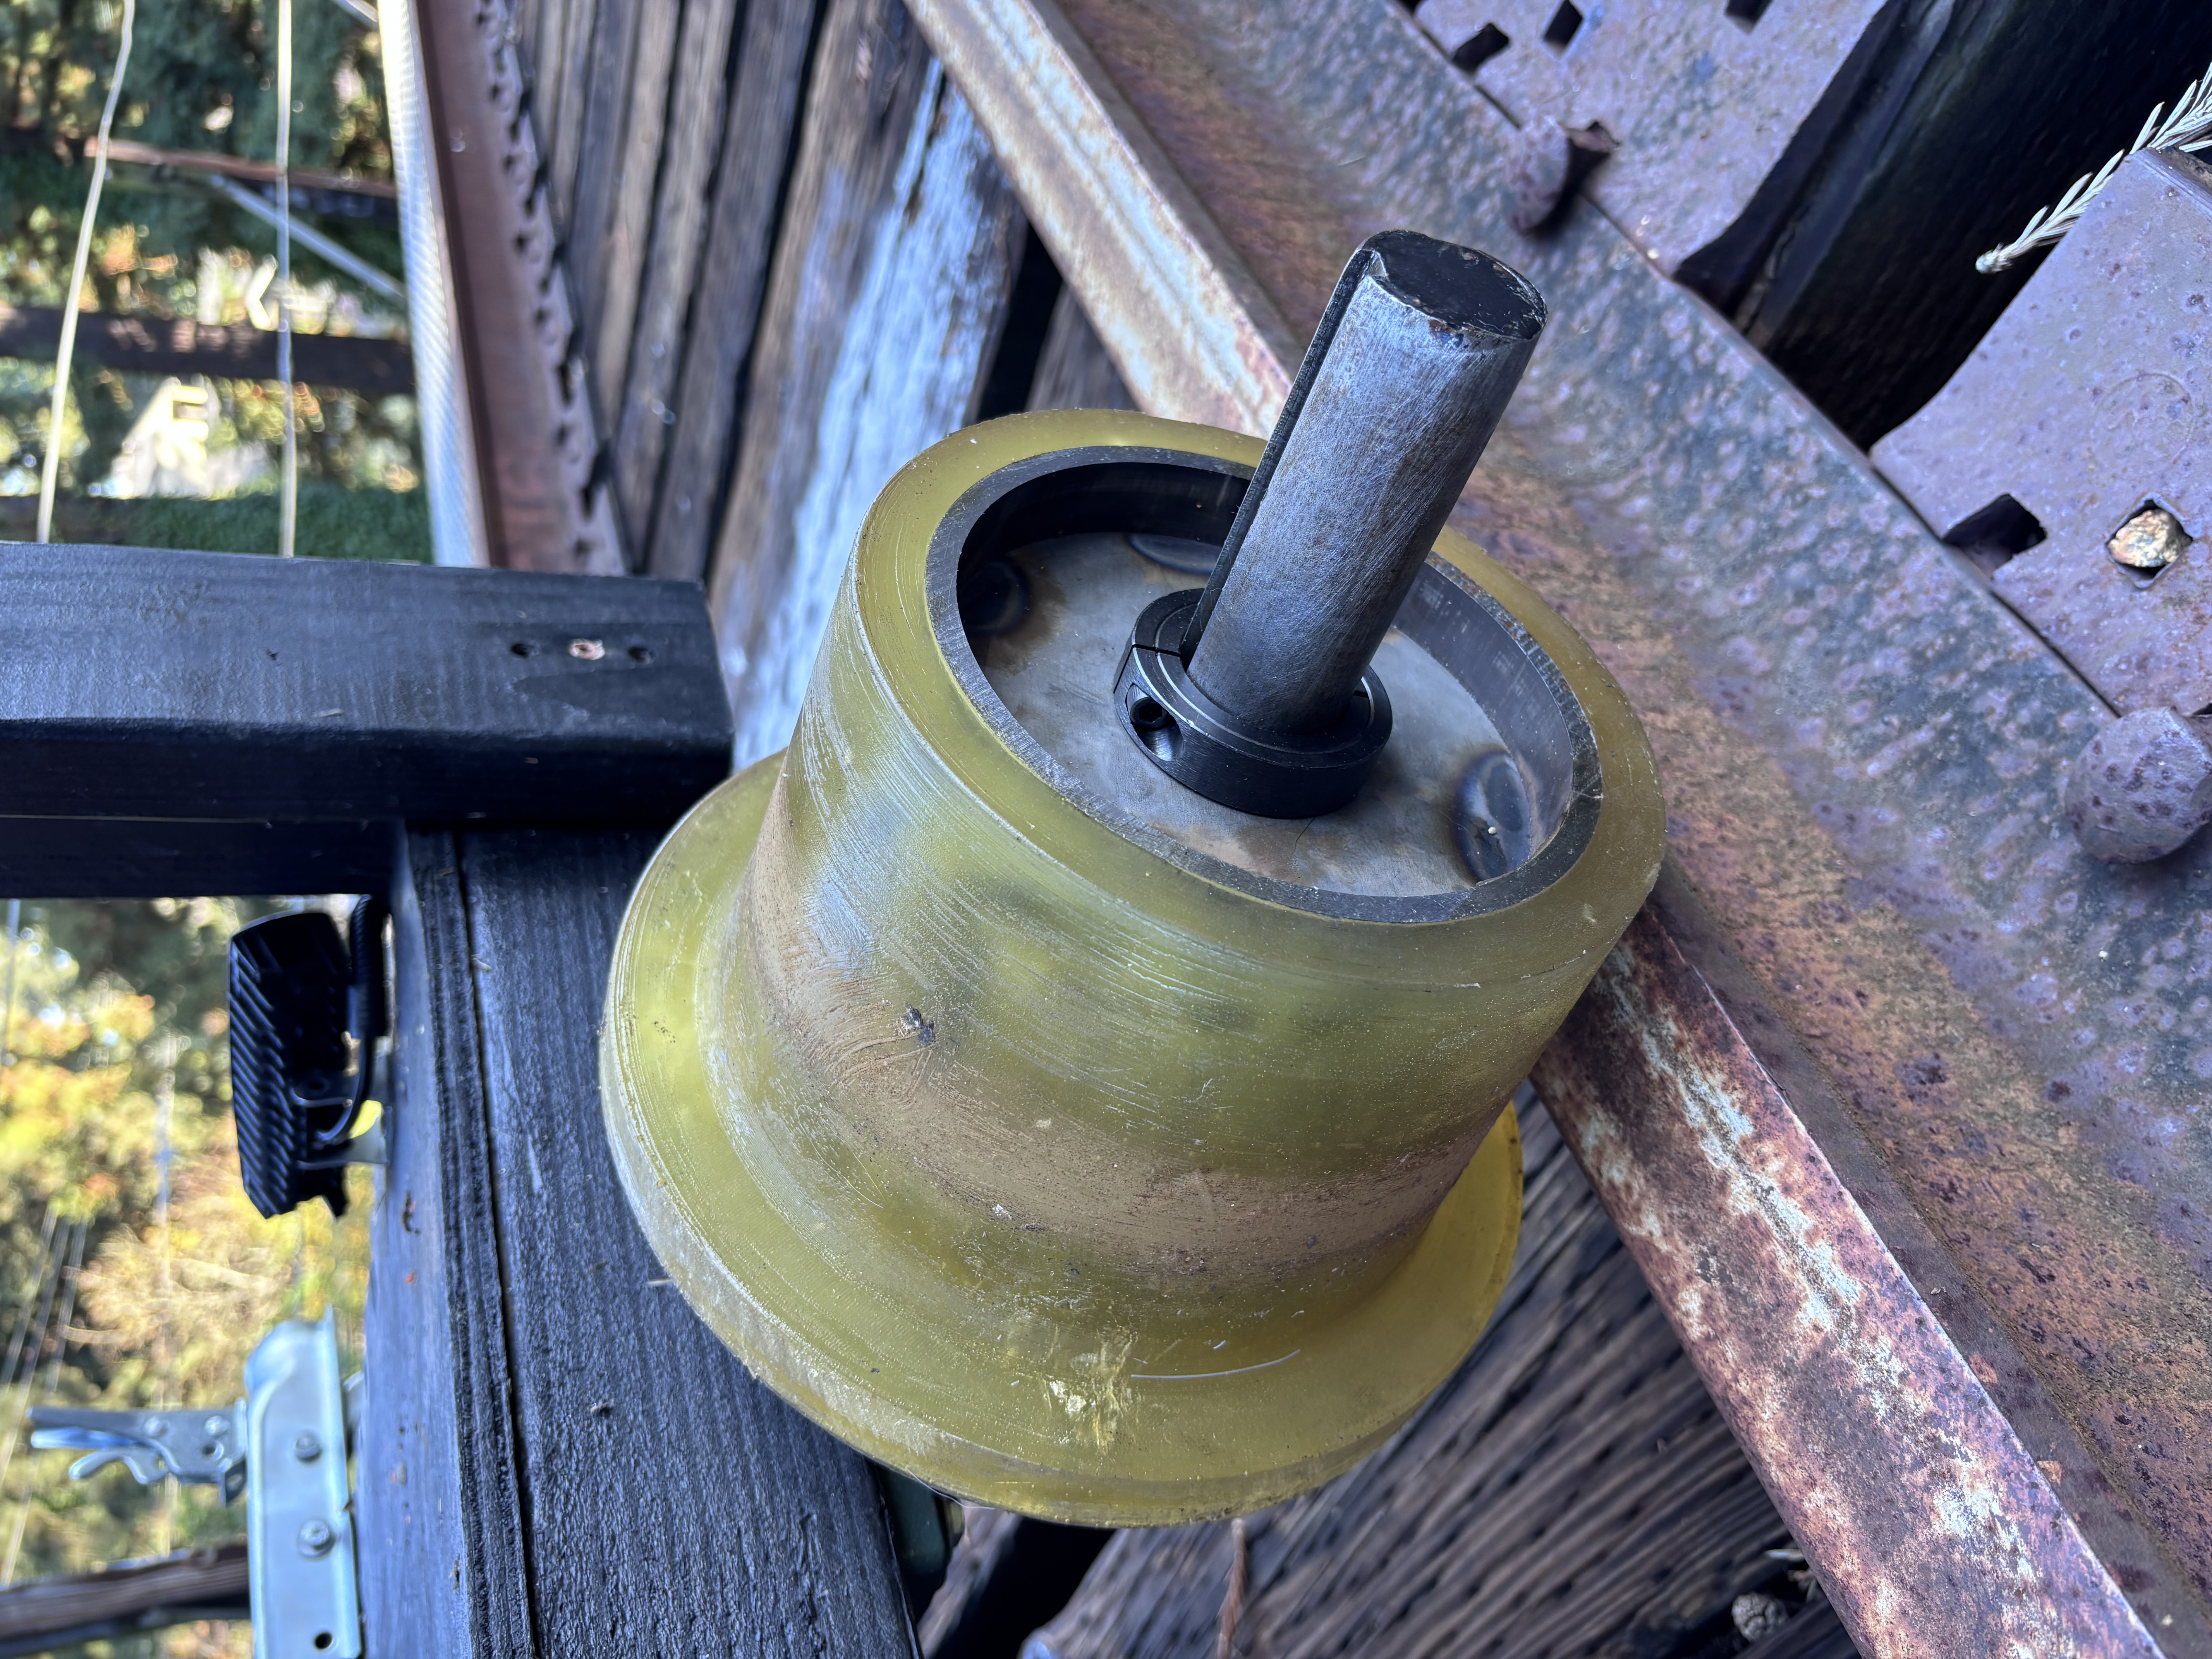
With my second axle and wheel iteration, I decided to cut a keyway in my axles to transfer rotation to the wheels. I learned from my first design that the ability to adjust the track of the wheels was valuable. It also made the wheels far easier to take on and off, and reduced the hardware needed in the design. I used a milling machine at my community college to cut the keyway into each axle. Paired with shaft lock collars, the wheels could slide on and off with ease.
Engine
As an easy to implement and cost efficient option, I chose the Harbor Freight Predator 212cc engine to power the cart. Its 6.5hp is perfect for a full load. It is chain driven to the axle through a sprocket, providing just enough torque to get started while topping out at a top speed of around 30mph, which is incredibly fast on a little cart.
Miscellaneous
Many other small things turn the railcart into a fun and functional project.
Stopping power comes from ATV brakes, with the calipers mounted on the frame and the discs mounted on the axle. A lever next to the drivers seat operates the brakes through linkage that extends under the cart into the pushrods of two master cylinders..
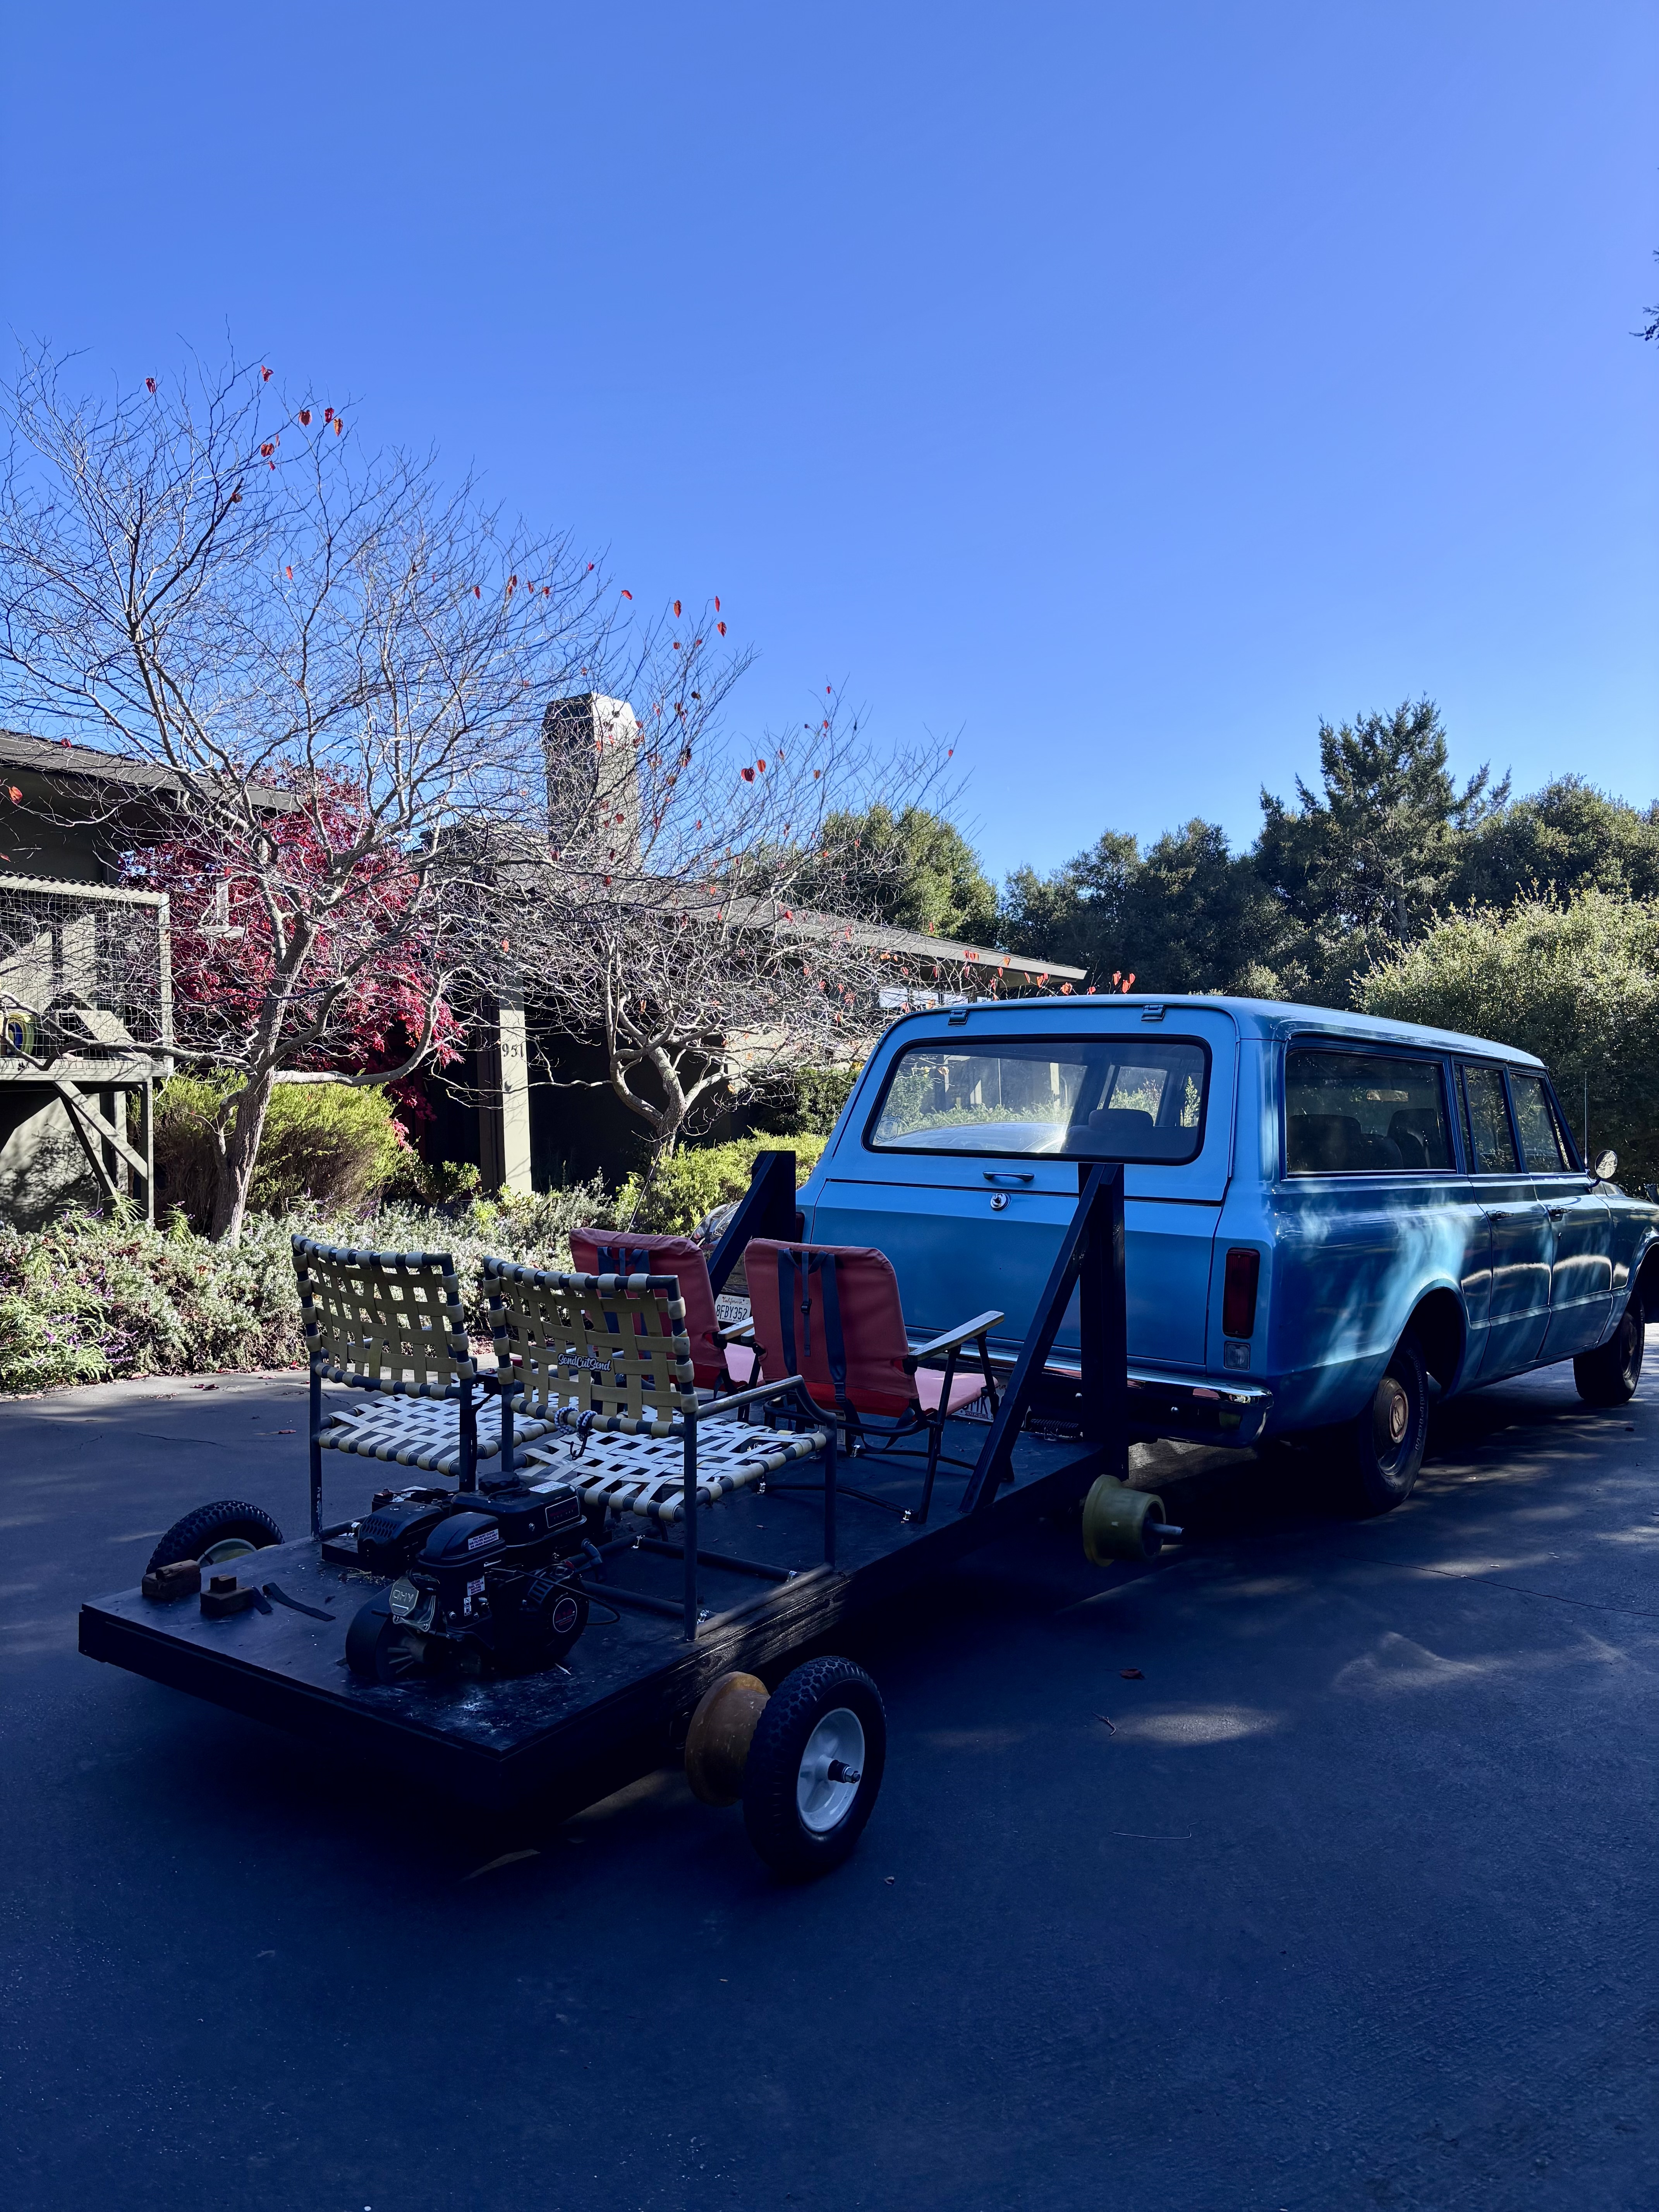
The railcart is transported with a tow hitch mounted on the front. Wagon wheels with independent bearings attach to the rear axles, and the cart gets towed down my road to the tracks (around a 5 minute drive).
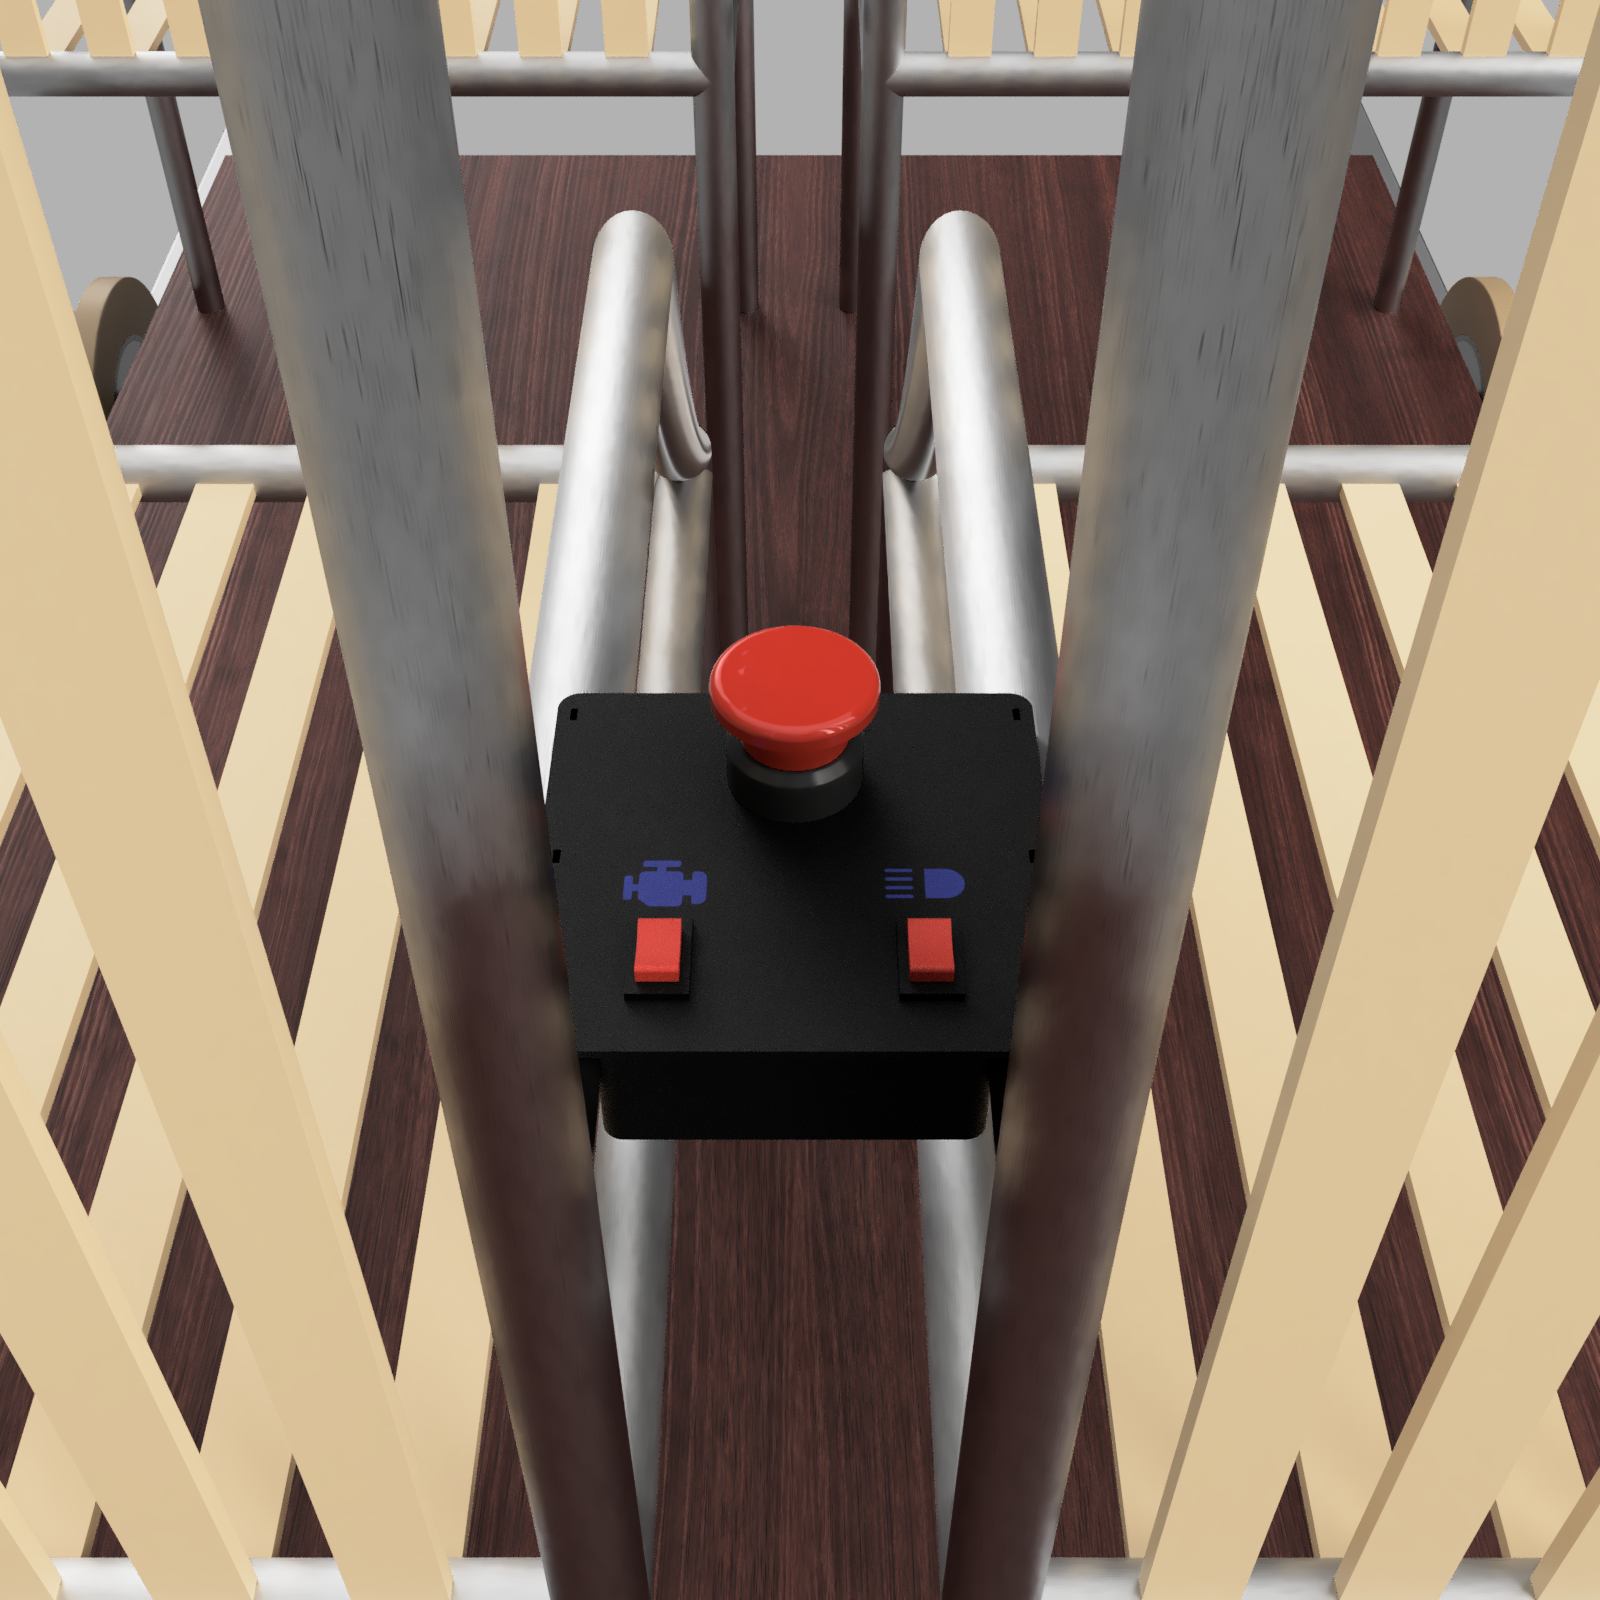
Encompassing the electrical system are lights mounted at the front, so after a sunset drive I can make it back home in the dark. In addition, a compressed air horn wired to a comically large red button lets people know I’m coming down the track. These controls and an engine killswitch are wired to a 3D-printed control box at the front.
Lessons Learned
This project didn’t necessarily challenge my technical skills. Building the frame, assembling the wheel design, and mounting the peripherals were relatively easy. Instead, this project was an unforgiving lesson on how necessary it is to spend the money where it needs to be spent.
The first iteration of the railcart used thin axles with only two mounting points and ¼ inch of polyurethane on the wheels. The axles were completely unusable, so I upgraded those. After a test drive with the 1.5 inch axles, I realized my intention to minimize the expensive polyurethane on the wheels was a mistake. The contact patch of polyurethane on the rails was so small that the conical wheels had no effect. The cart would not self-center and would bang back and forth against its own metal flanges. Eventually, the thin polyurethane got so hot it fell off the hub completely on two wheels.
I ended up spending far more money than I needed to on this cart from fixing my mistakes, all which were attributed to trying to save money initially. I’ll be far more conscious of this in the future, where this lesson will affect my designs and goals for my projects.