Electric E30
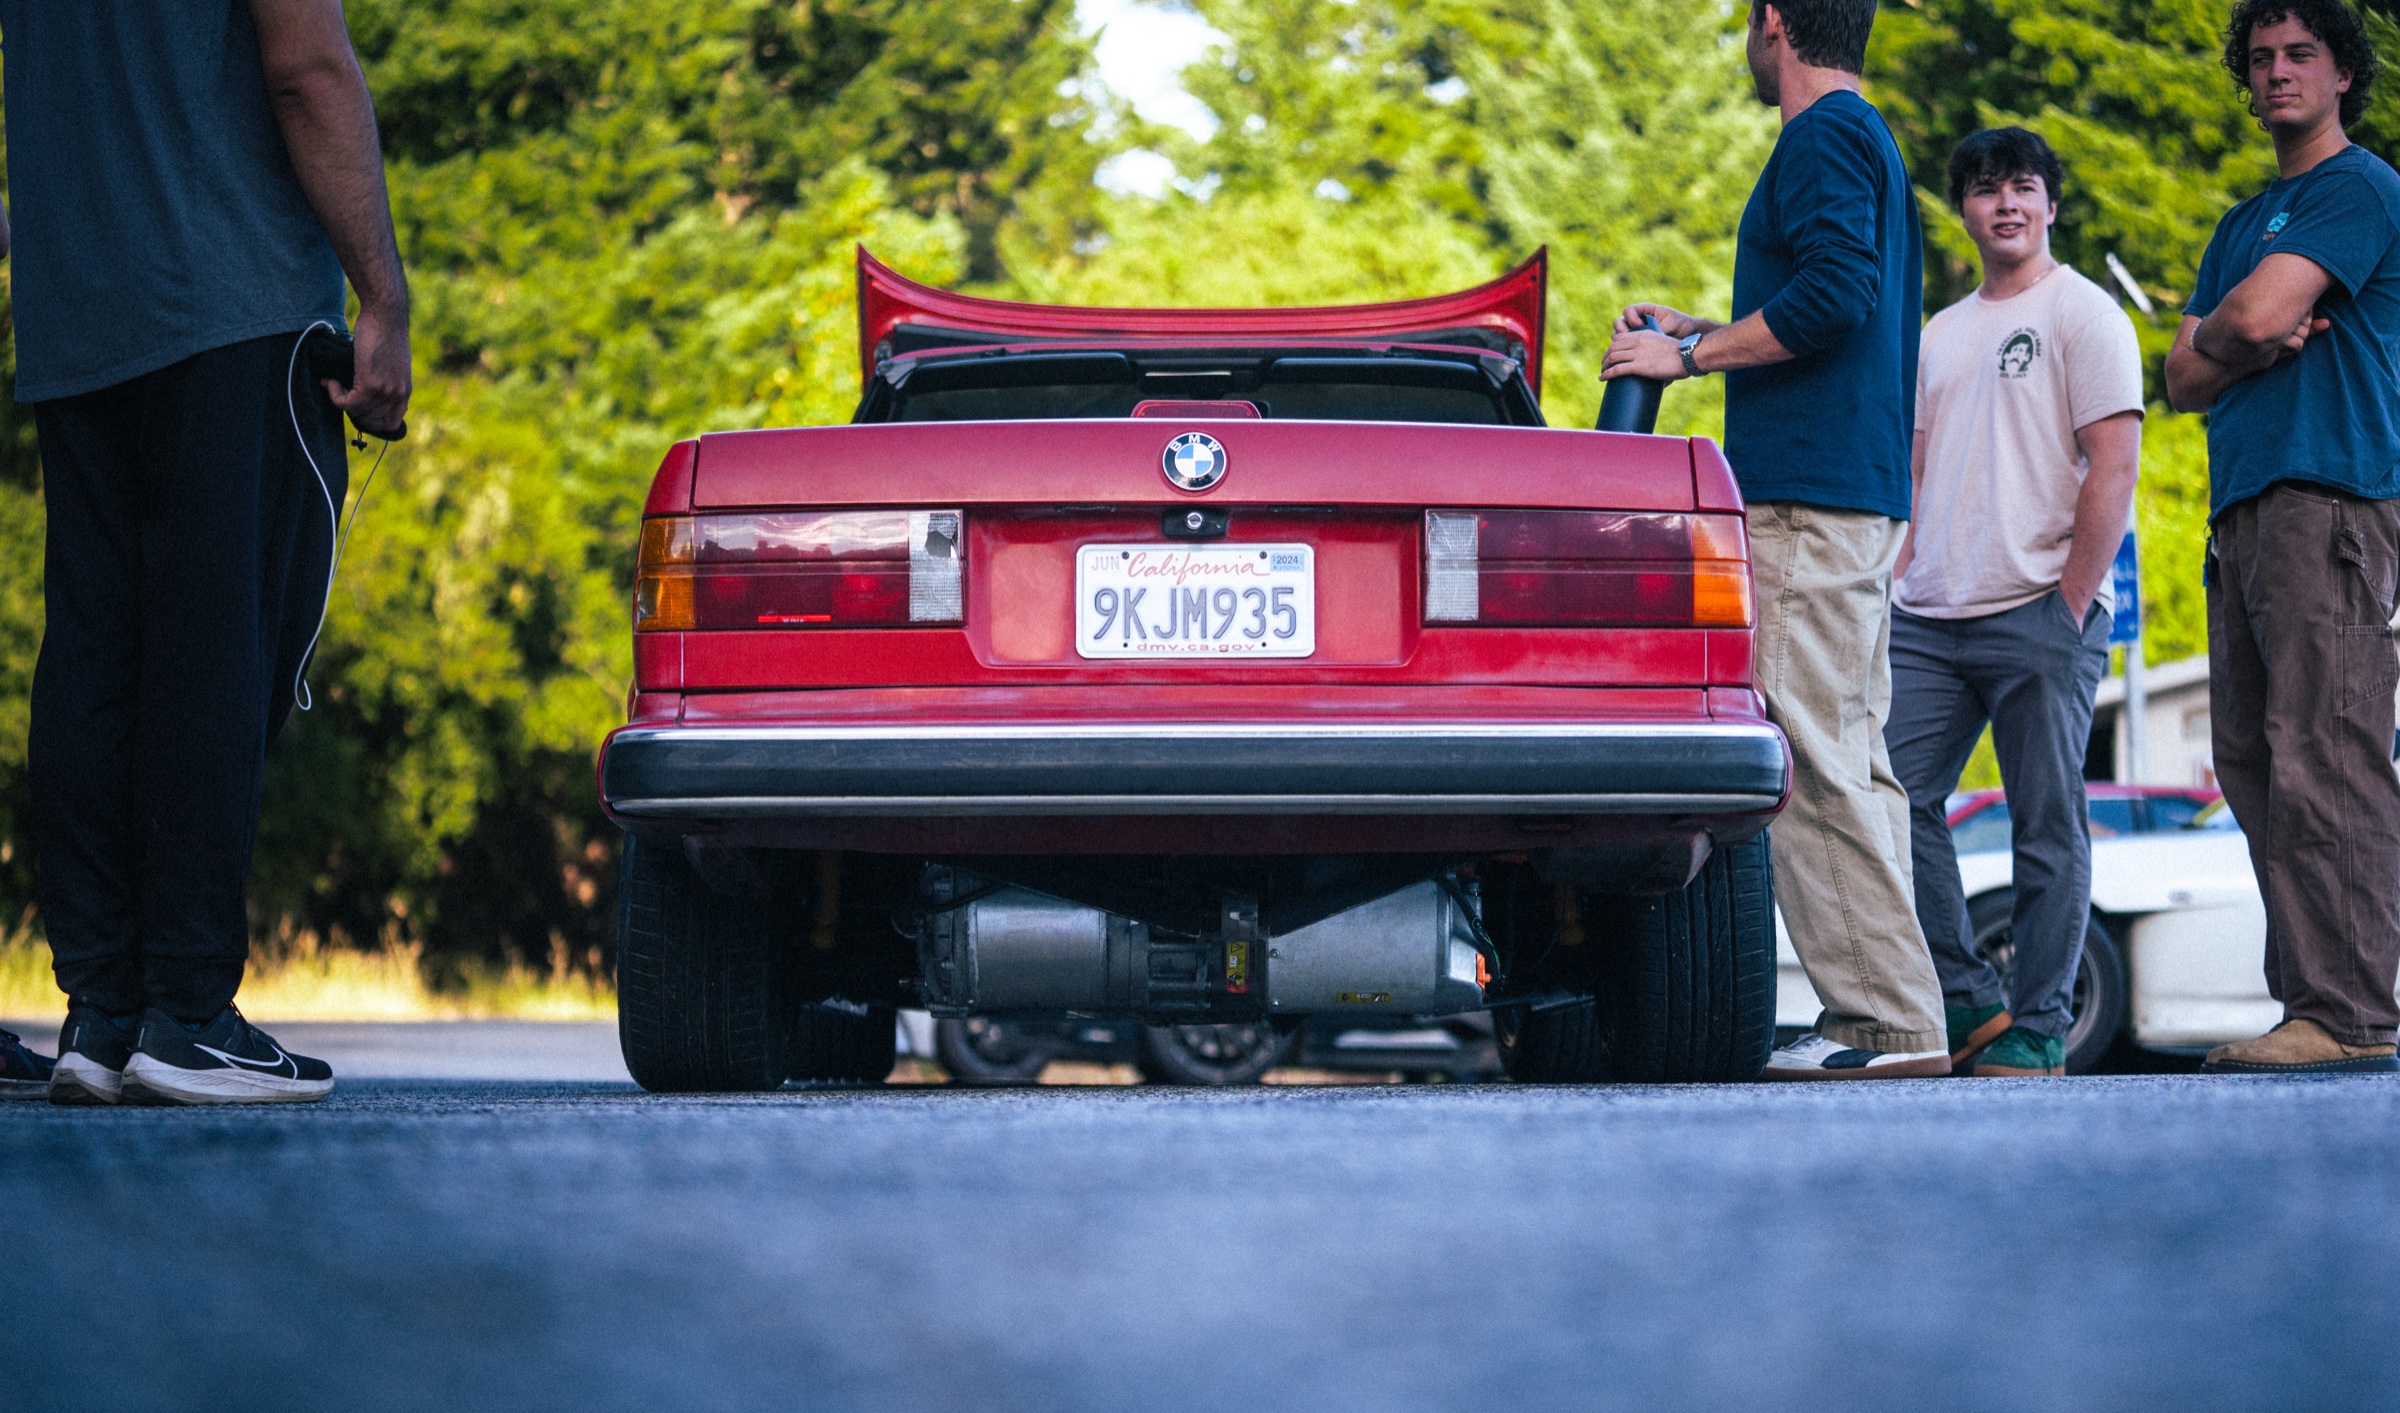
← All ProjectsThis is a detailed build page of this project, covering every aspect from components to the challenges I faced. Since April of 2023, the E30 has served me reliably as a daily driver.
Background and Inspiration
When I was 16, a friend bought his first car. 5 minutes into our first drive up Highway 9 in his WRX, I was hooked. I needed something like that for myself.

My dad was always big on DIY, and I grew up working on all types of projects with him. I didn’t want to buy a fast car; I wanted to build one. I started looking at LS swaps because I loved the idea of having a huge engine in a small body. Somewhere in my research, I stumbled across the idea of electric conversions. A niche community repurposing old EV parts in their own classic cars caught my attention openinverter.org.
So, in my 16-year-old naivety, I deemed this a reasonable project to take on.
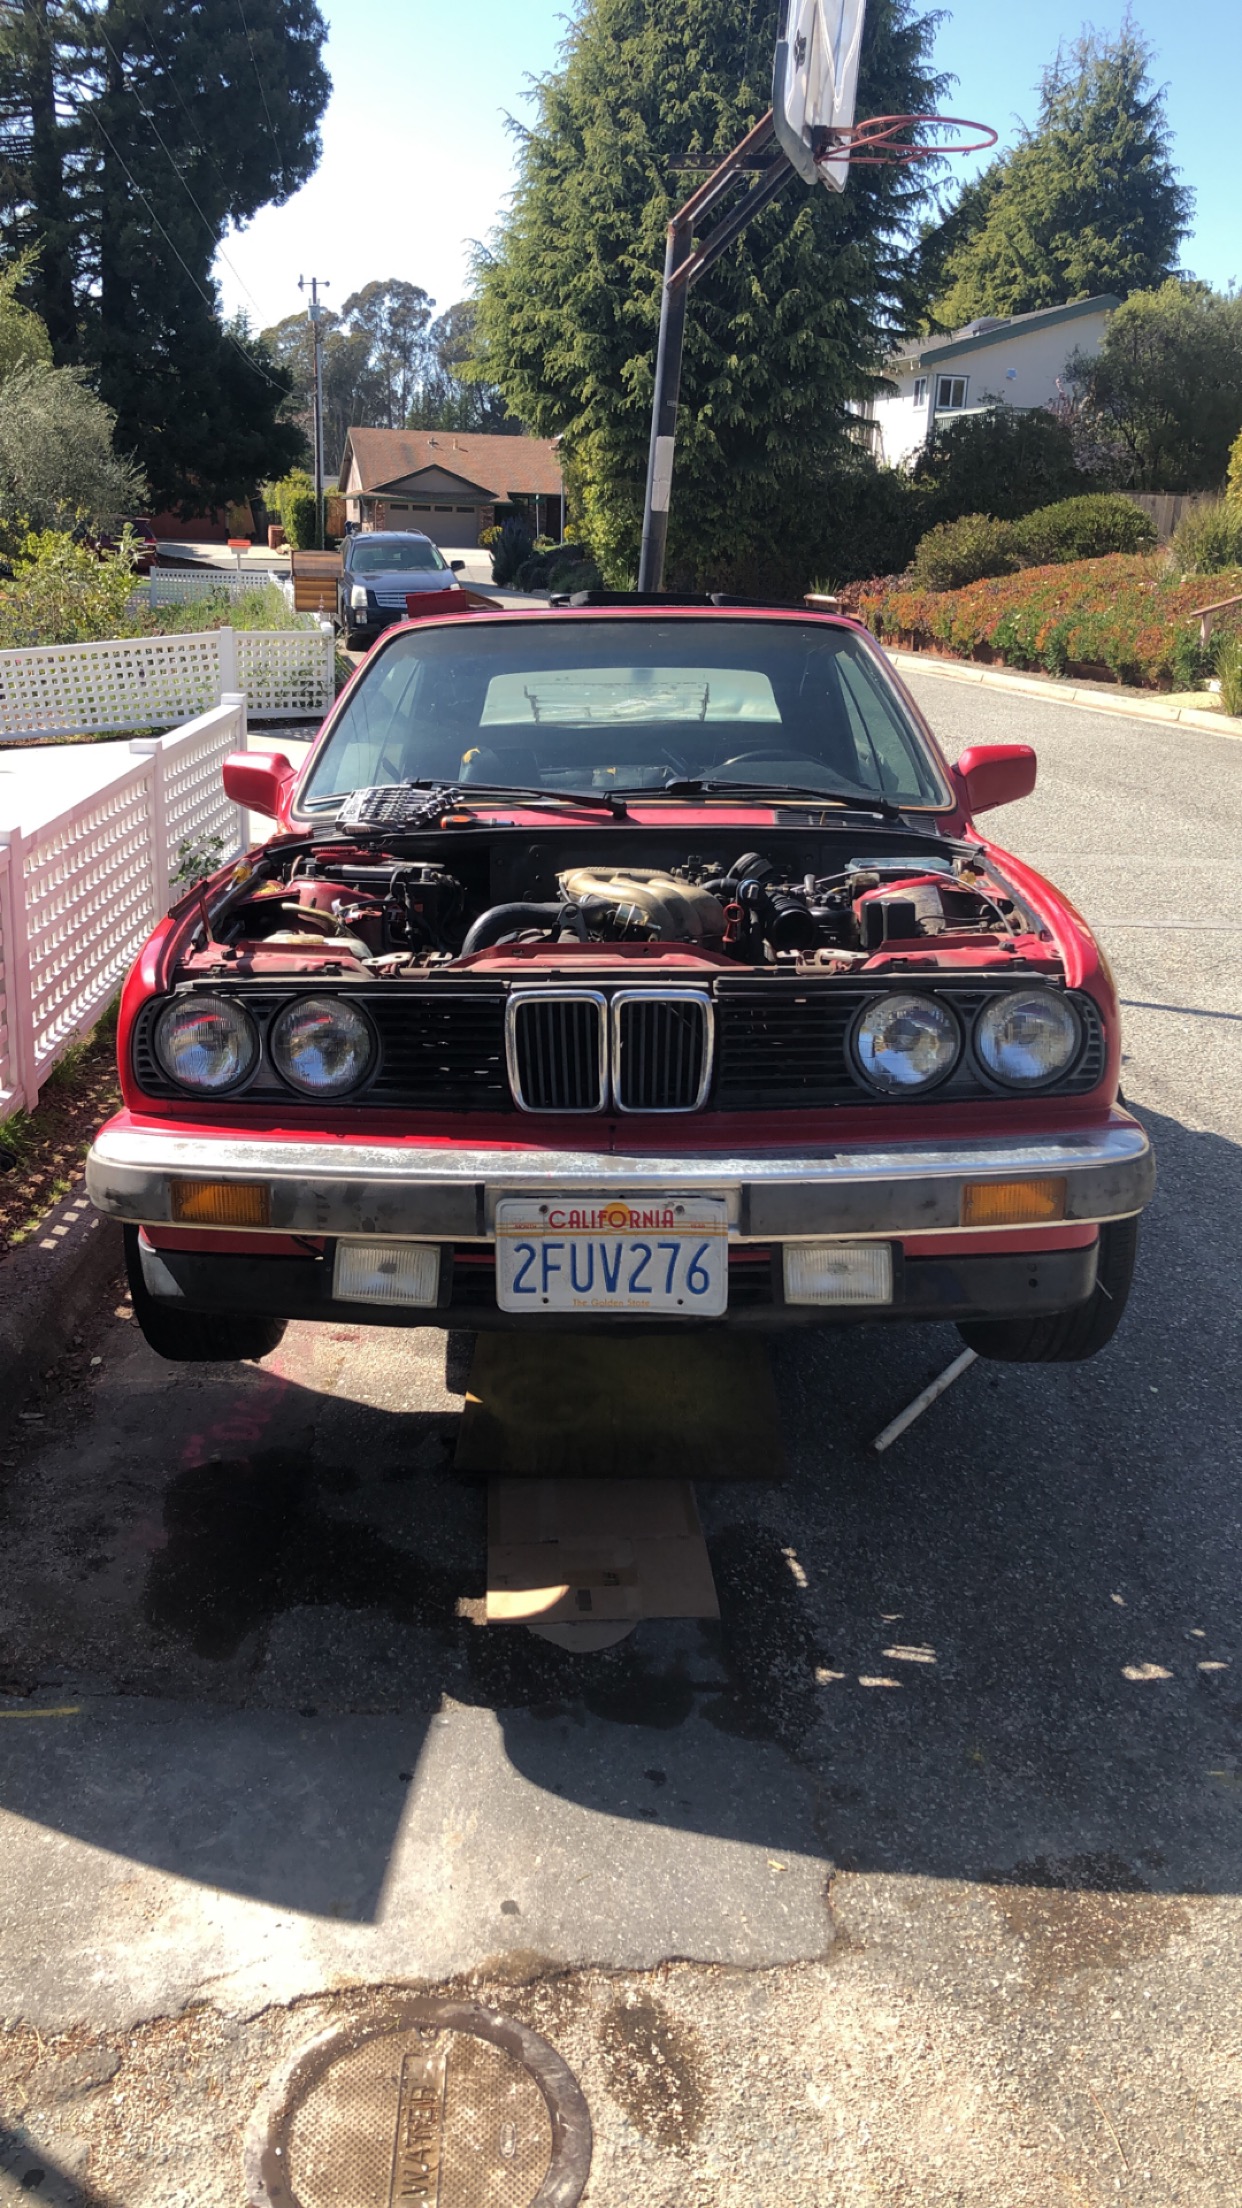
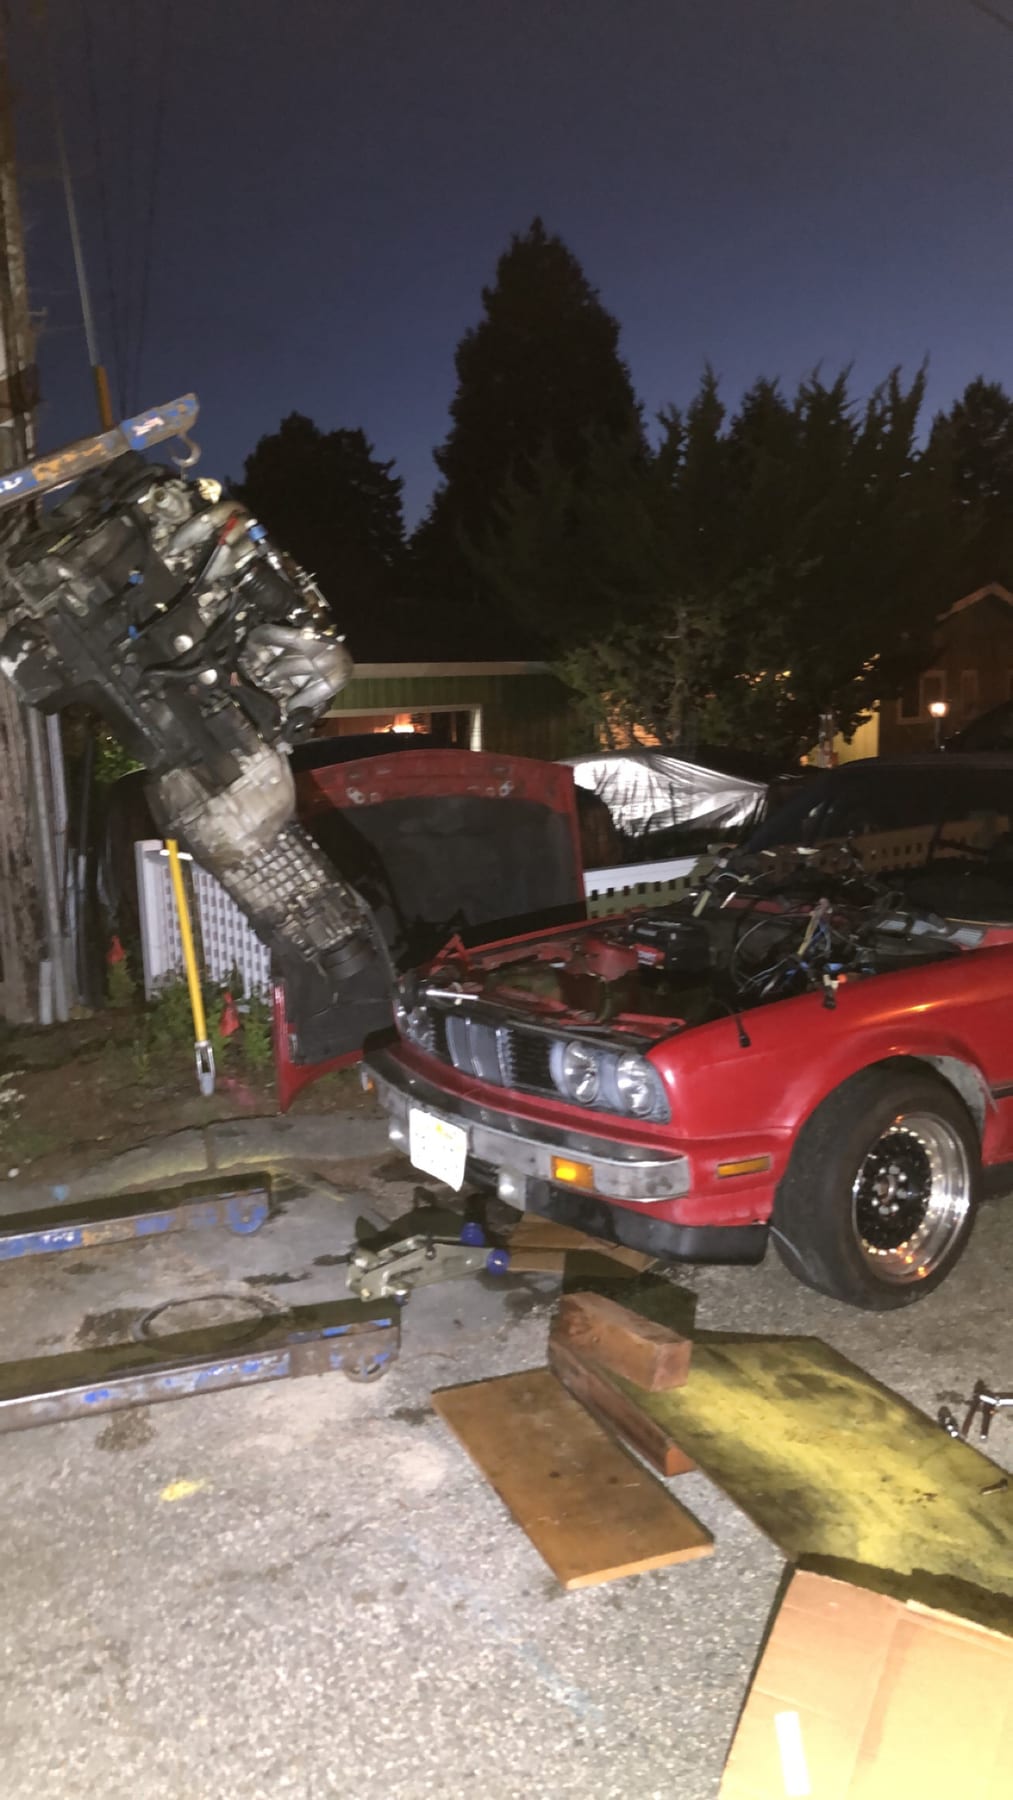
I found this E30 in San Francisco, where the $1,500 price tag and failing engine checked every box I had. The struggling engine moved the car at a painful 30mph with the pedal floored, so getting home to Aptos was a journey. Once it was home, I got to work. I pulled the gas tank and lines, driveshaft, differential, and finally the engine. Anything that had to do with the gas system came out. Time for the real work to start.
Motor, Control, and Mounting
My decision to use a Tesla Large Drive Unit (LDU) was due to the low cost, high availability, aftermarket support, and, of course, the power. There was plenty of documentation on using the LDUs for conversions on the OpenInverter website.
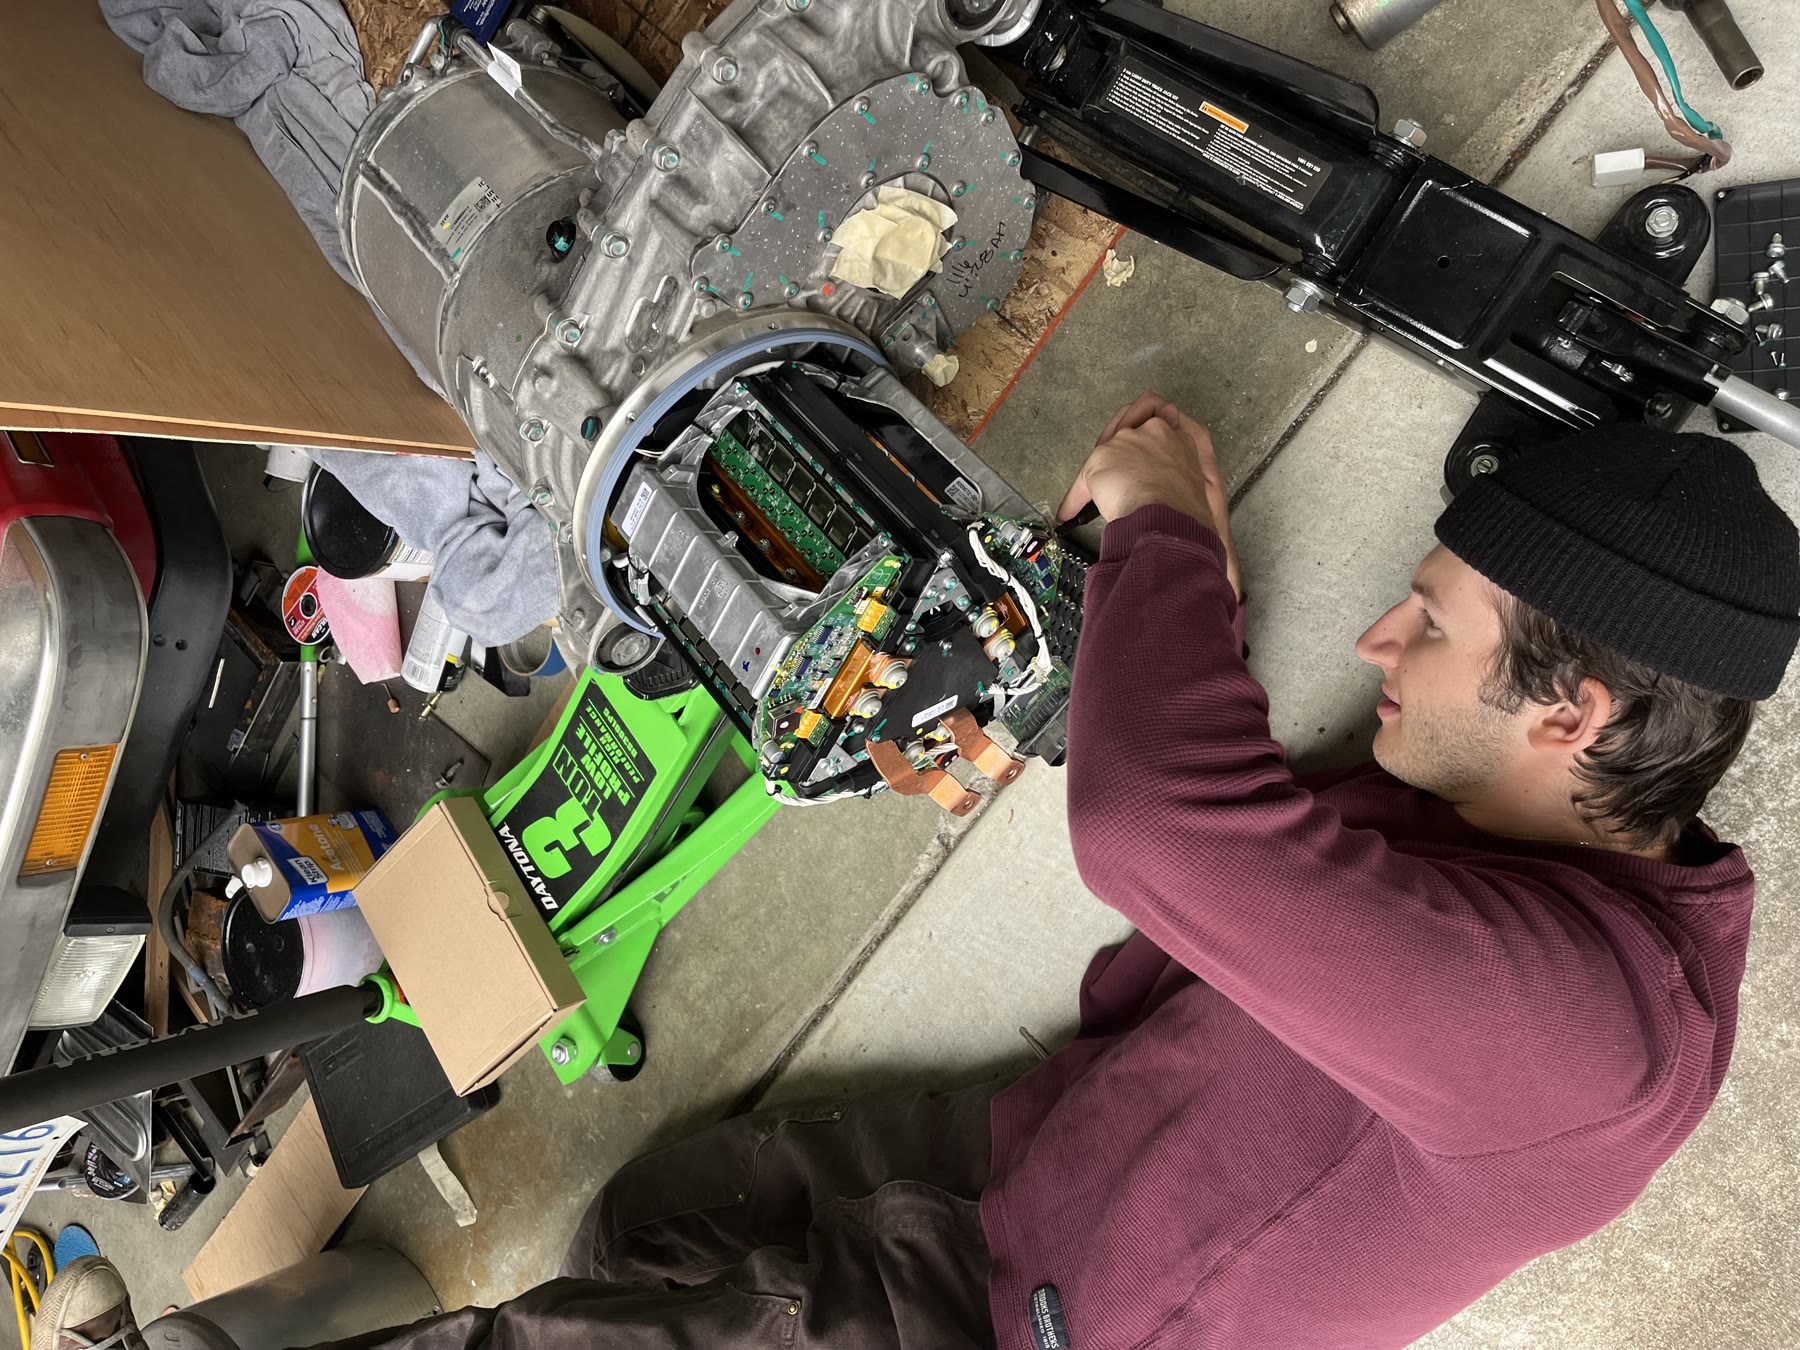
For control, I used an OpenInverter logic board. This board is a drop-in replacement for the logic board in the inverter section of the LDU. It manages the HV into the motor, controlling the precharge circuit and startup sequence. It handles direction, speed/position, and other necessary commands through 12V signals into the board's GPIO. There is also a CAN interface for retrieving data and sending every command needed to run the motor. Due to my lack of a central Vehicle Control Unit, the pedal and direction switch are wired without the CAN interface.
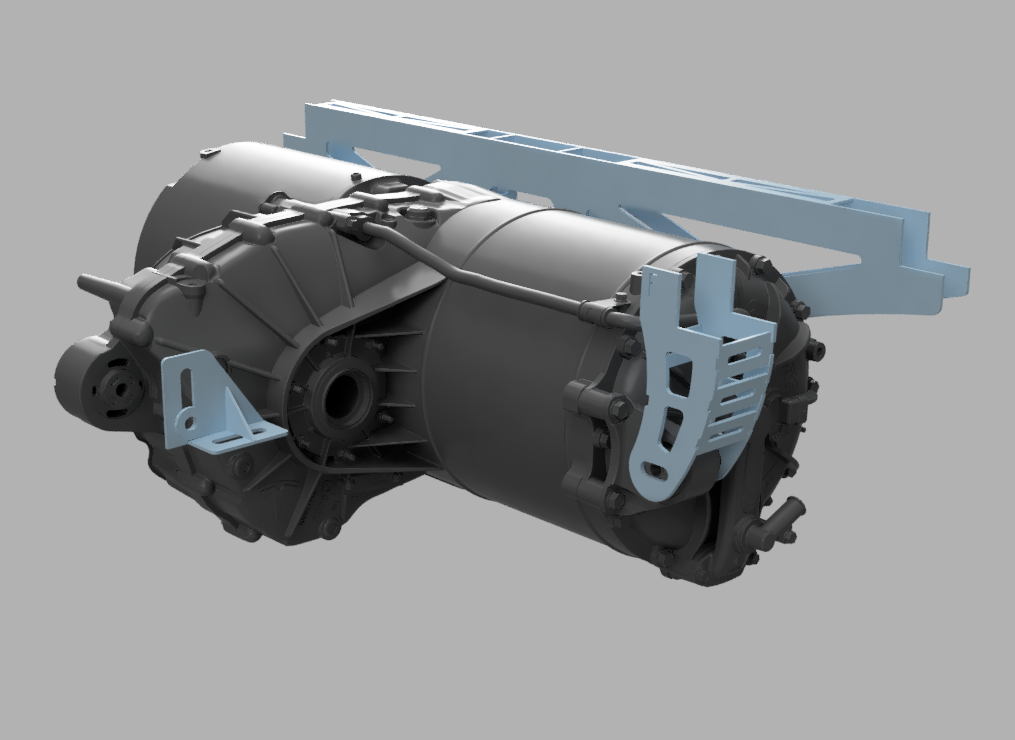
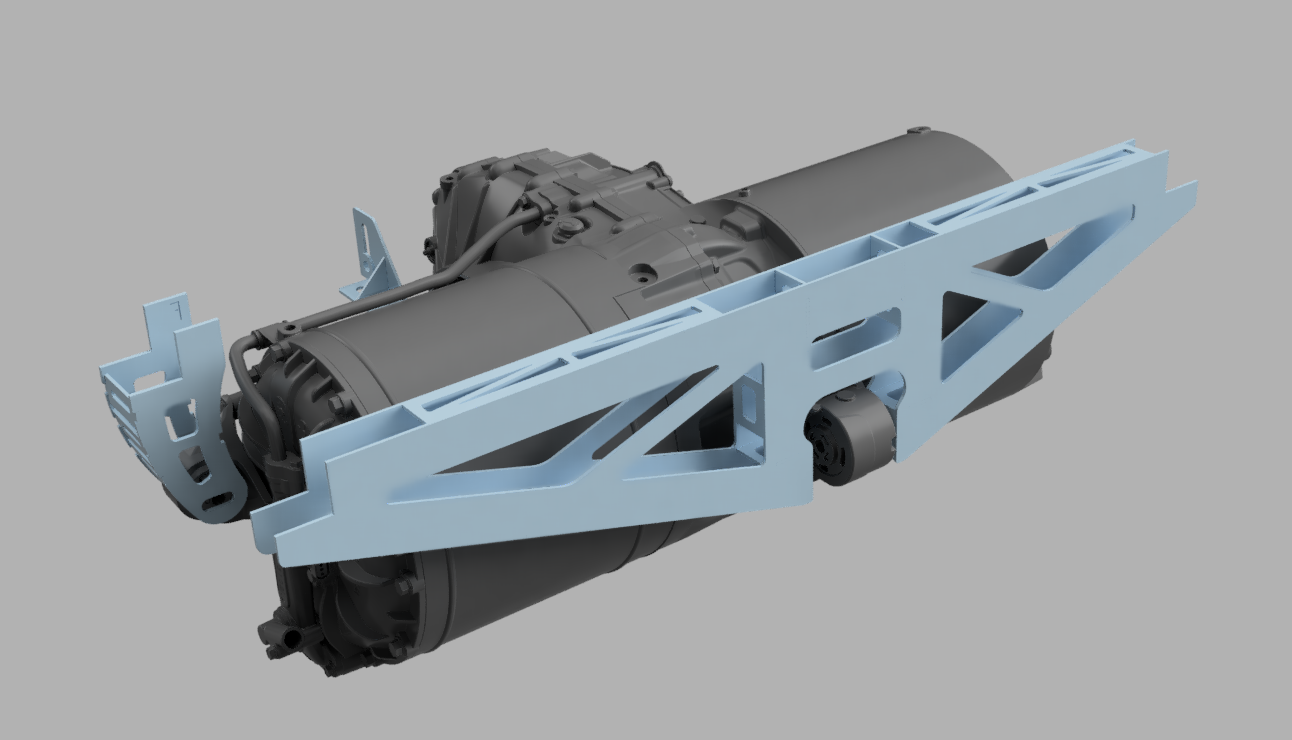
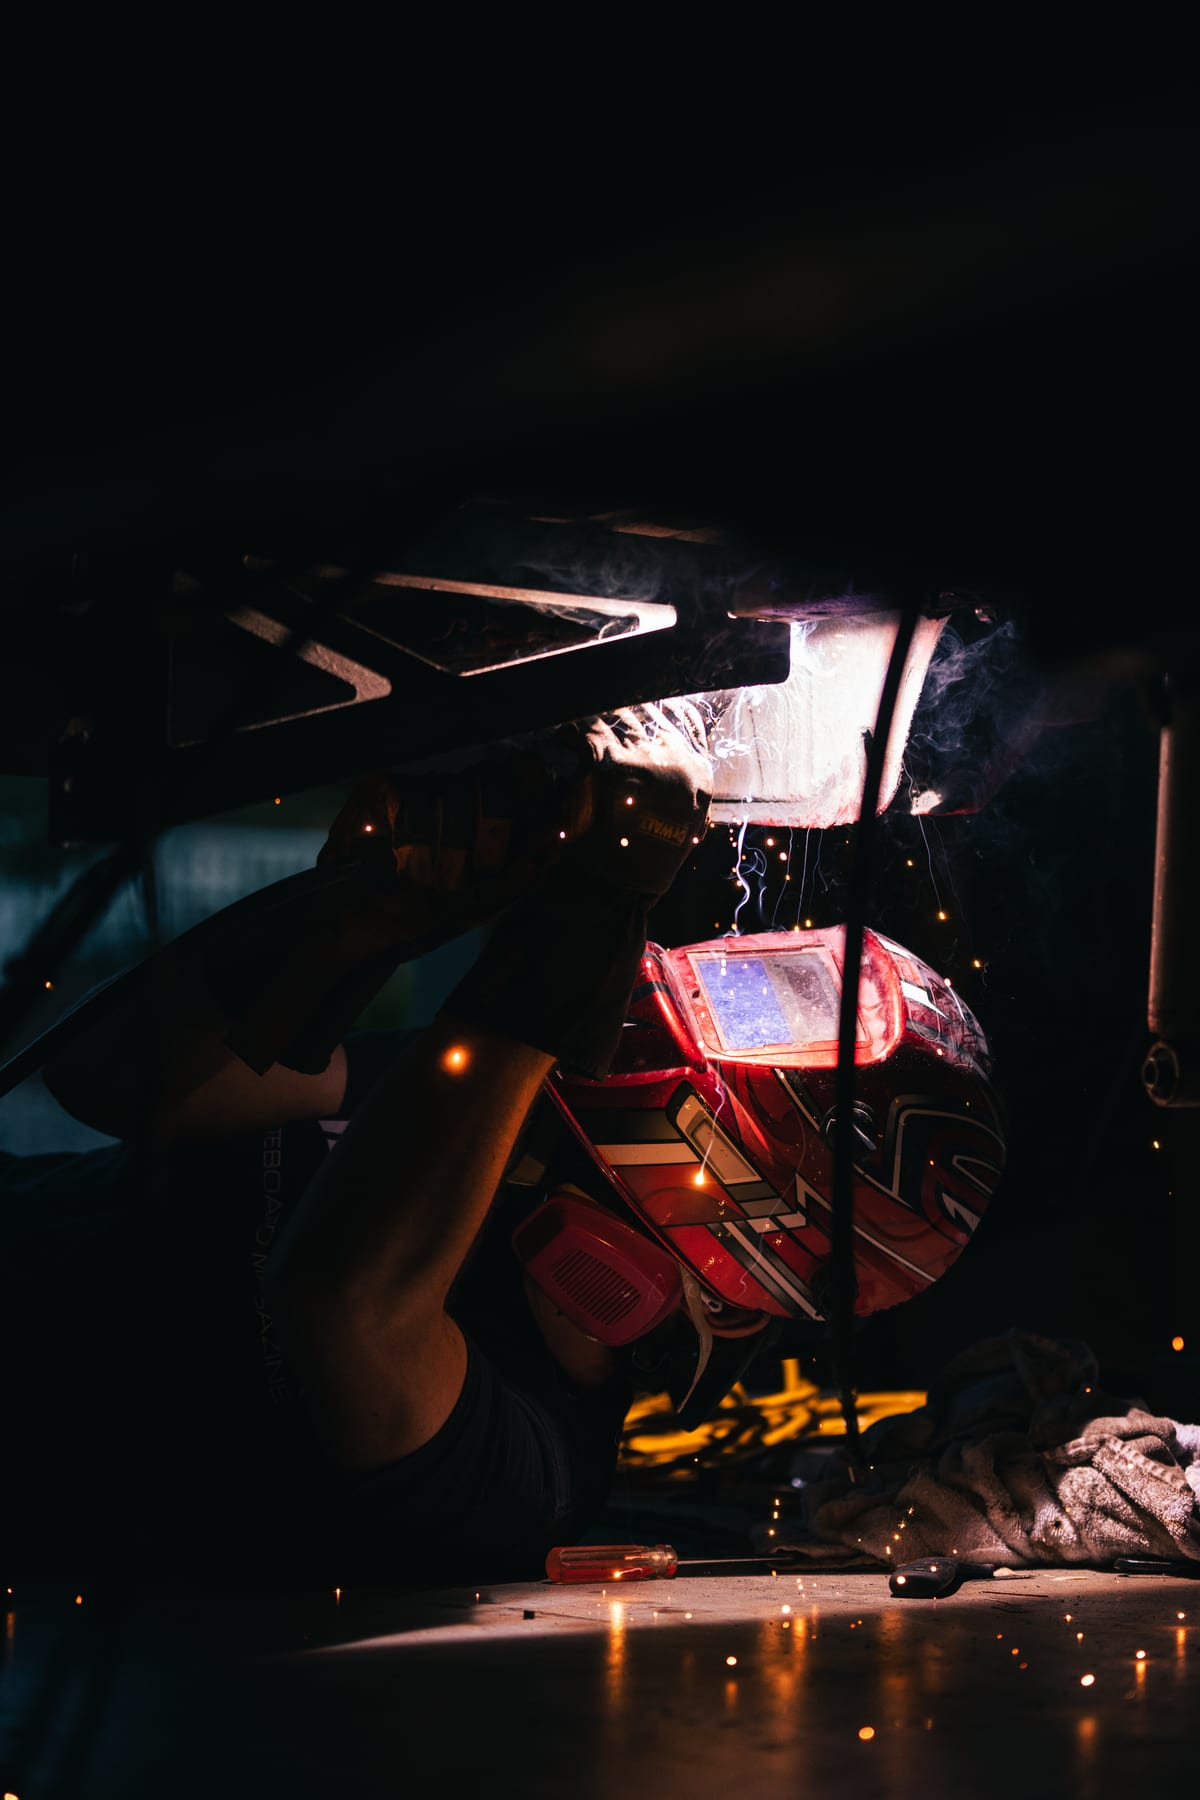
Mounting the LDU was my favorite challenge I approached during this conversion. Budget was my biggest constraint when building this project as a high school student, so using a 3D scanner wasn’t an option. Instead, using the old differential mounting points as a reference, I found where the LDU should be mounted. A crossbeam on the frame of the car occupied the space where the motor needed to sit, which presented additional challenges. I removed this crossbeam and instead combined it into the rear LDU mount which bears the most load. The side mount, which supports the motor section of the LDU, attaches to the same frame rail that the rear mount does. The front mount adapts the old differential mount to the differential section of the motor. Later, this mount was strengthened by adding a third mounting point to the subframe, which the differential is mounted to.
I designed the mounts to be cut out of sheet metal, using tabs and slots to ensure fitment and make assembly easier. The mounts were designed to have as many repeated parts as possible, decreasing the cost of the sheet metal. These were ordered from SendCutSend and were welded straight to the existing frame of the car.
High Voltage System
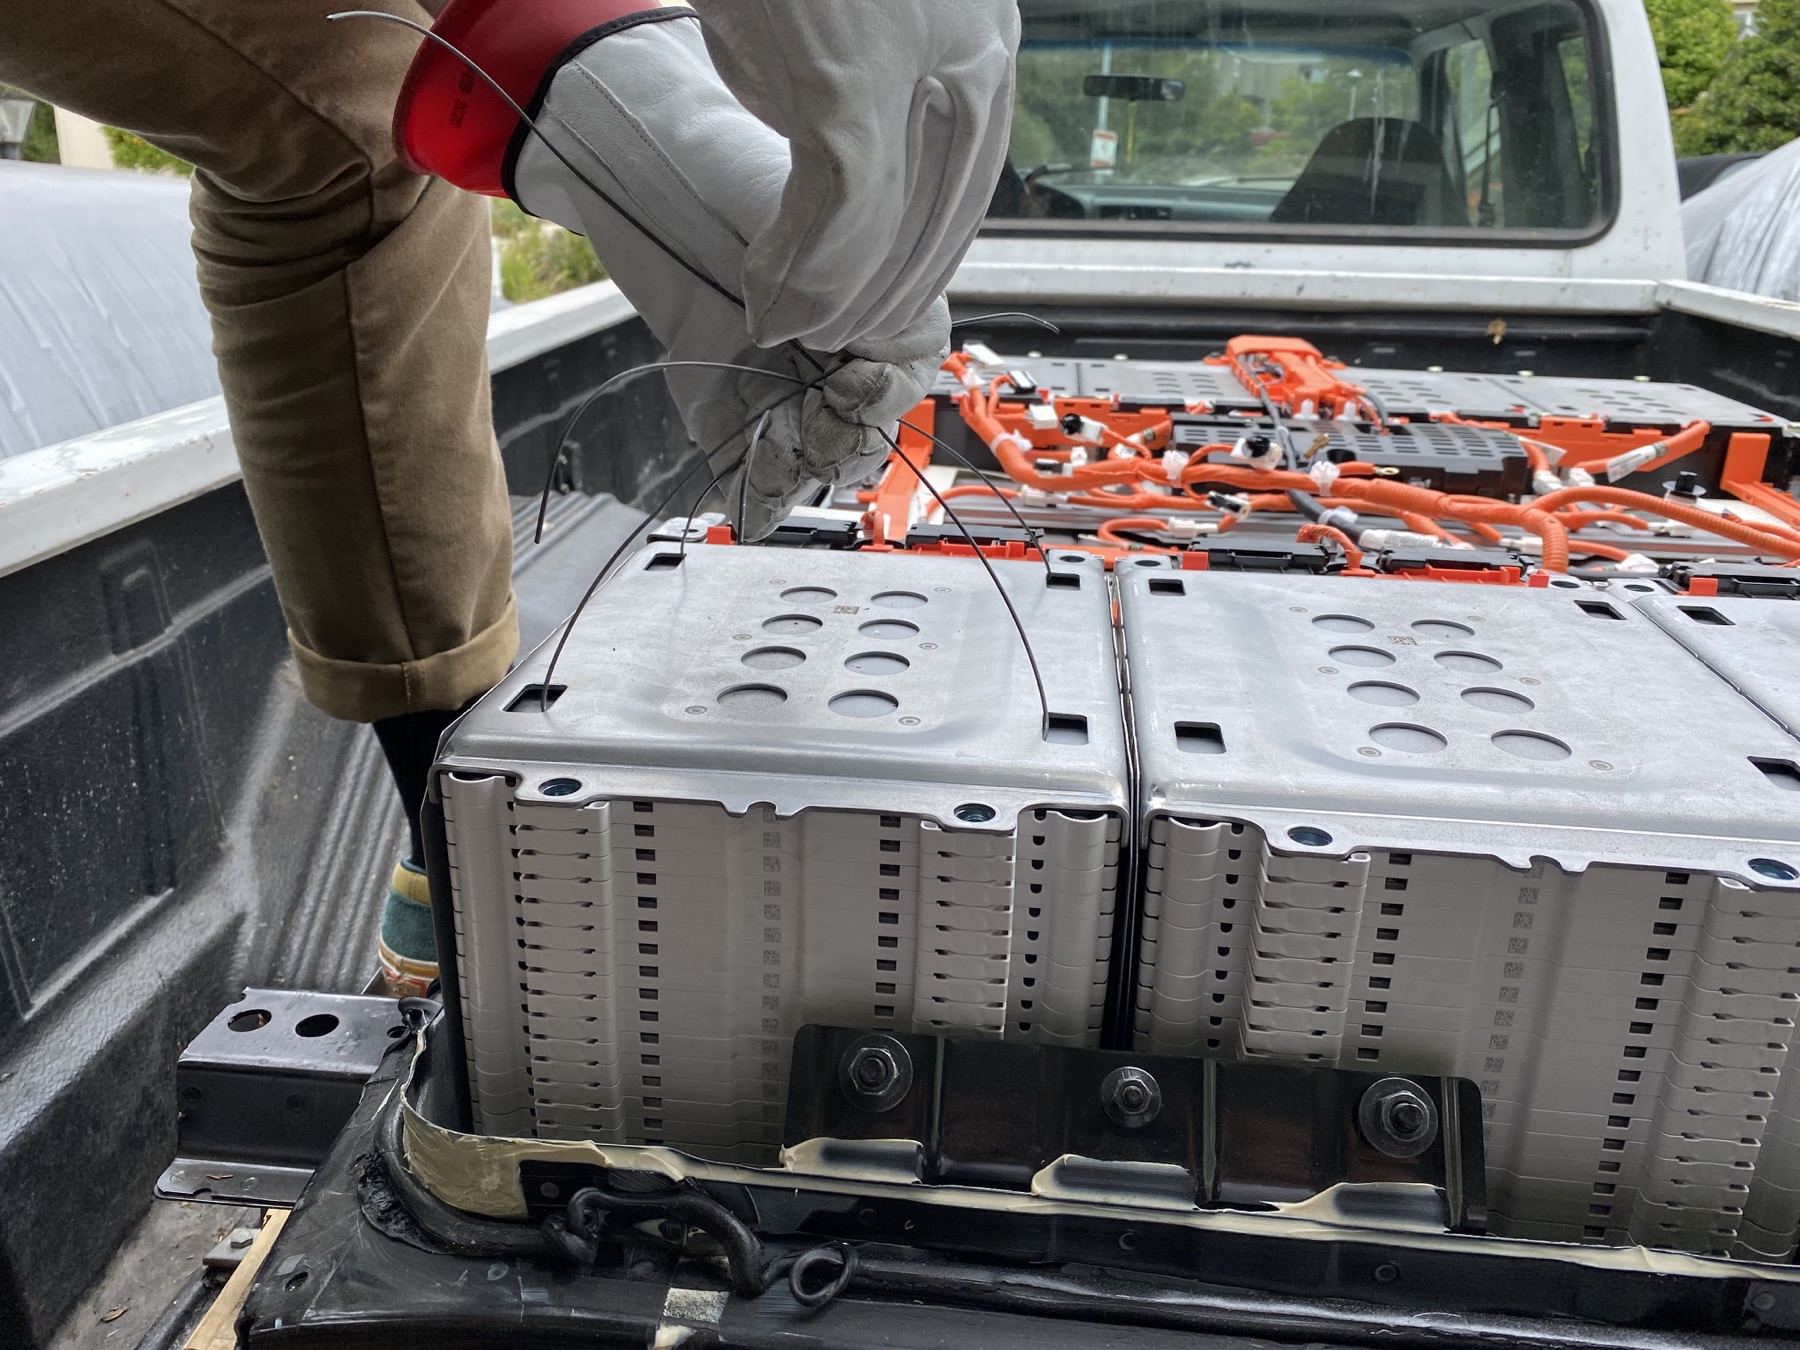
The batteries were the first, and most expensive component I purchased for the car. Found at a wrecker in Oakland, this 62kwh Long Range Nissan Leaf pack was fresh from the factory. I used this rather lackluster pack simply because at the time of purchase, it was half the price of a Tesla pack. It also uses passive cooling, which made these batteries slightly easier to integrate.
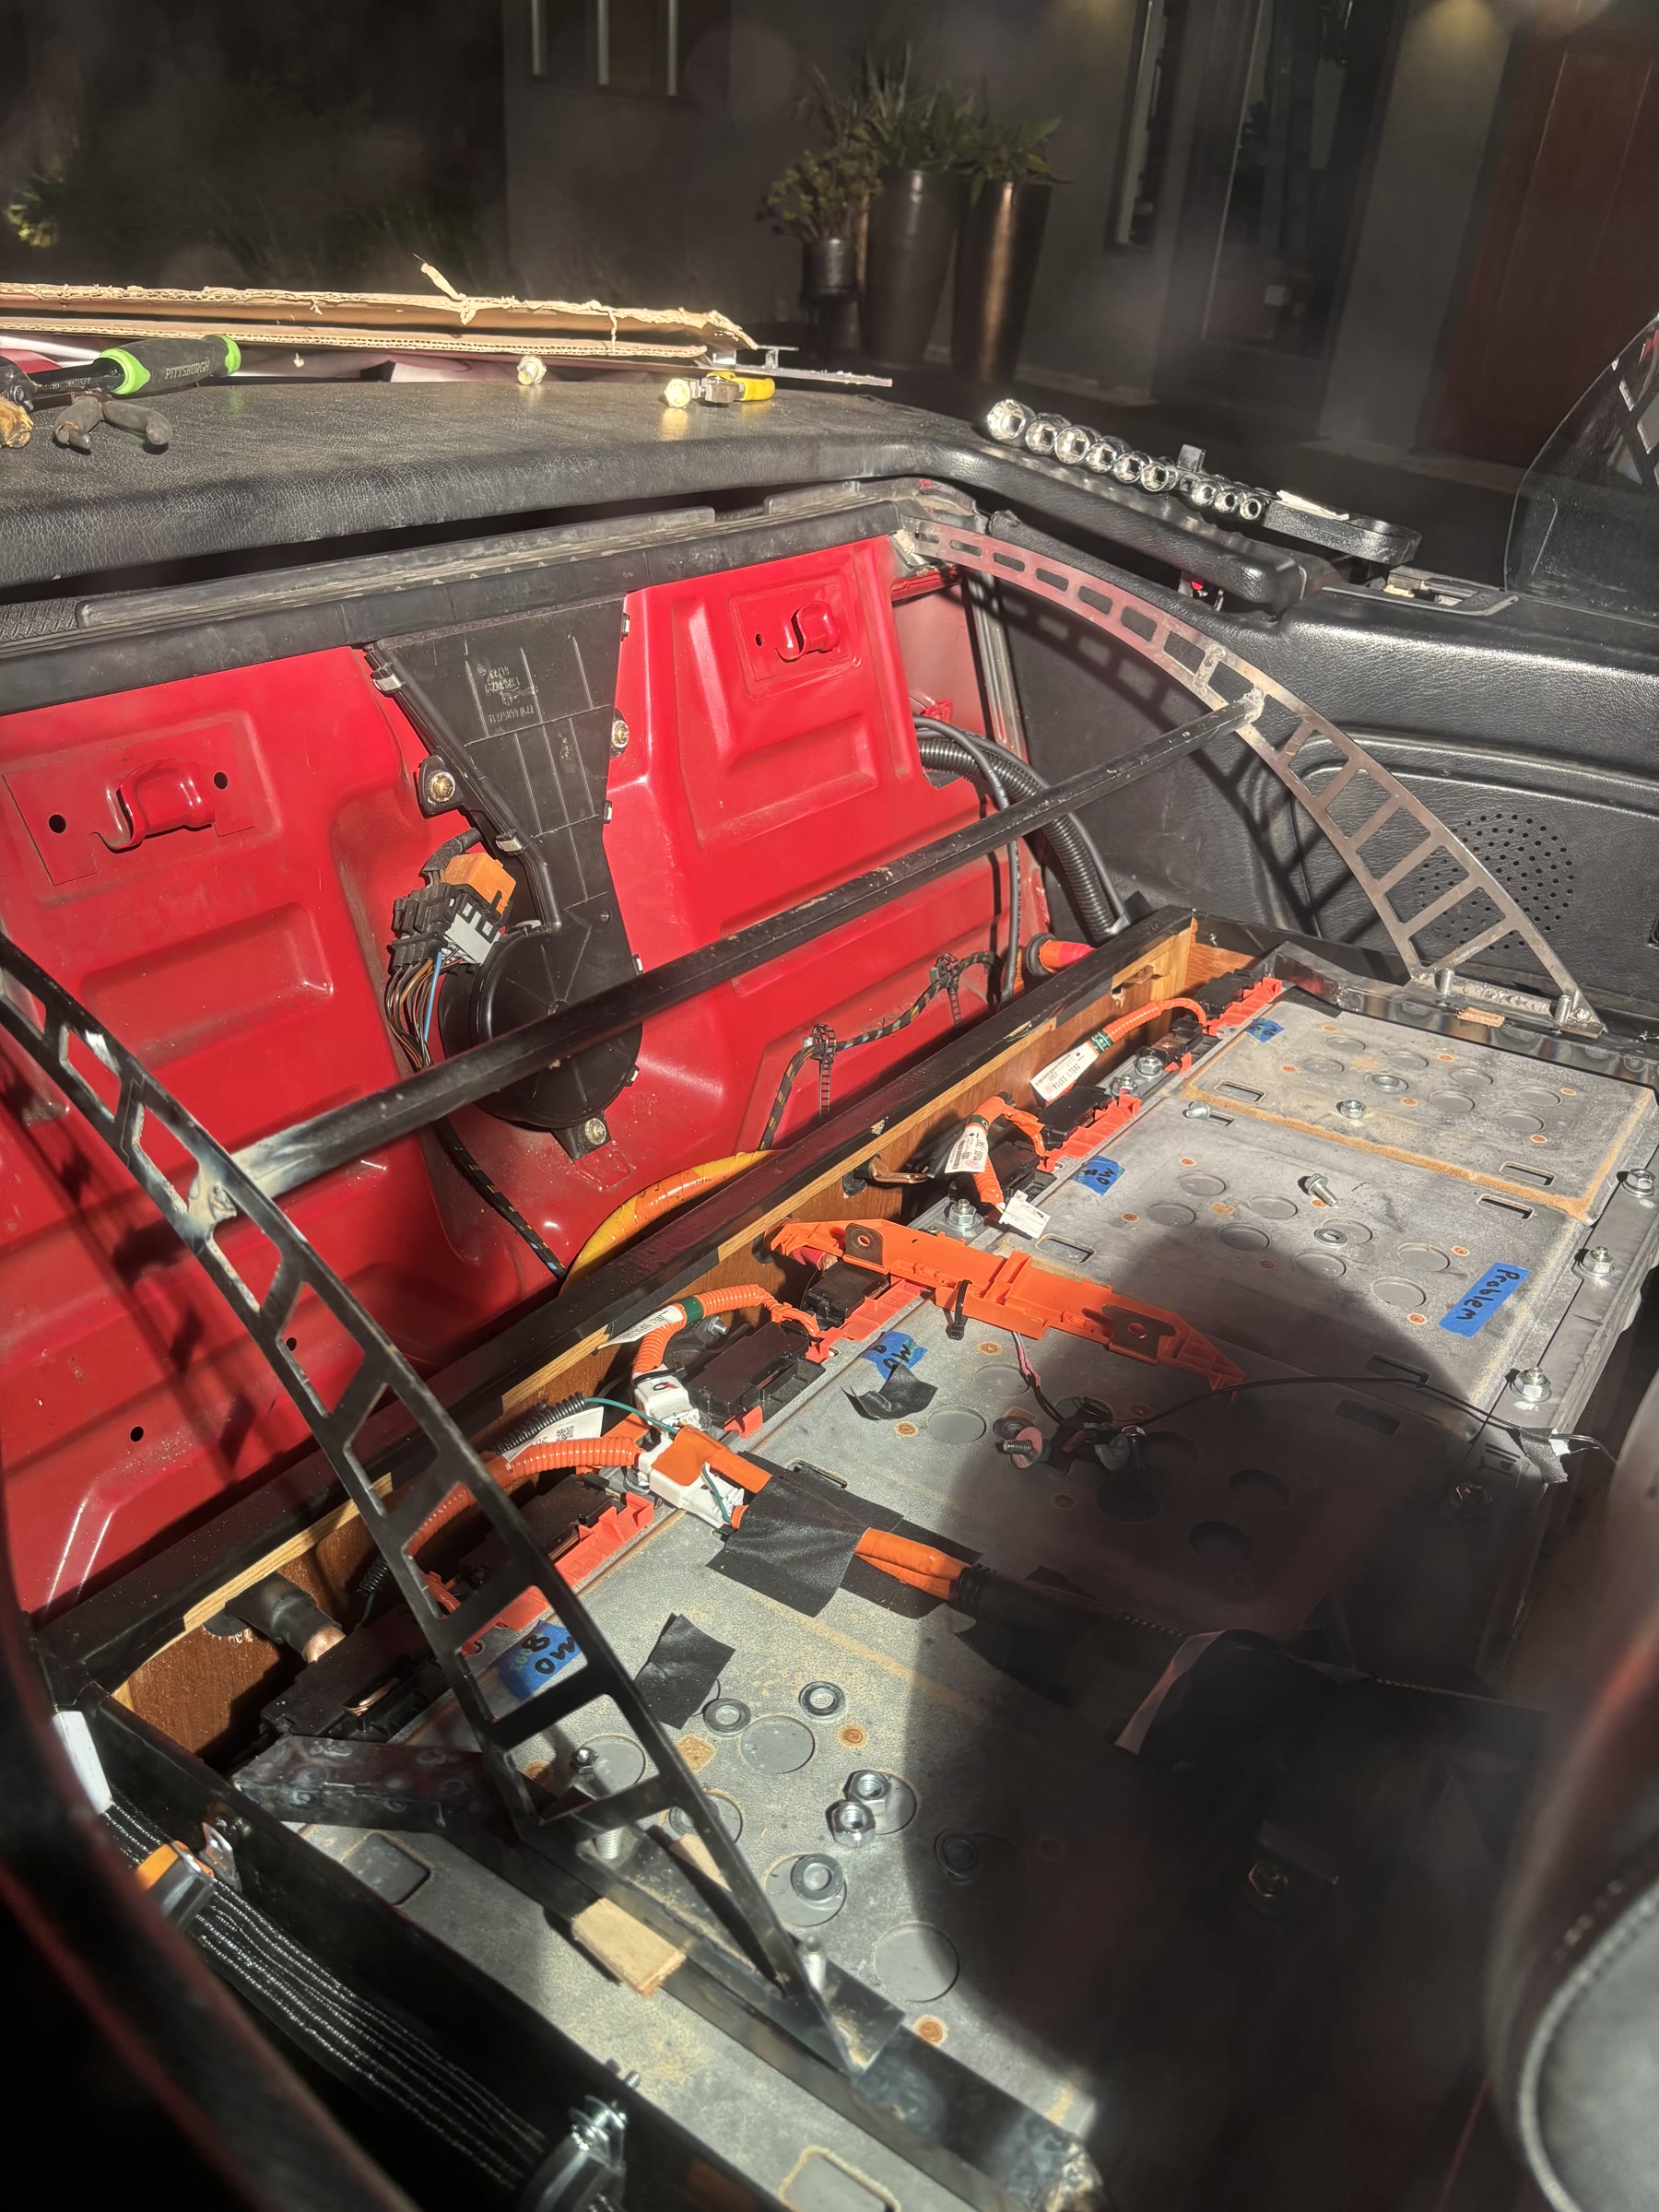
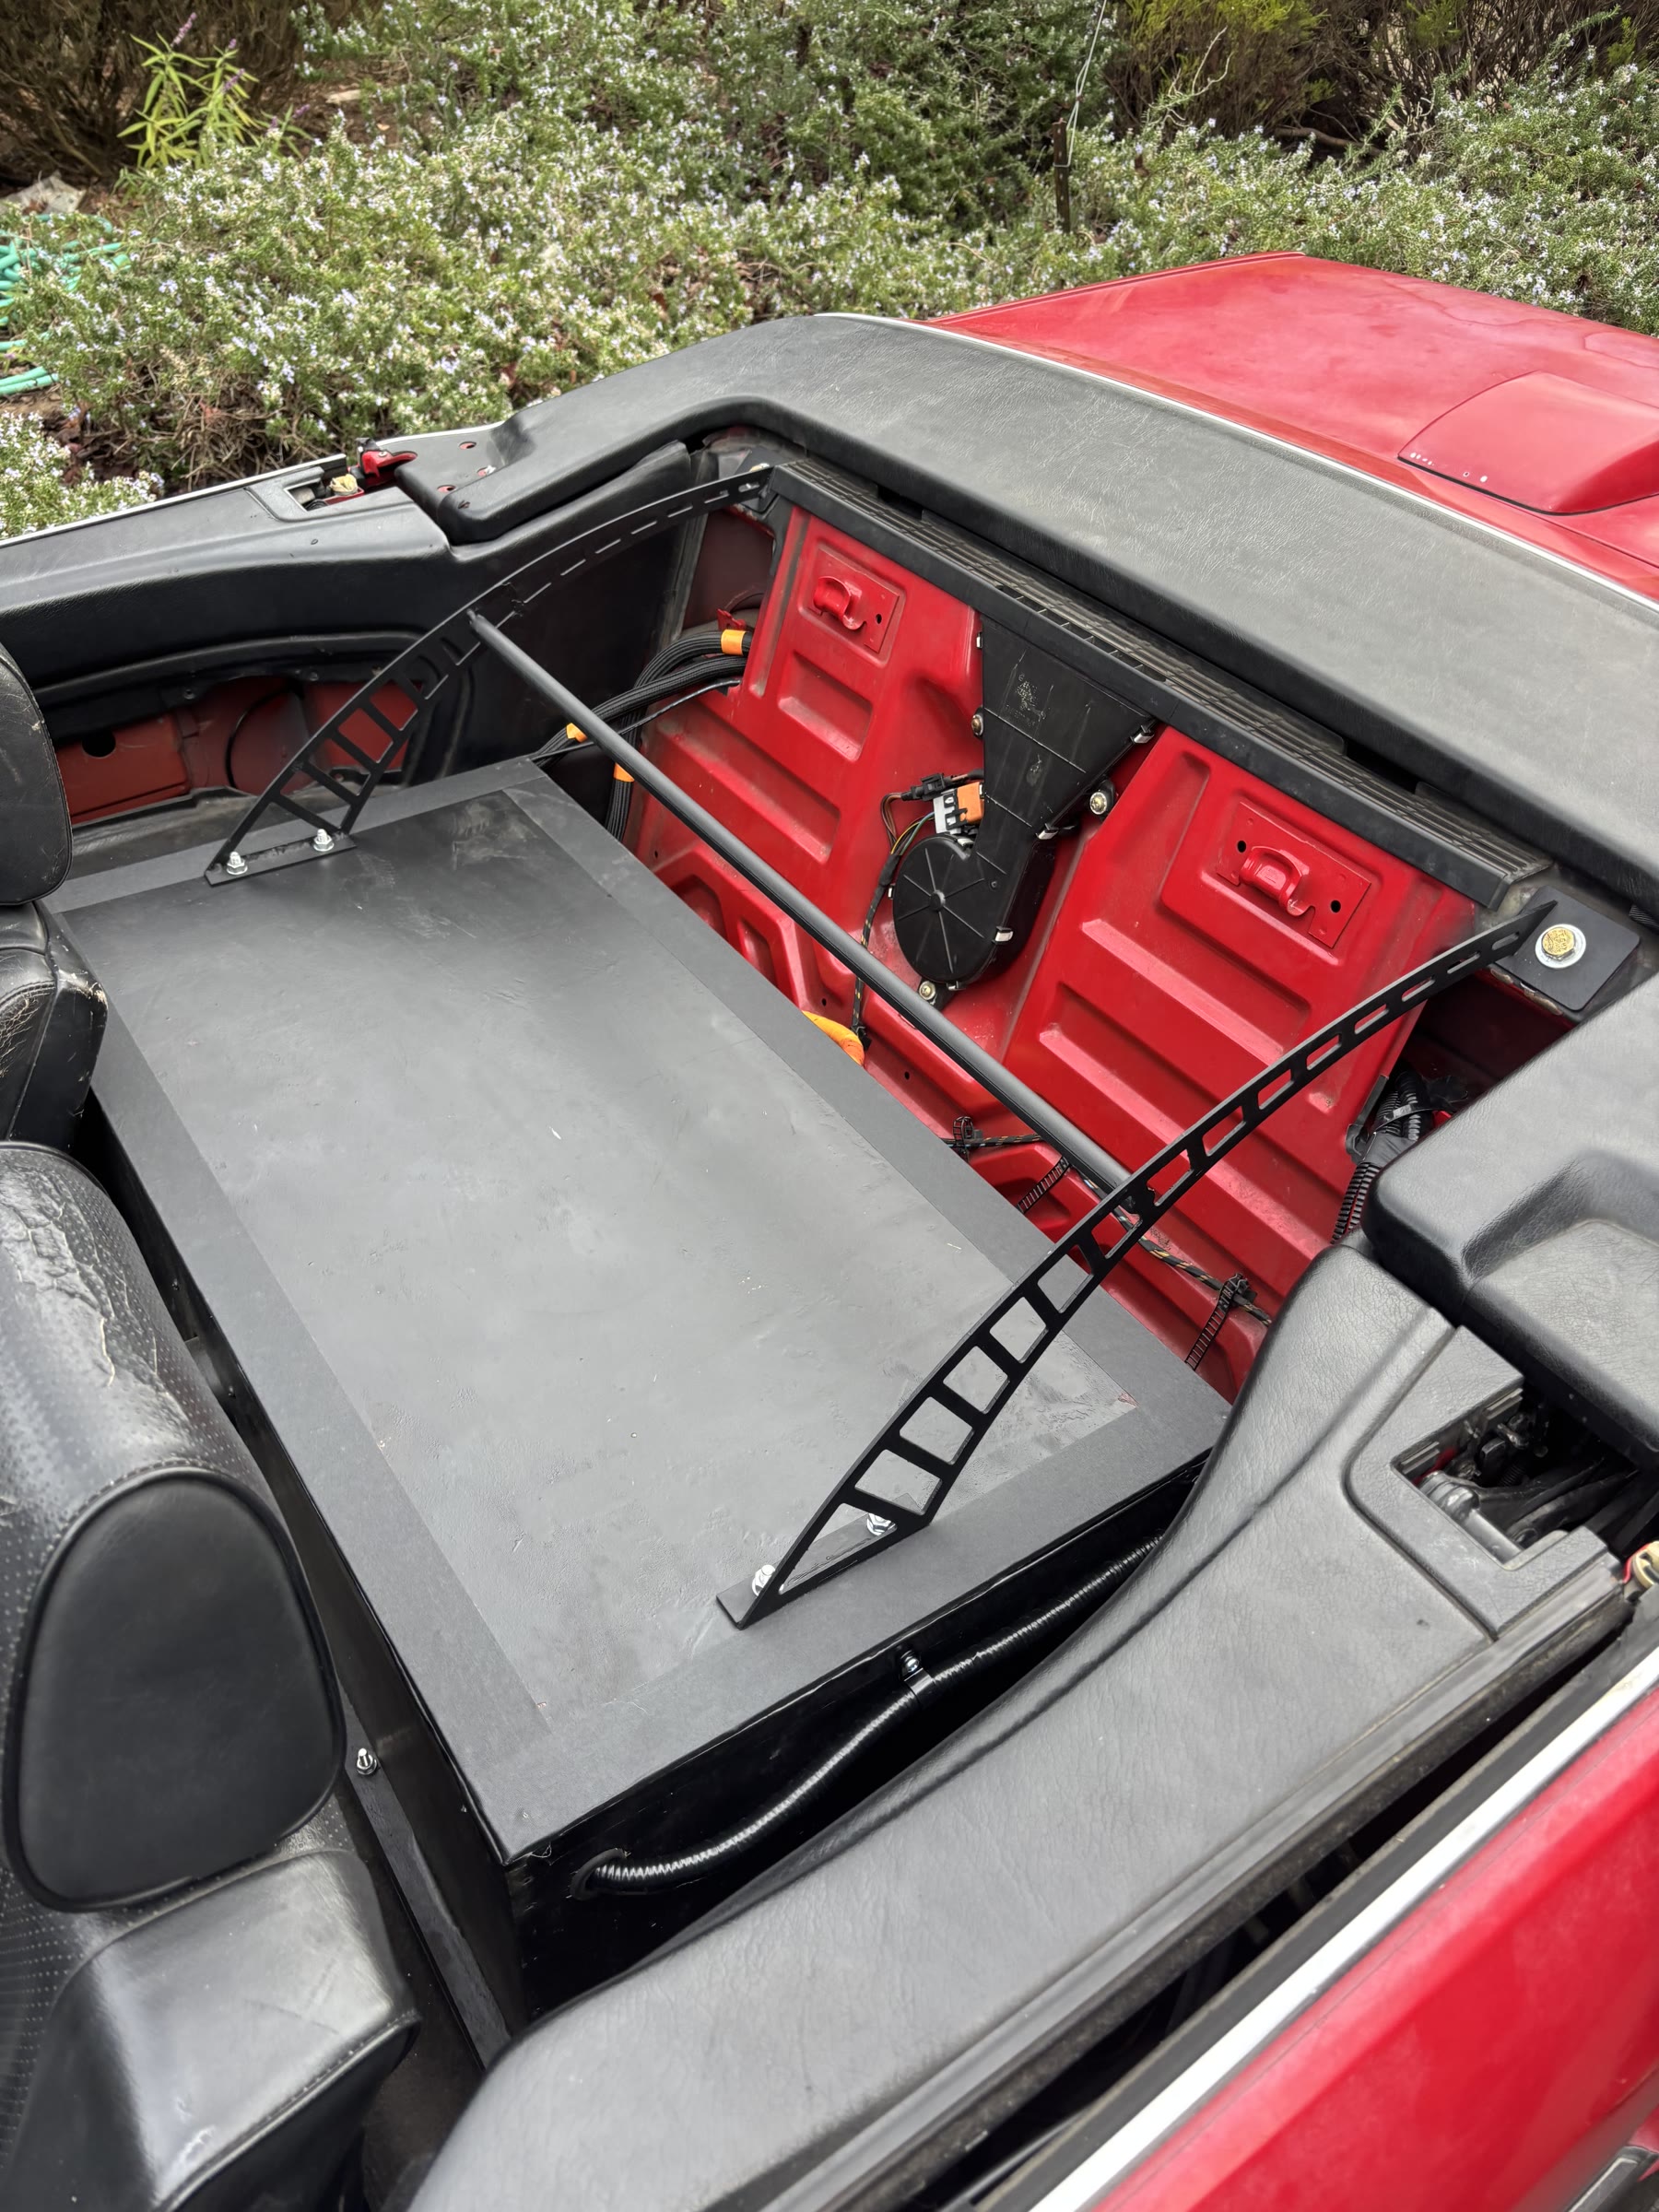
There are three battery packs throughout the car; one in the engine bay, one in the backseat, and one in the trunk. This helps reduce the thermal mass of the pack, distribute weight, and allows the full pack to fit in such a tiny car. The mounting for the front battery pack is made from steel tube and uses the old engine mounting points, assisting with chassis rigidity.
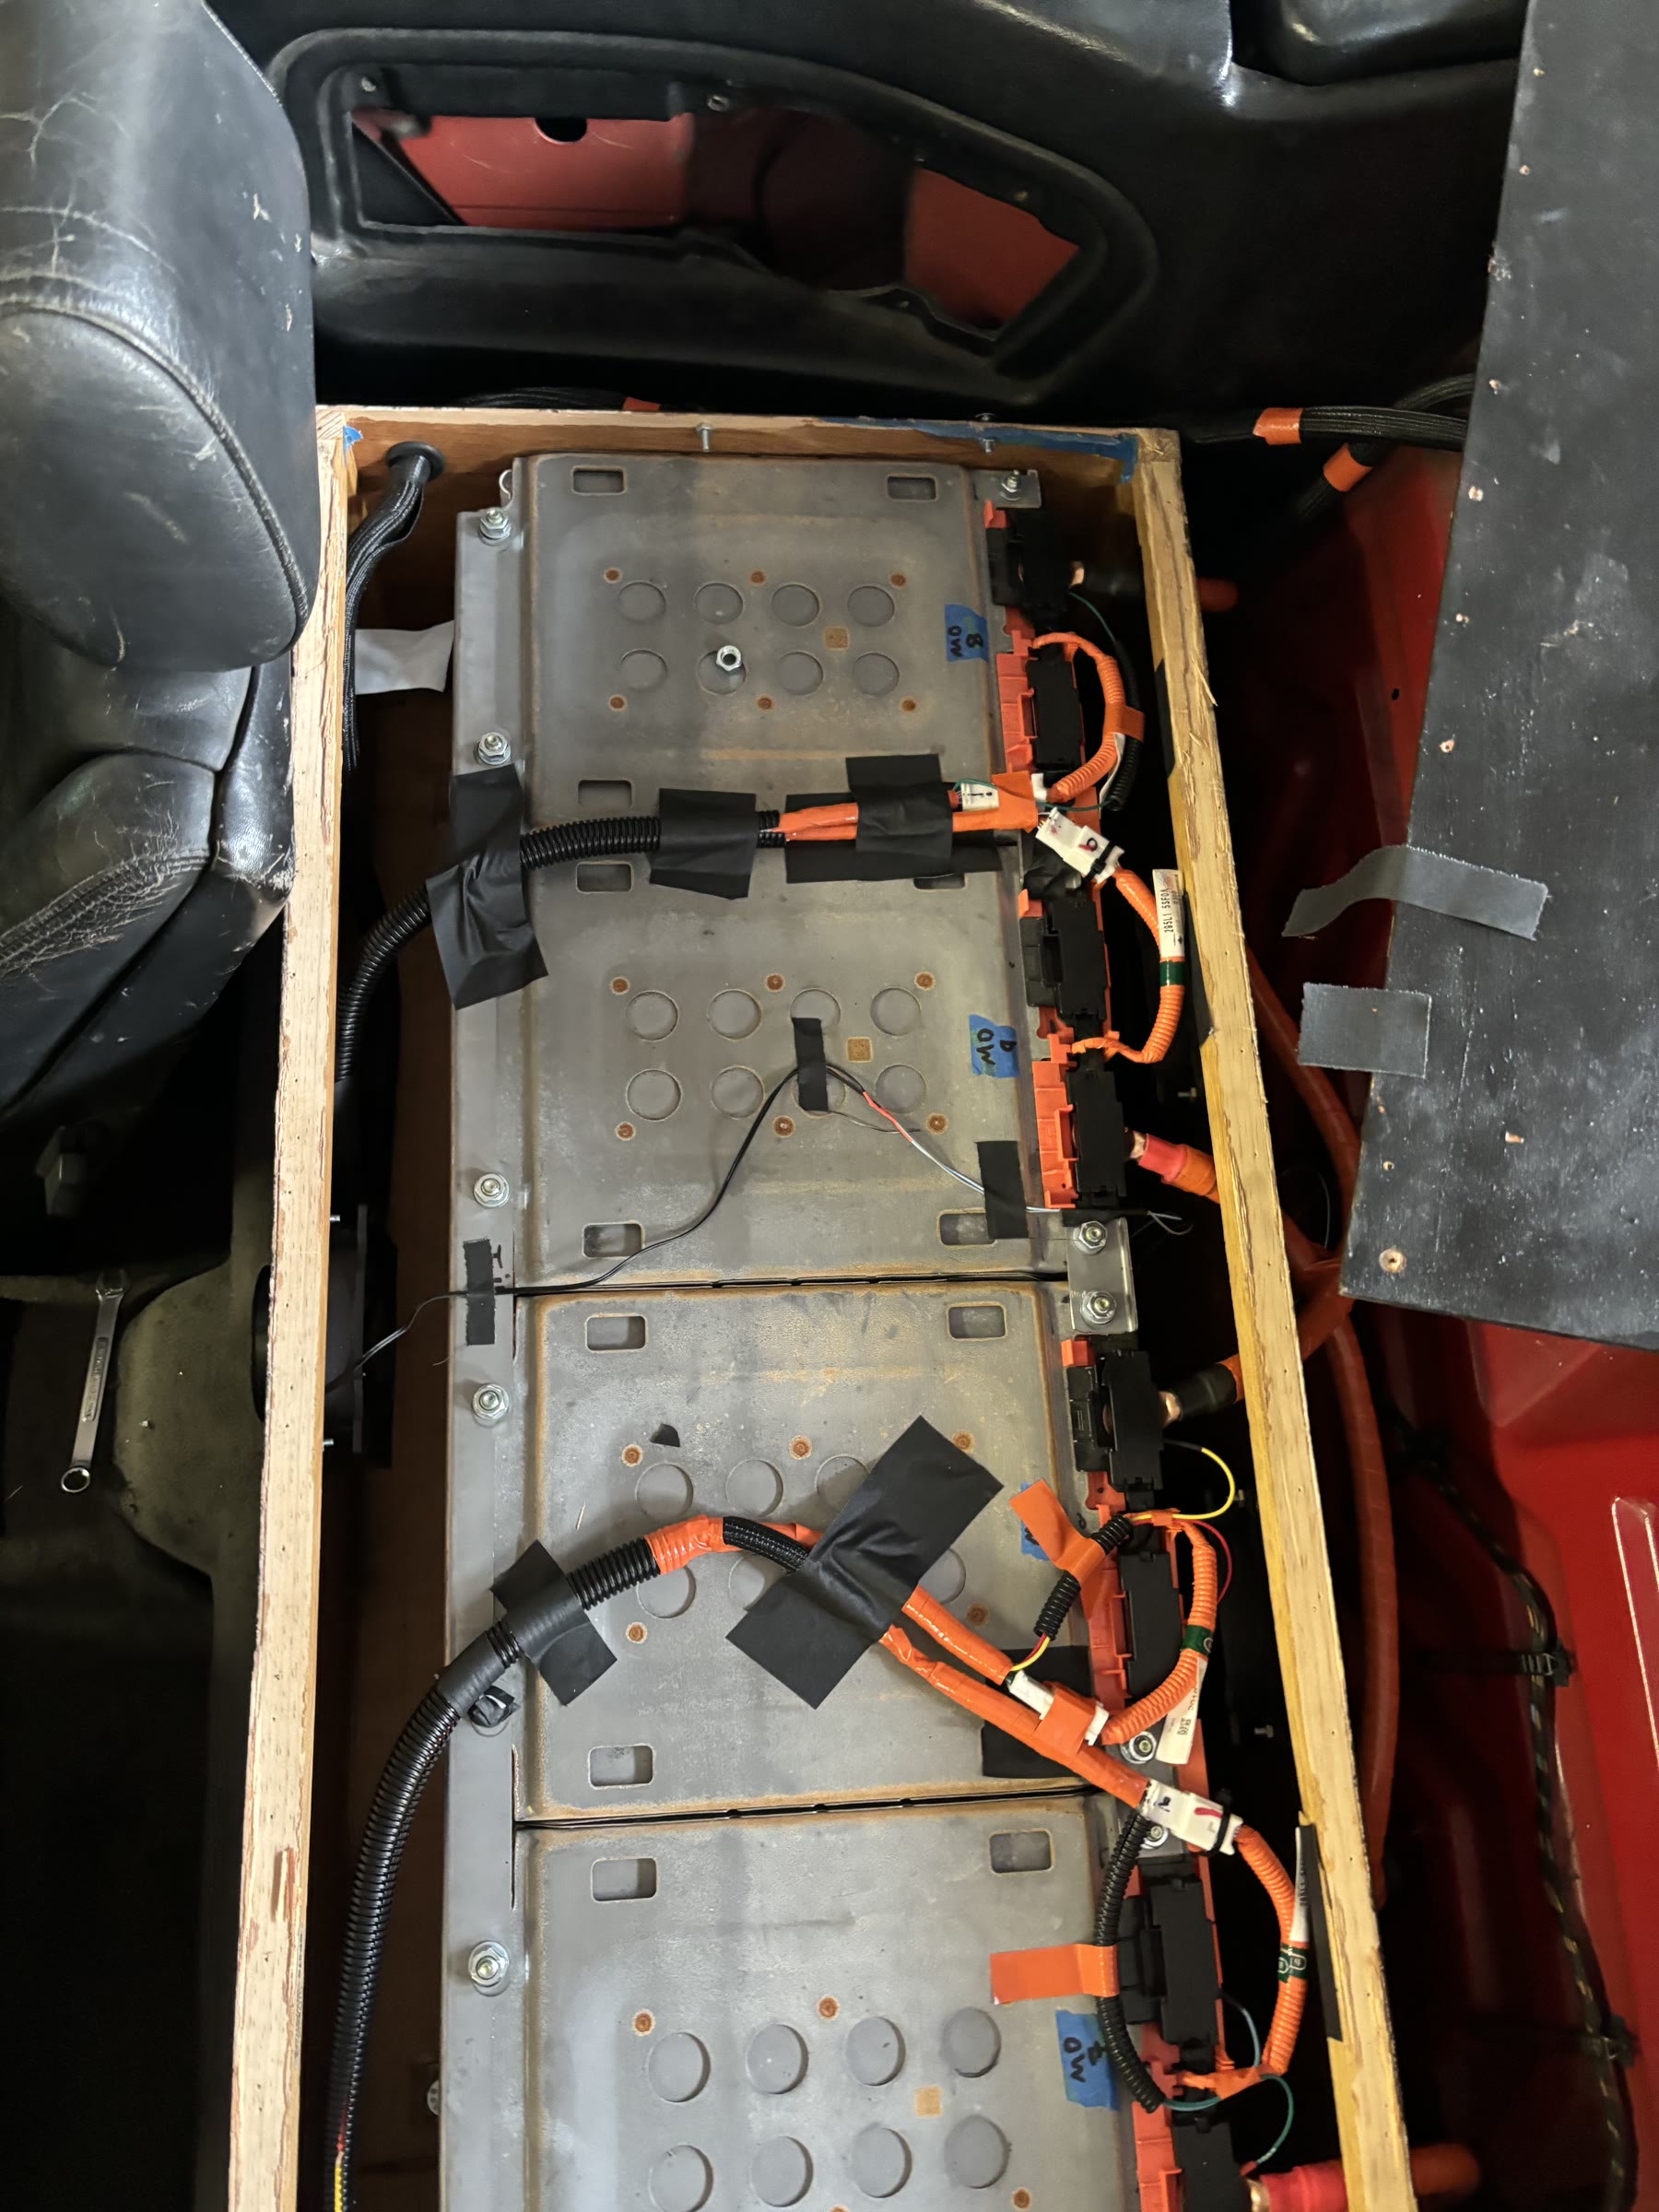
The Battery Monitoring System (BMS) is an aftermarket unit called the Orion 2. It was the obvious choice for its plethora of features and CAN interface. The Orion works without satellite units, which means it needs a direct tap to every one of 96 cells in the car. I used CAT5 cable as a cheap and easy option for my cell taps, creating my own harnesses for each battery box. The order and grouping of the cells in the BMS is very important, and careful thought was needed to ensure the safety of the pack and BMS.
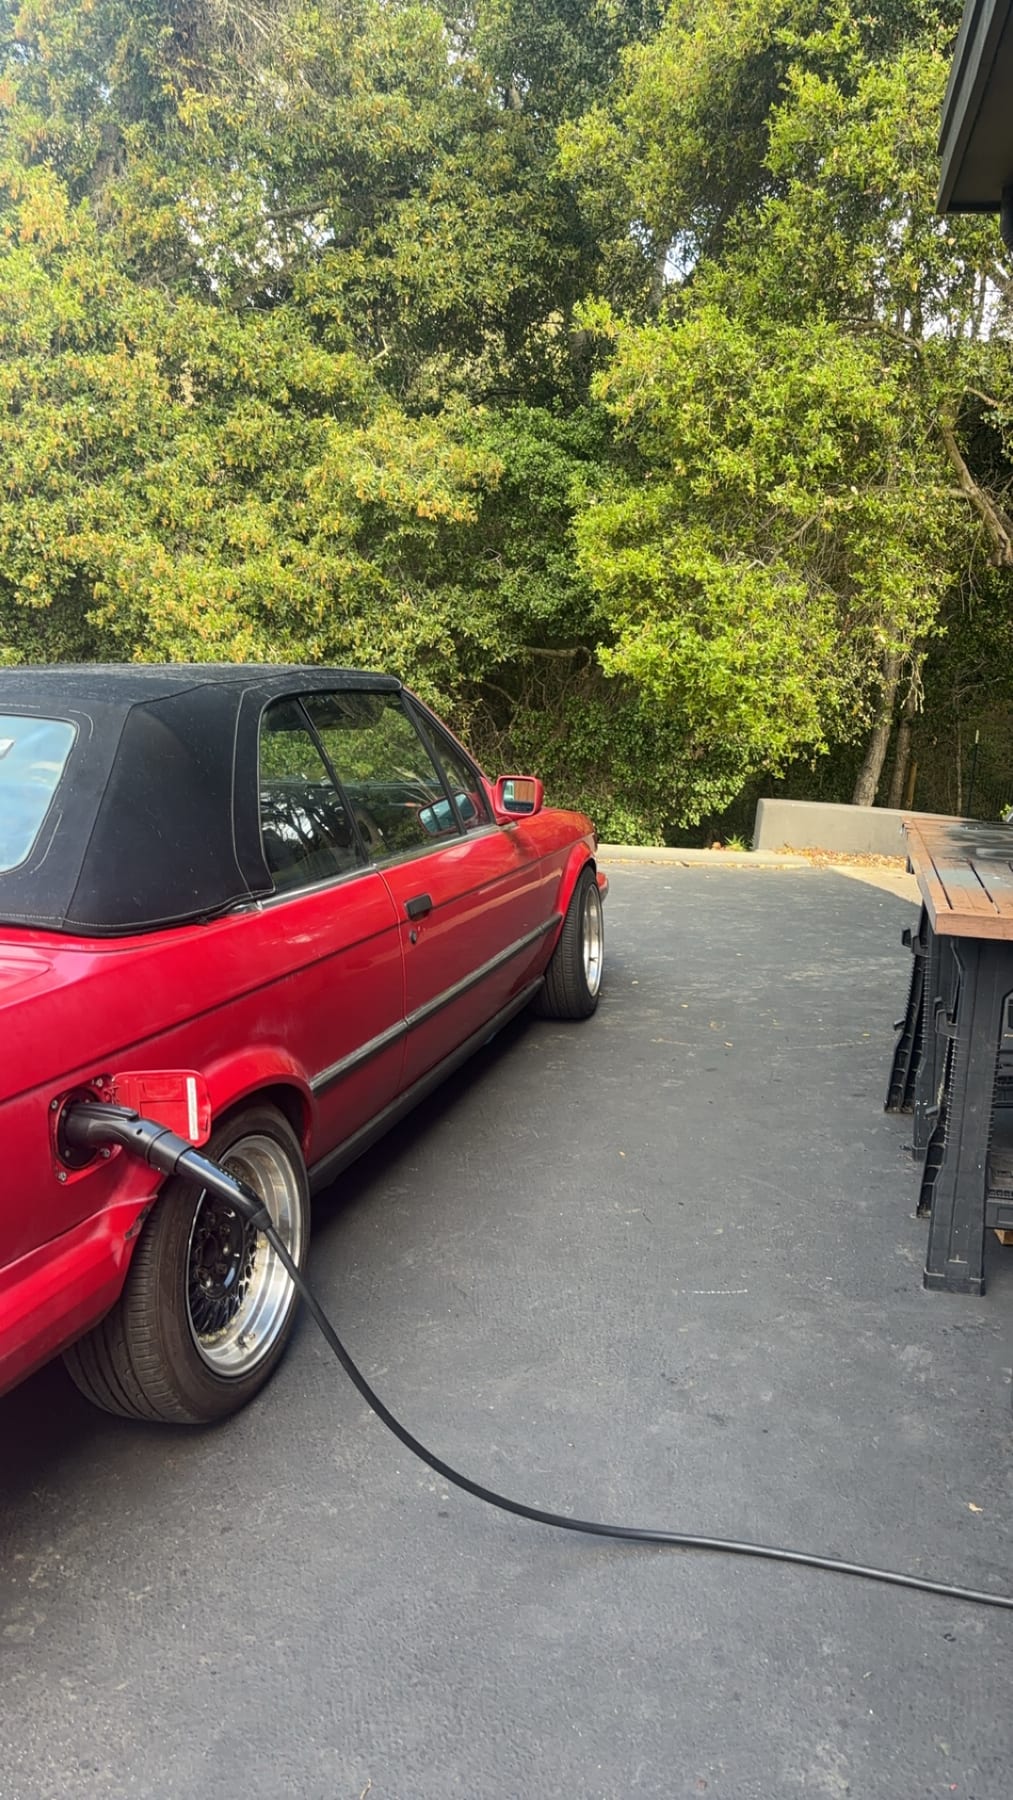
The car charges using a Thunderstruck TSM2500, a 3.3kw charger. Equipped with J1772, the car charges slowly but safely. Around 12 hours fills the tank. It communicates with the BMS over CAN to determine charging rate tapers, charging limits, and safety measures.
Since the alternator came out with the engine, I needed a way to keep the 12V system powered. A Chevrolet Volt DC/DC converter takes in 400V from the pack and converts it to 12V for the lights, windows, radio, etc. A tiny PWM generator sends the correct frequency to the DC/DC converter in order to start it up.
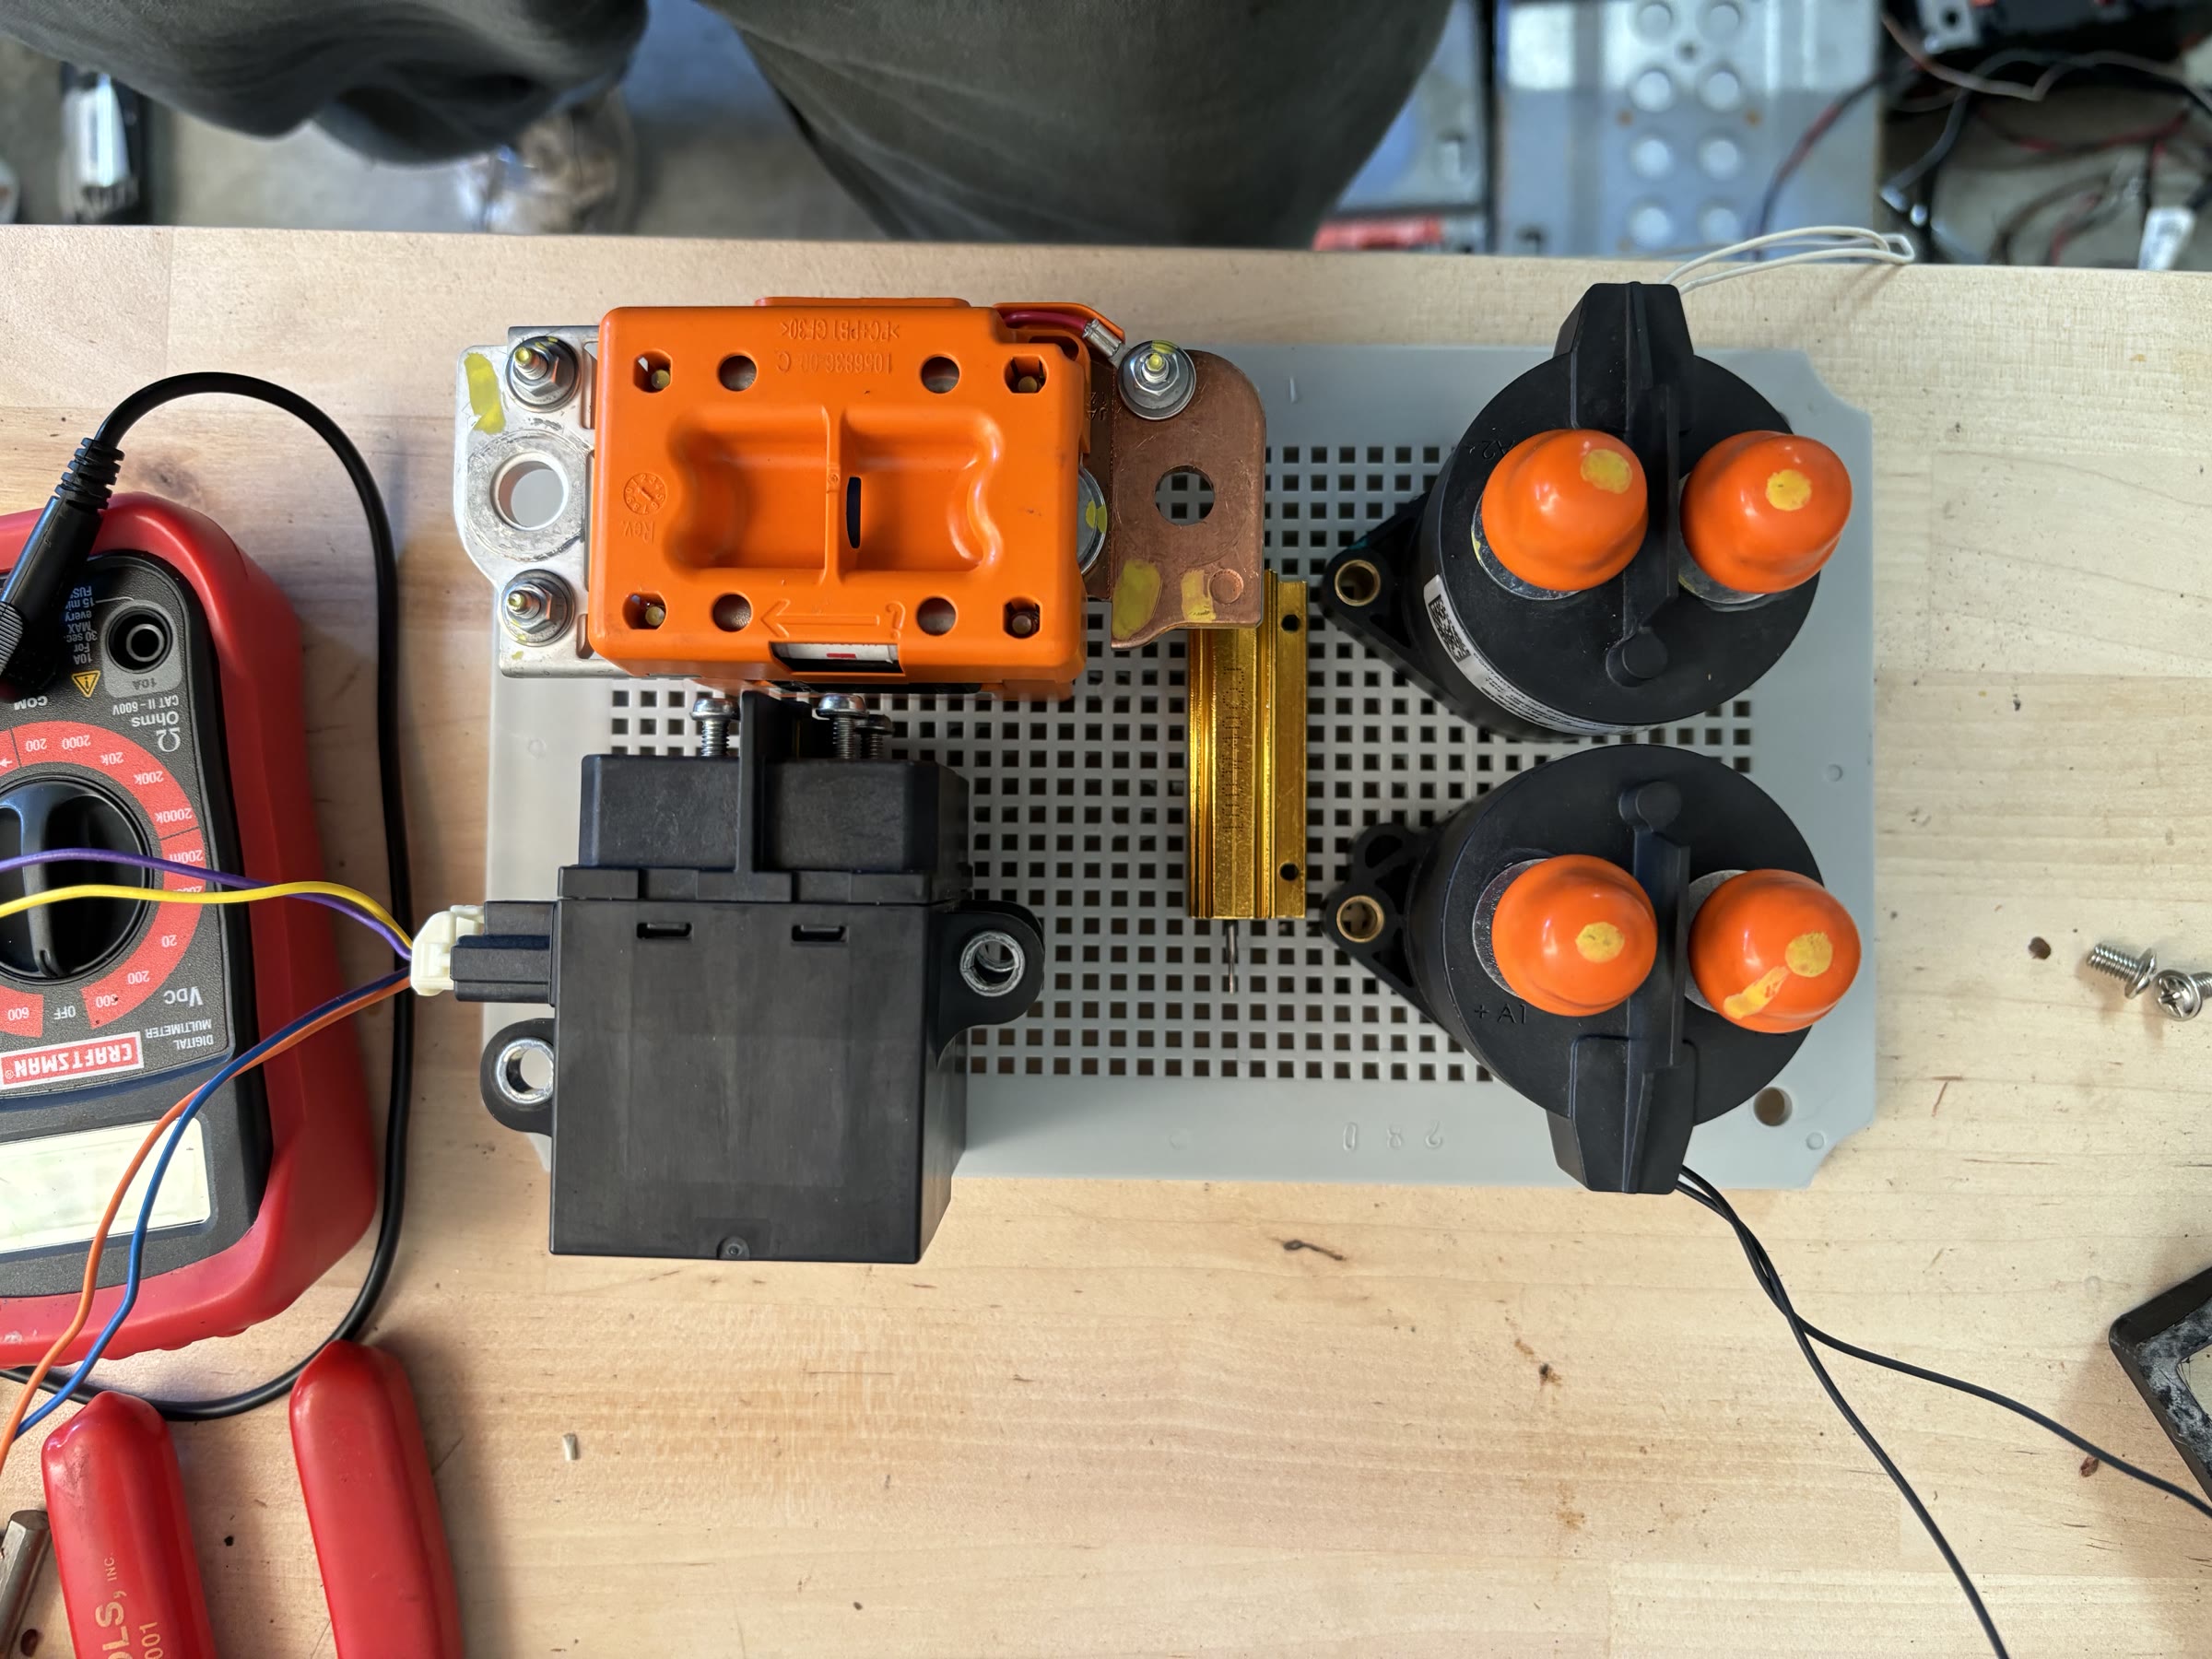
Most of the control for the HV system is done by the OpenInverter logic board in the LDU inverter. It manages the HV through a junction box, housing Tesla contactors, a precharge circuit, and Nissan Leaf contactors for the DC/DC and charger. This ensures no HV circuit is closed when the car is turned off.
Power Steering and Power Brakes
In gas cars, the engine doesn’t just make the car move. It runs accessory components like the power brakes and power steering. Power brakes usually run off of the engine vacuum, and power steering in this car used the engine to power a hydraulic pump. In the absence of an engine, I needed electric power steering and electric power brakes.
The power braking system uses an iBooster from Bosch. Used in a variety of electric and hybrid cars, this part was easy to source and implement. It just needs power and will interface between the pedal and master cylinder with a worm drive for assistance. The challenge here was changing the bolt pattern on the firewall, adapting the BMW master cylinder, and changing the length from booster to pedal. I fabricated a new brake booster mount out of sheet metal and welded it into the firewall. Then, I found the appropriate distance to the brake pedal and welded the old pushrod onto the brake booster. Finally, I designed and ordered some laser-cut mounts to adapt the E30 master cylinder onto the iBooster. After sourcing the connector and wiring a harness, my brakes were boosted.
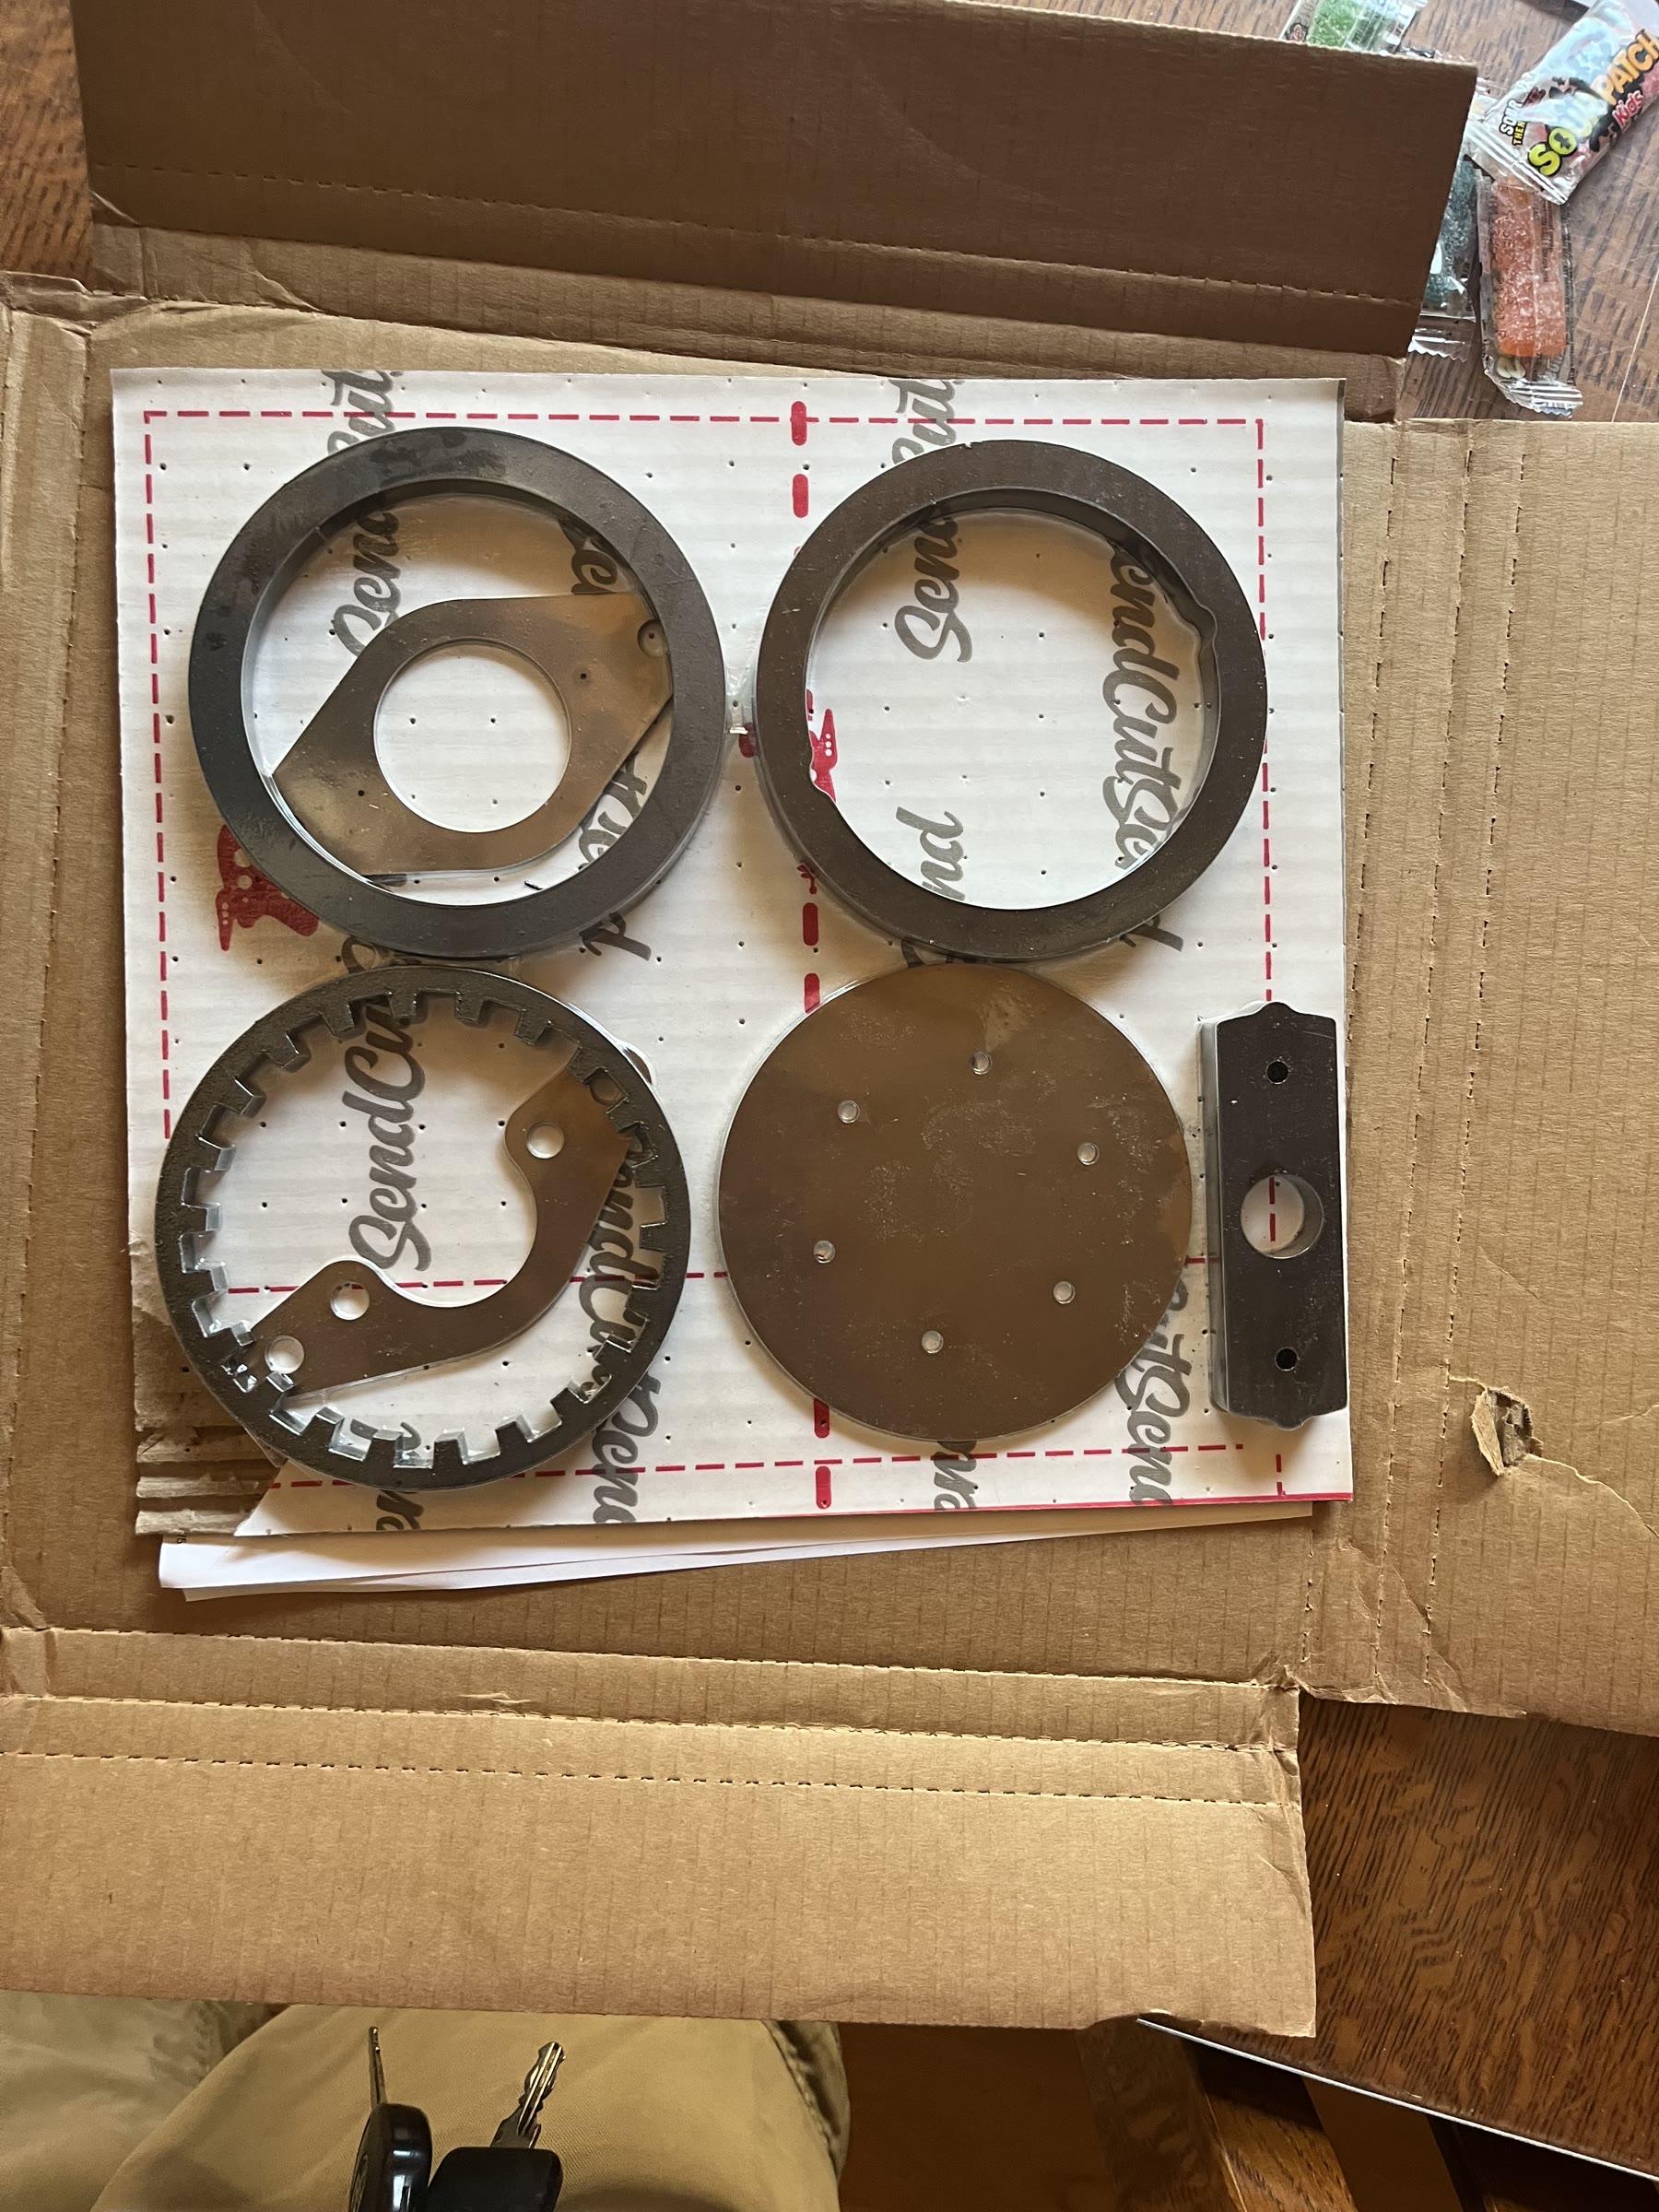
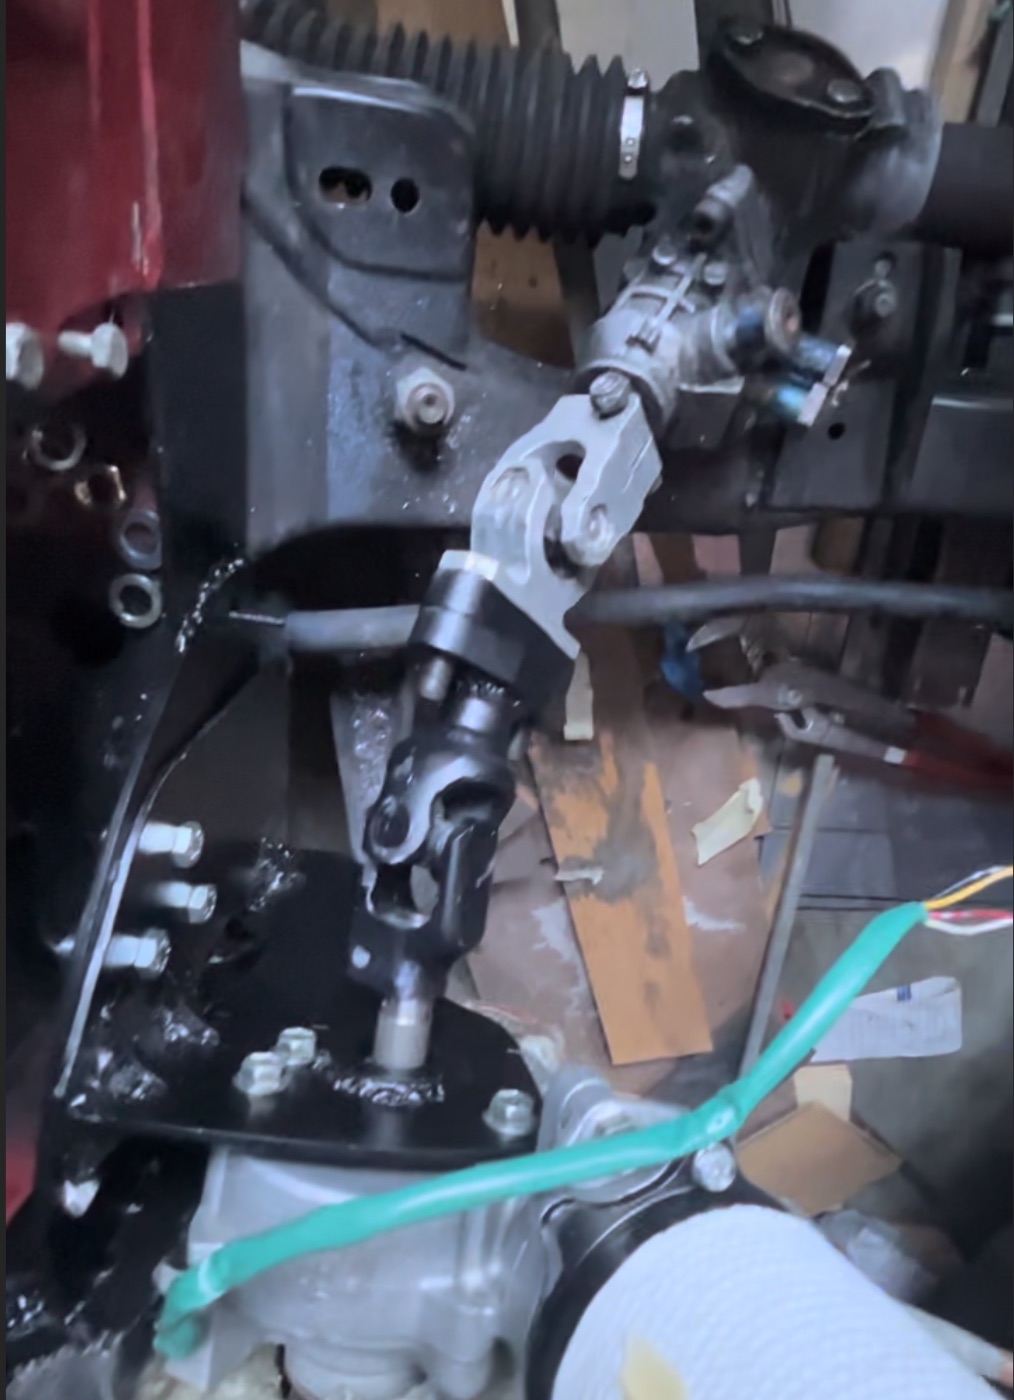
The power steering was a bigger challenge. I used a Prius power steering module and mounted it to the firewall. To connect the column and rack to the module, I designed a custom double u-joint setup on the rack side. The BMW rack now plugged into the Toyota module. My steering column needed to be shortened to adapt to the module, where I unfortunately cut the column far too short. Unable to source another column, the challenge I now faced was fabricating my own. I created a design that retained the steering wheel lock while also allowing a 6-bolt racing steering wheel to be mounted from the other end. After simple wiring, the power steering worked with surprisingly good feedback from the road.
Miscellaneous
The underside of the car was left rather empty after removing the gas tank and transmission. As a convertible, these cars are notoriously floppy, so I decided to take the opportunity to stiffen the chassis. The transmission tunnel and gas tank both received tube metal reinforcement across their width. These were connected to tube metal I added along the pinch welds of the car using 45-degree angles. The subframe of the car, which the motor was torquing down on, is now tied into the gas tank reinforcement bar, stiffening the entire rear suspension and reducing stress from the motor.
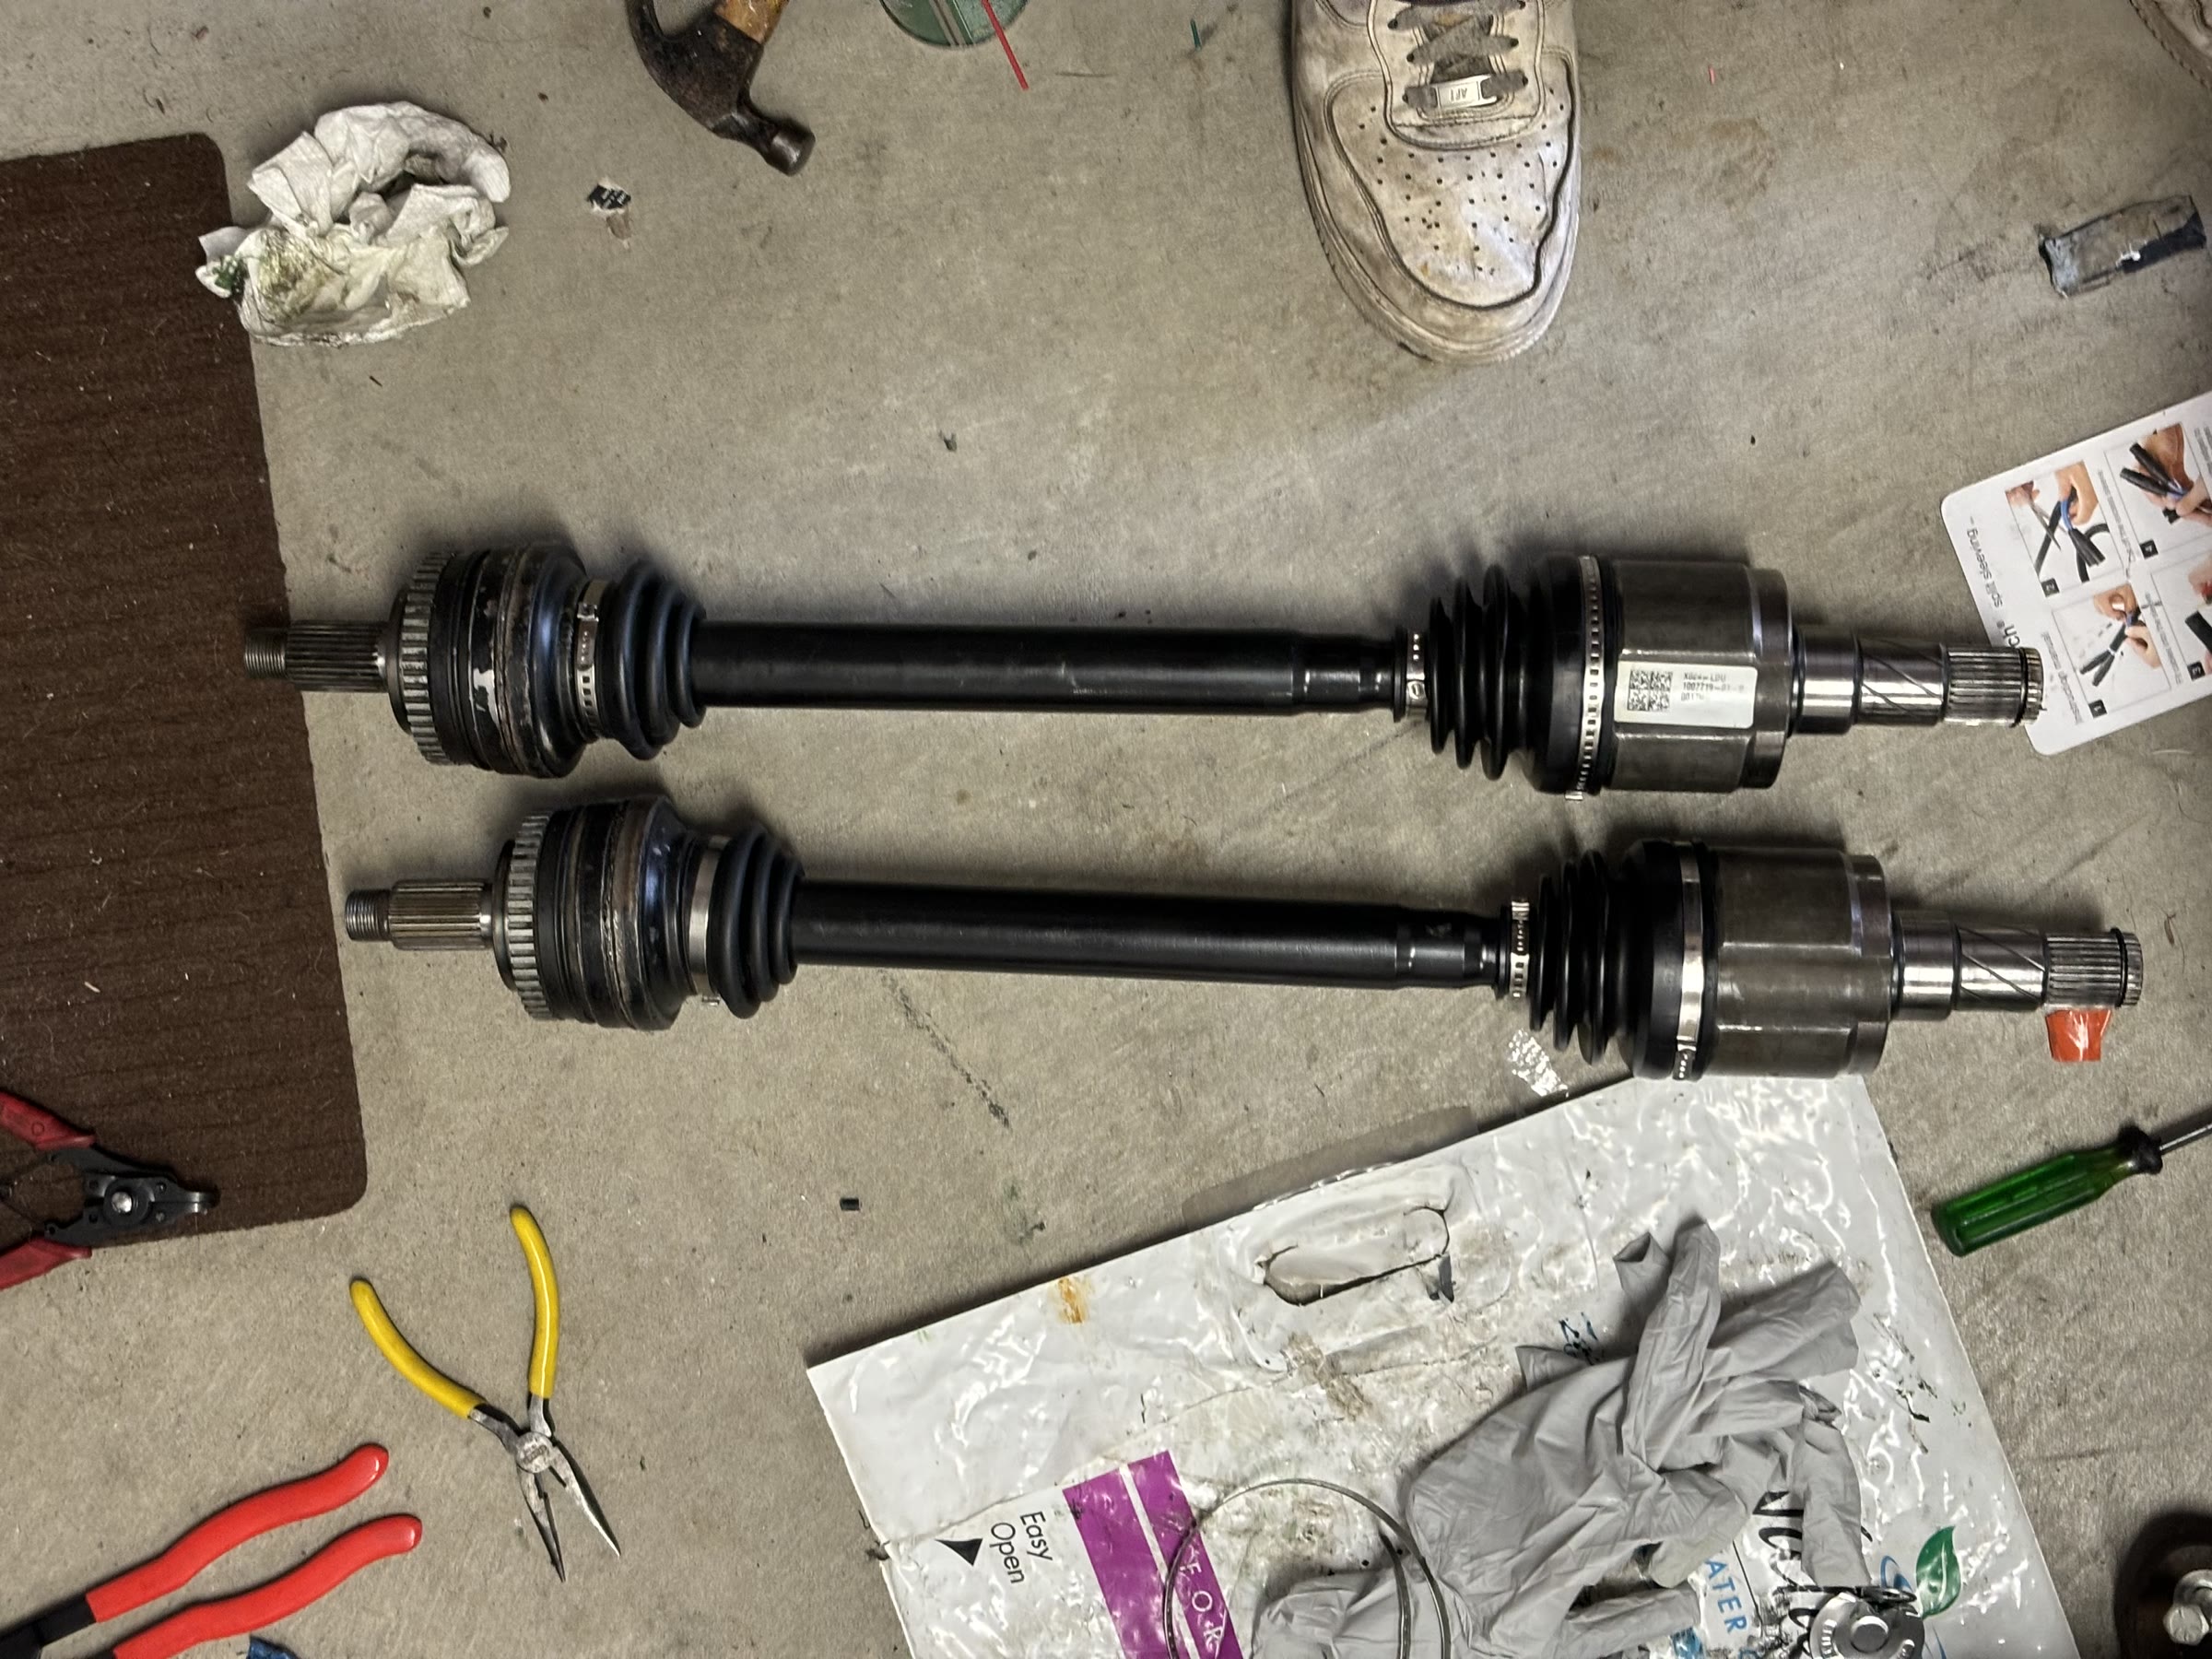
I purchased Tesla axles along with the motor, and adapted them to my setup. I sent them off to be shortened and resplined so one end could plug into the BMW hubs, and the other could fit into the motor.
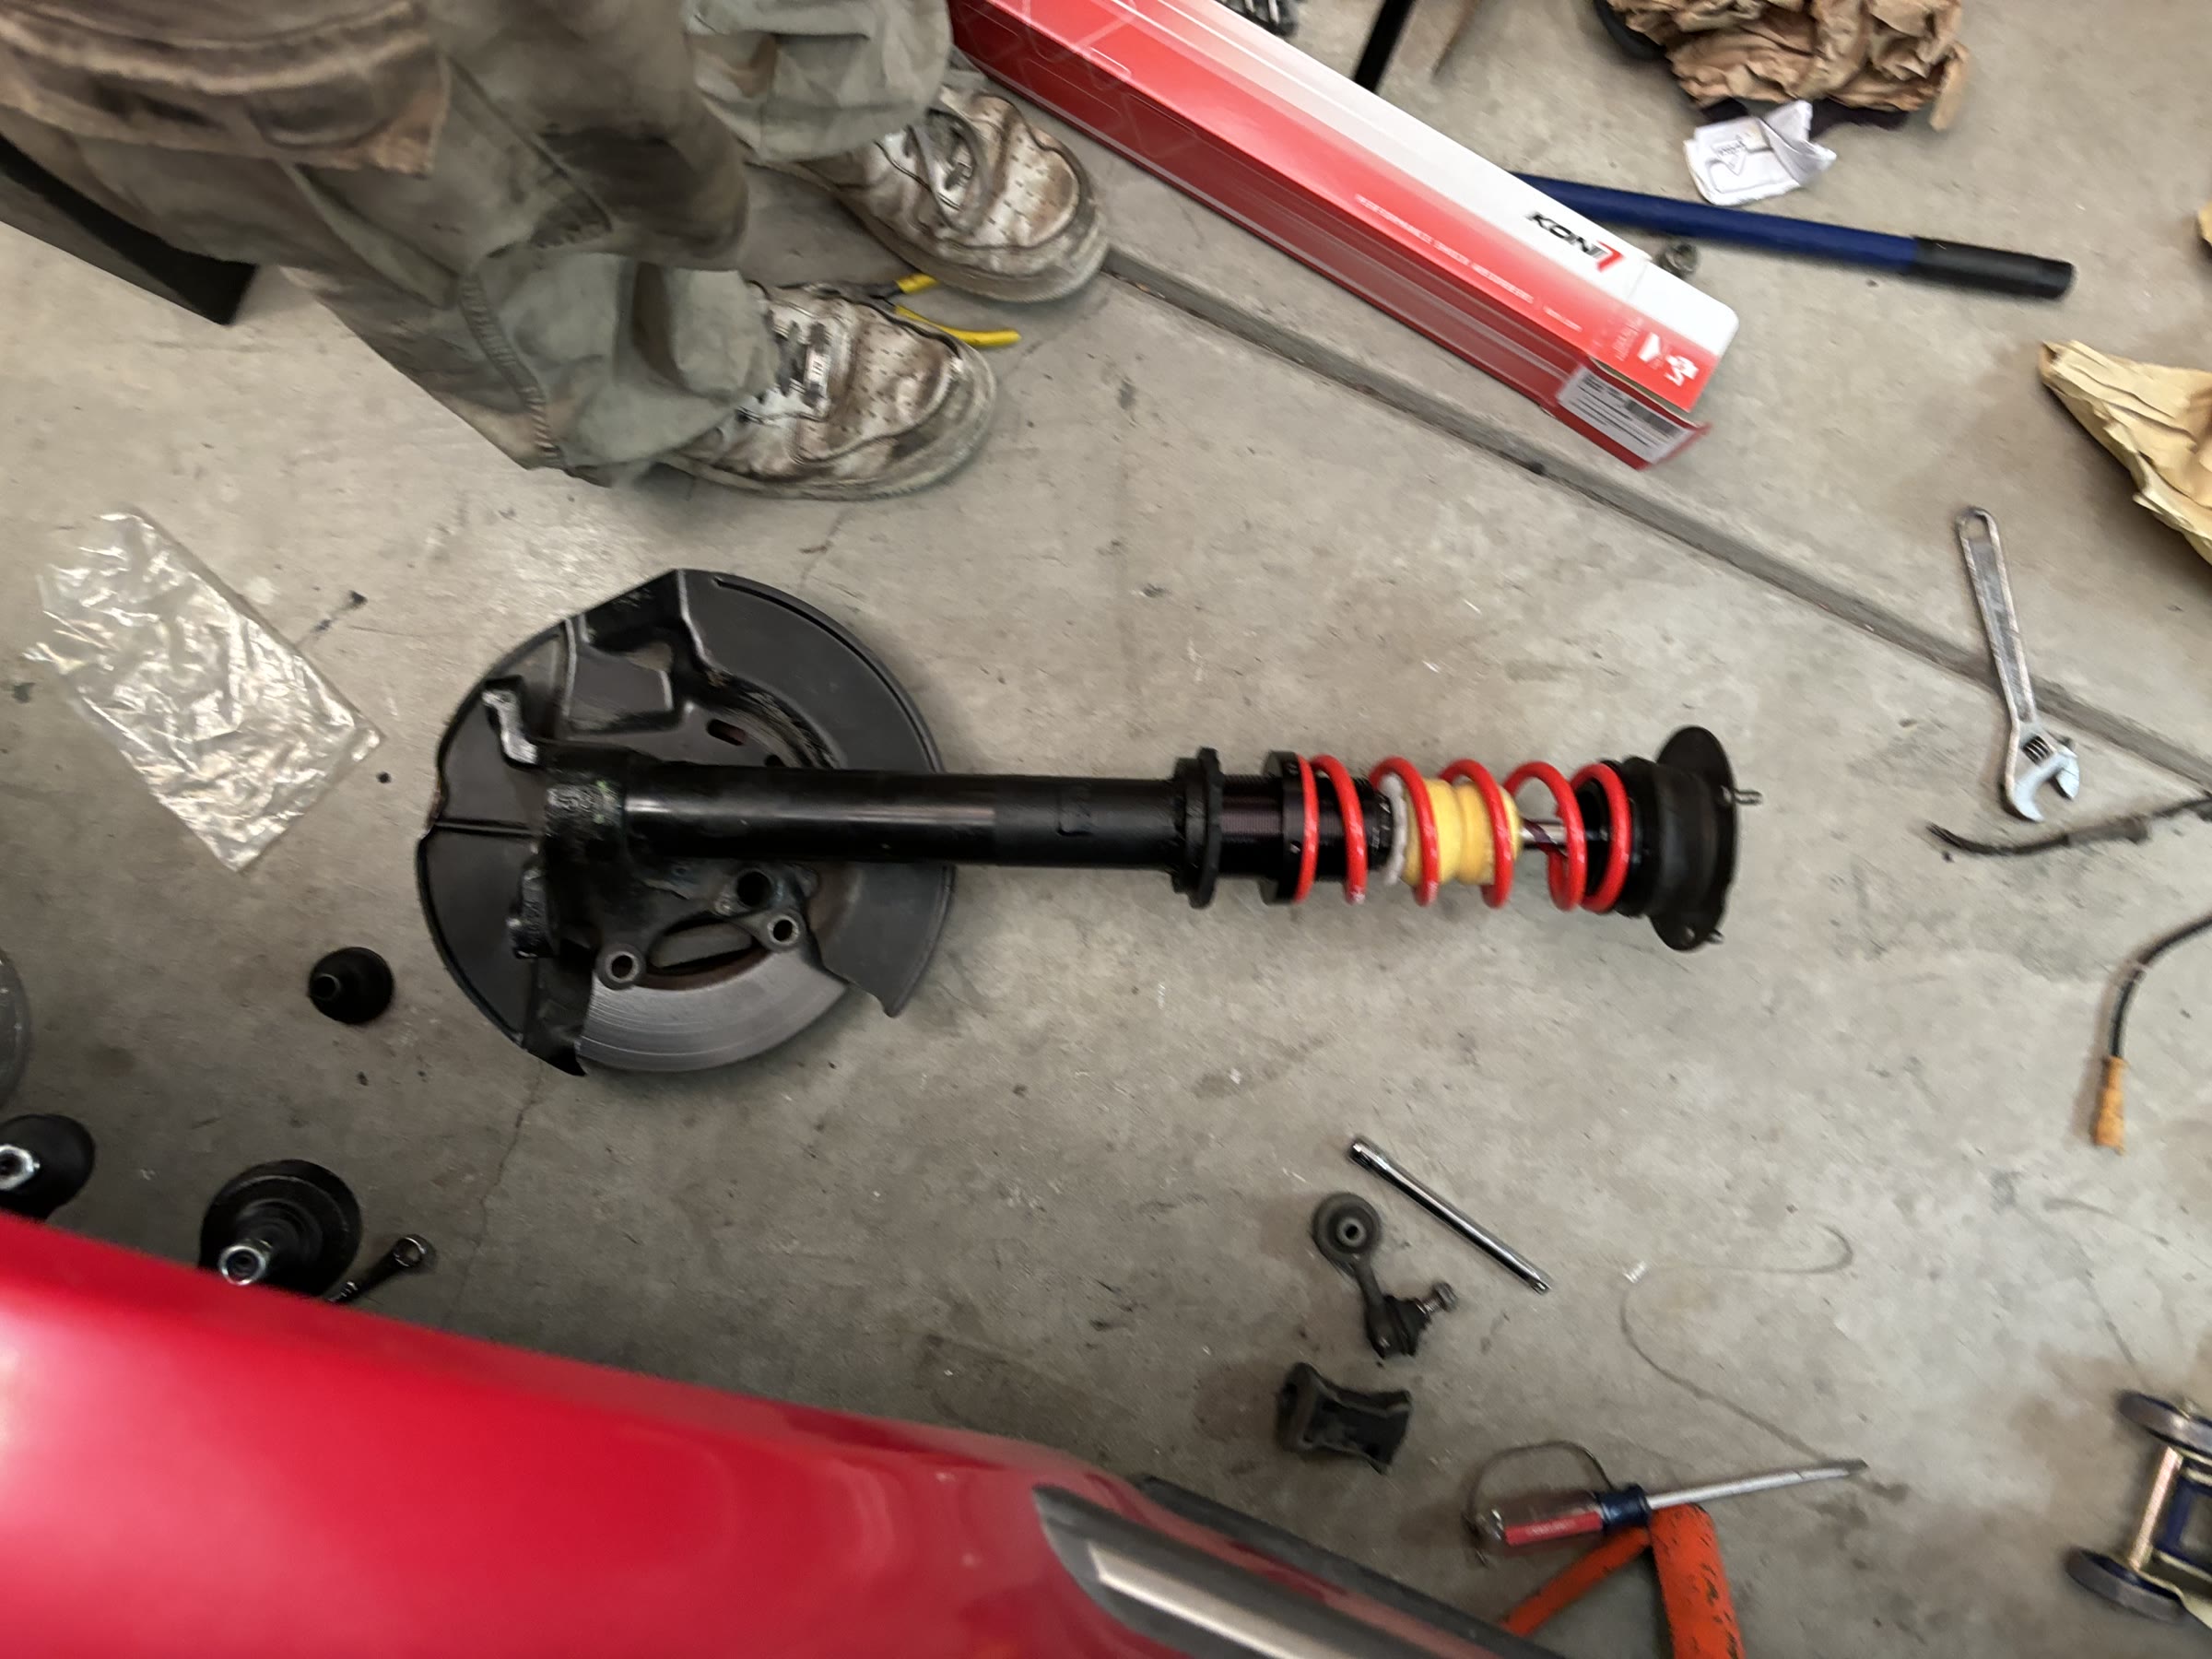
Because of the new weight distribution and previous setup, the suspension needed an overhaul. I wanted coilovers so I could use off-the-shelf springs and adjust ride height. Aftermarket coilovers were prohibitively expensive, so I designed my own coilover modifications and installed them. I also swapped in new dampers.
Various cosmetic upgrades were made to the interior, including a phone mount and steering column cover. These were 3D printed and flocked to give an alcantara feel. The phone mount sits where the shifter used to be, and my direction switch lives in an ashtray in the center console. My start switch replaces the cigarette lighter.
I swapped out the old and trashed seats for BMW E90 seats from a junkyard. While I was pulling the seats, I noticed these cars had under-seat subwoofers. I pulled those as well and designed enclosures to sit underneath my seats, along with a new sound system and radio.
Lessons Learned
The lessons I learned during this project were vast and multidisciplinary. I developed technical skills that have served me in other engineering focused projects, but I also curated personal abilities that have benefitted me across my whole life.
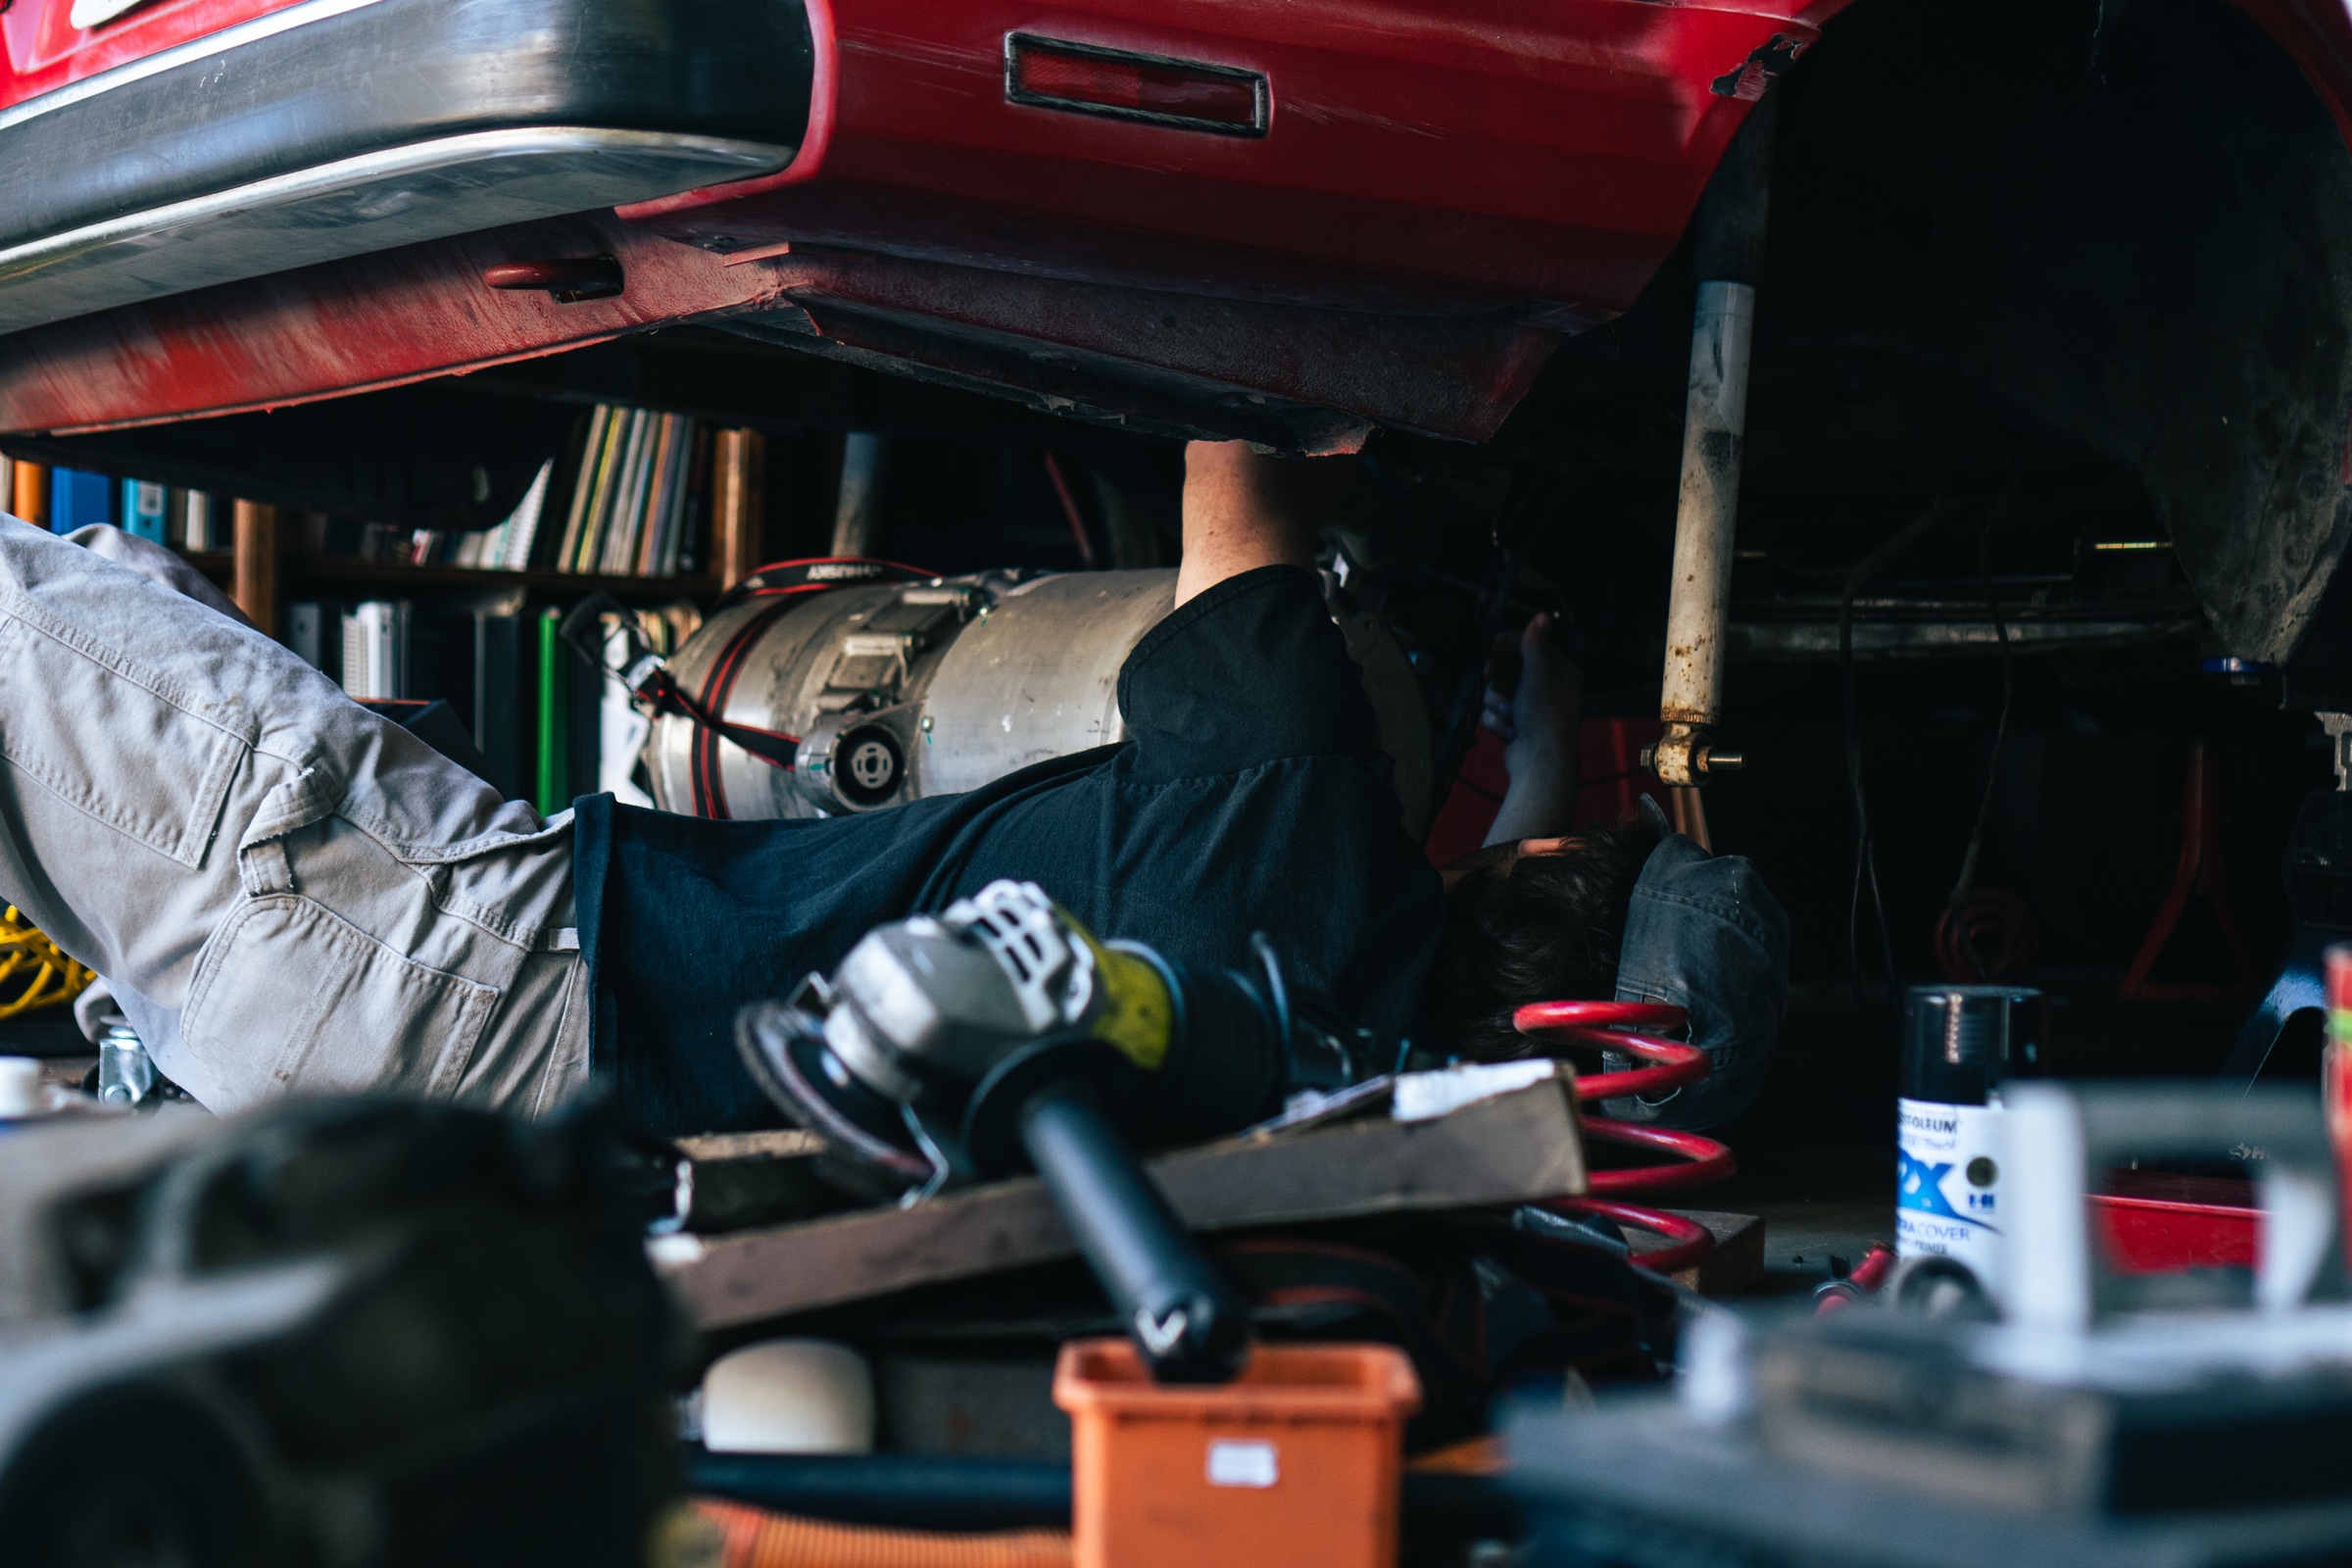
Self-management was an important aspect of this project. The scope of the conversion spanned my sophomore year of high school to my freshman year of college. In addition to my priorities as a teenager, I had to manage my time and money to ensure progress on the conversion. Considering the scale of this project, I also had to decide what challenges I wanted to tackle in what order. Do I start with the motor mounts, or do the power brakes first? This was a multifaceted question. I had to be realistic with my skills at the time, saving the harder parts for when I was more prepared. I also knew that if the motor went in before the power brakes, I might be too tempted to drive the car and never implement the latter.
I also learned how to motivate myself. There were weeks and months where I didn’t want to work on the car. Finding ways to still make progress when I was disinterested was crucial. If I was sick of laying under my car welding, getting sprayed with flux core splatter, then maybe I should take a few days on the computer to work on the wiring diagram.
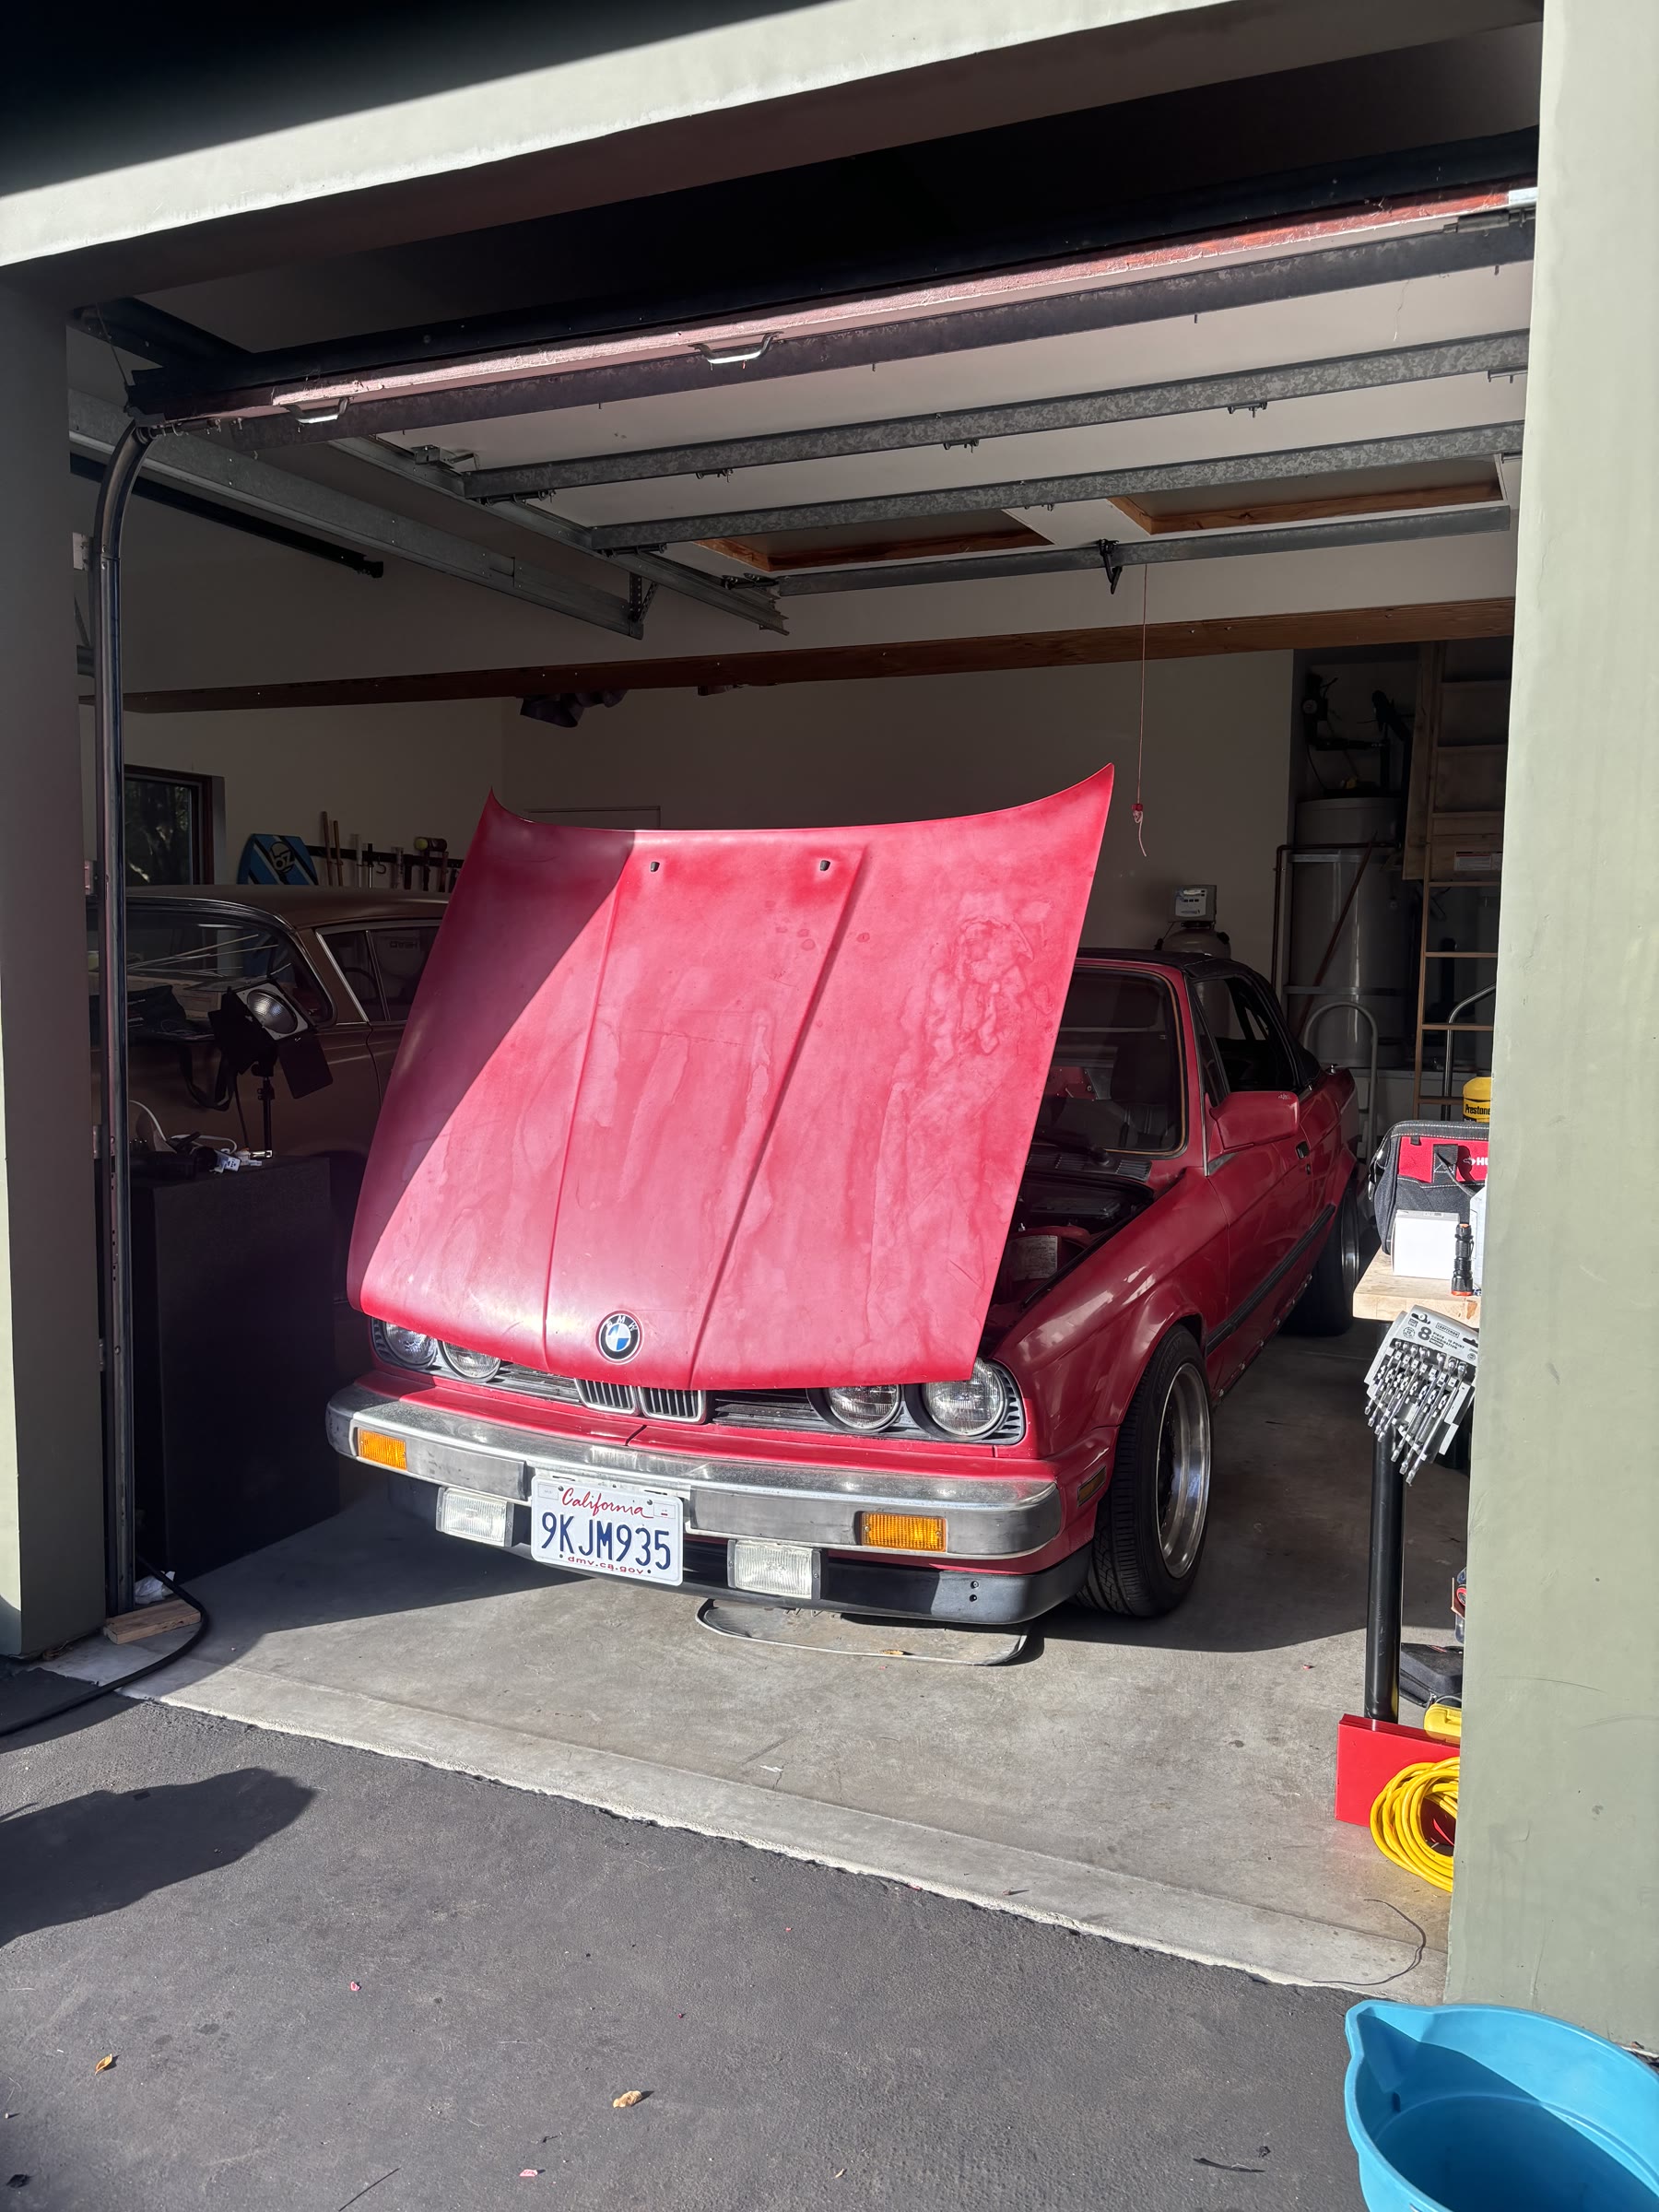
To make consistent progress, I had to find a balance between planning, designing, and getting myself outside to fabricate. It’s easy for me to get caught up in the design process with refining and iterating, or researching alternative components because I’m worried I didn’t choose the absolute best option for the DC/DC converter. And while iteration is important, and component research is necessary, the ability to know when to stop thinking and execute is the most important. When I finally got behind the wheel of that car, it wasn’t because I had the perfect components or the best designs. It’s because I got it done.